Want to make an easy paper house that you can just print, cut, and decorate for any season or holiday? It's a perfect paper craft for kids and really simple to make. Read below on how to make the easy paper houses.
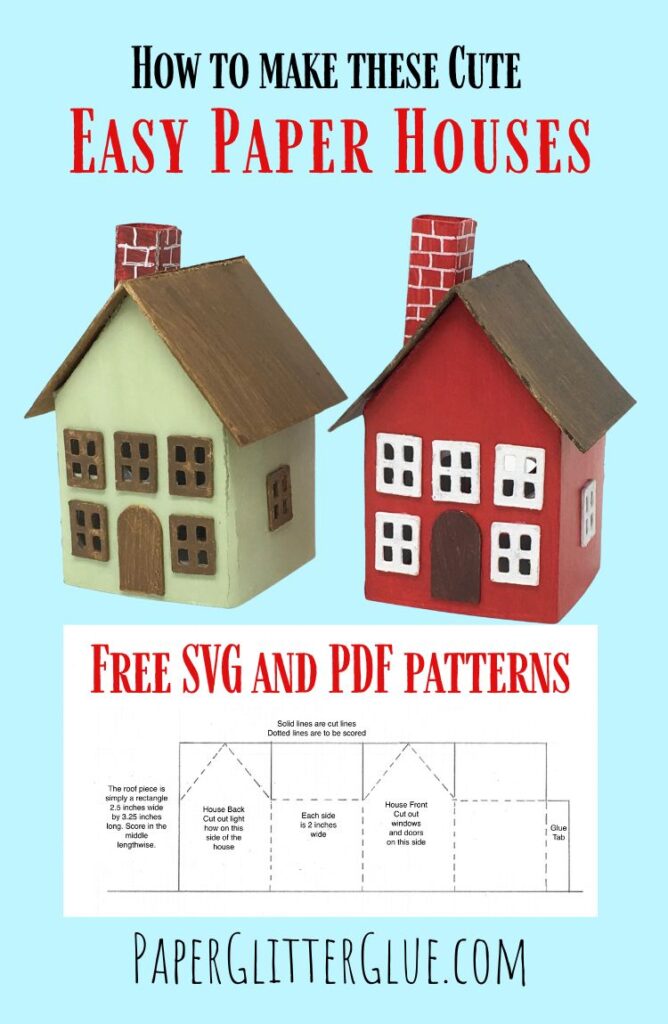
Table of Contents
How to Make an Easy Paper House with this free printable template
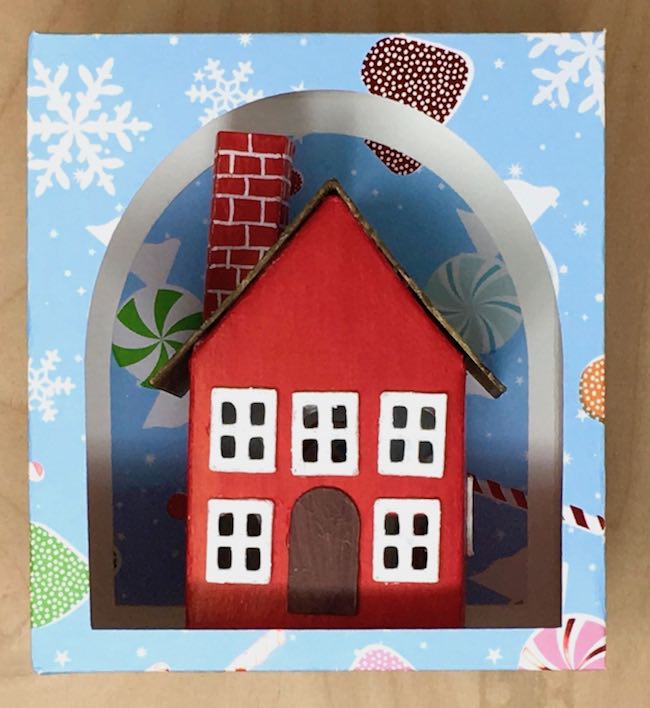
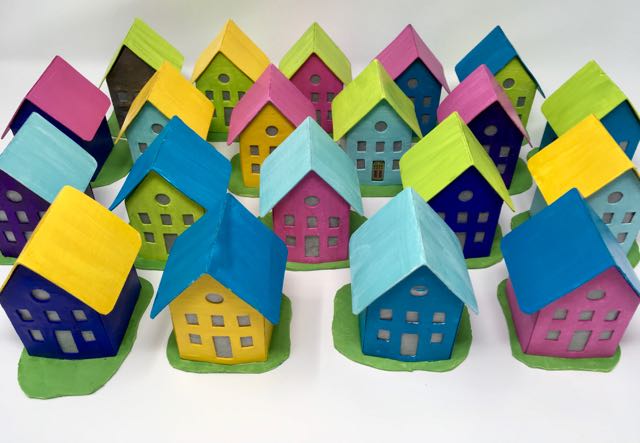
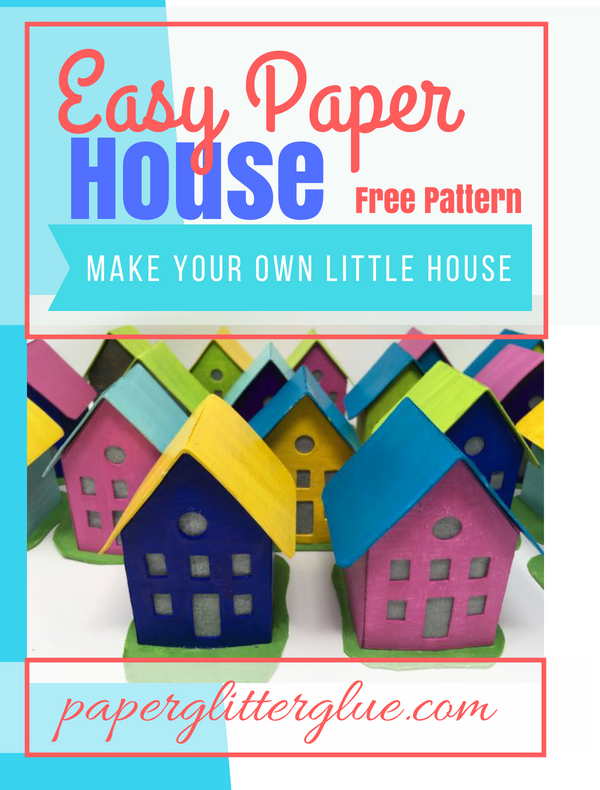
I made these easy paper houses to take on a Vermont Getaway crafting weekend to give to the ladies that attended. Each house is about 2 x 2 inches so I could carry 20 of them to Vermont on the plane. This size also makes a very nice pattern that is easy to cut out from one 8.5 x 11 inch piece of paper or card stock or cardboard.
This post contains some affiliate links for your convenience. Click here to read my full disclosure policy.
Finally this pattern has been updated to include SVG (scalable vector graphics) patterns with and without windows. So now you can cut out the pattern with your automatic cutting machine like a Cricut or Silhouette or Scan and Cut machine.
Just subscribe to my newsletter and you will get the password to my free Paper Glitter Glue library.
Then you can download this pattern at my Paper Glitter Glue Library. You can find it as Design No. 4 in the June 2018 section of the library.
One great feature of this pattern is that it shows you the basics of making a really easy little house so you can modify it and even make your own patterns.
Materials to make a Simple Paper or Cardboard House:
- Easy Paper House Pattern PDF or SVG Pattern - download from the Paper Glitter Glue library
- Cardboard - I use 8.5 x 11 inch pieces of cardboard. This cardboard is very similar to what I use.
- Carbon paper to make copies
- Craft knife
- Glue
- Tissue paper or Vellum for windows (or download the Putz house windows and doors here)
- Paint
See the step by step instructions below.
Making a little house with the Easy Paper Houses Pattern
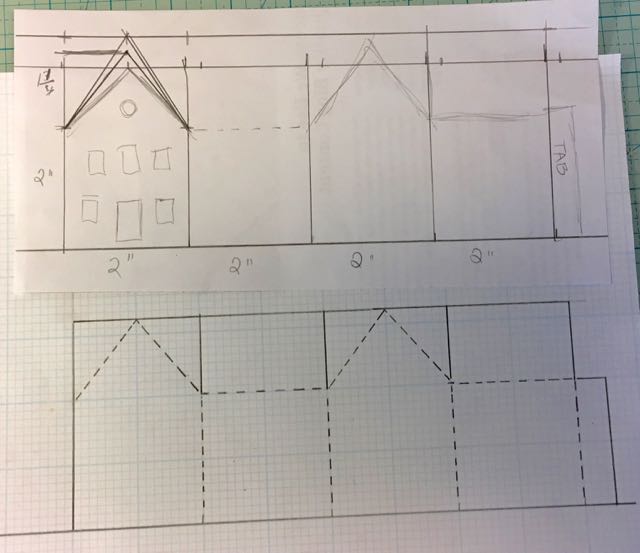
These instructions are based on the size I drew for the pattern which is 2 inches wide and deep and 3.25 inches high. Sometimes when you print a PDF, your printer alters the size a little bit to make it fit the page. Your measurements might be slightly different.
1. Copy your pattern onto cardstock or upload to your cutting machine
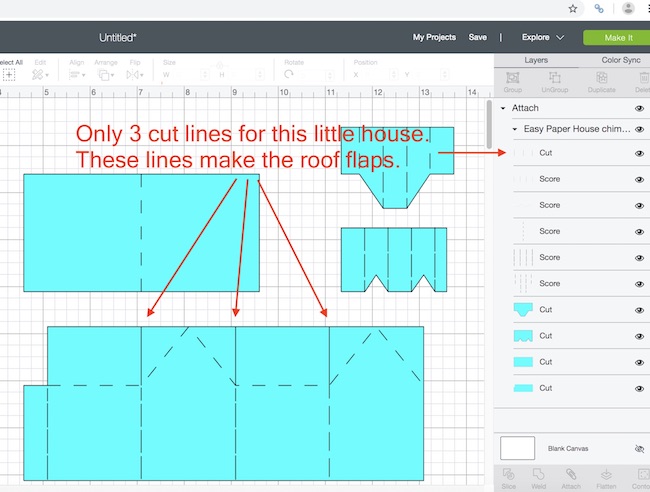
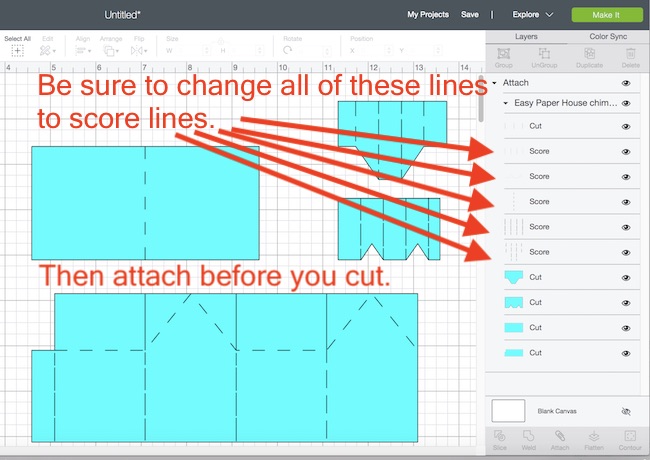
Here's how the Easy Paper House looks in Cricut's Design Space. It shows you the 3 cut lines and all the score lines. There are 2 chimney variations. For me, the side chimney looks the best.
Cricut routinely updates Cricut Design Space. Here is my post which shows you how to make score lines and attach in Cricut Design Space. I will keep you updated in that link.
How to copy and cut the pattern out by hand
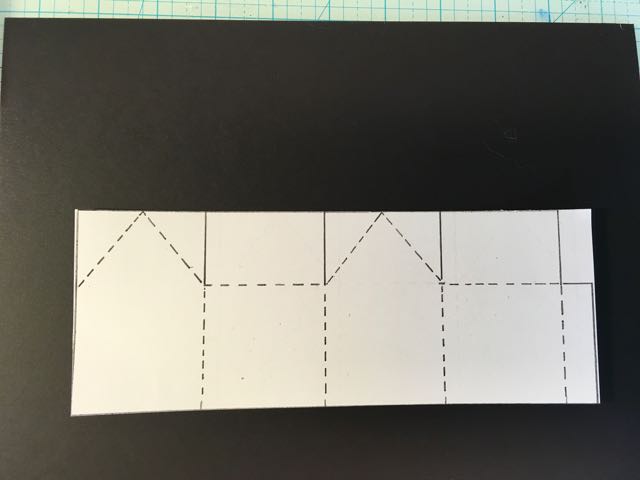
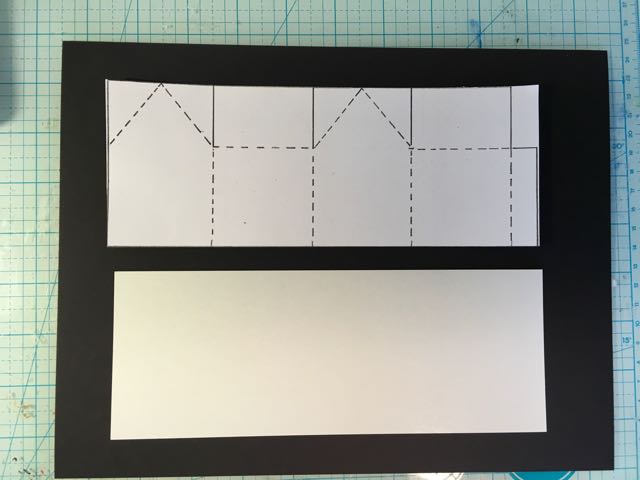
I always save the original and make a copy to work with. Below is the house pattern copied onto cardstock so I can trace the outline on my cardboard.
2. Cut your house pattern and cardboard piece to size before tracing the pattern
First cut your cardboard to the height of the house which is 3.25 inches. Then cut it to length - 8.5 inches. You don't have to do this, but for this little house it made it easier.
Save the extra piece of cardboard (if you started with a piece of cardboard 11 inches long) to make the roof.
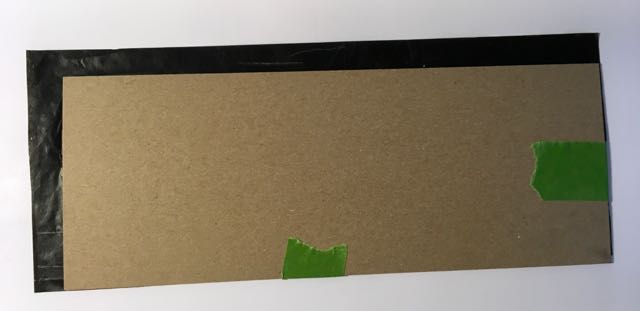
Make sure the carbon tracing paper faces your cardboard
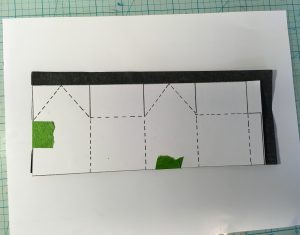
When you tape the pattern and the cardboard together with the tracing paper in the middle (if that is how you are transferring the pattern), make sure the tracing paper is facing your cardboard. That's about the only thing you can mess up with this step.
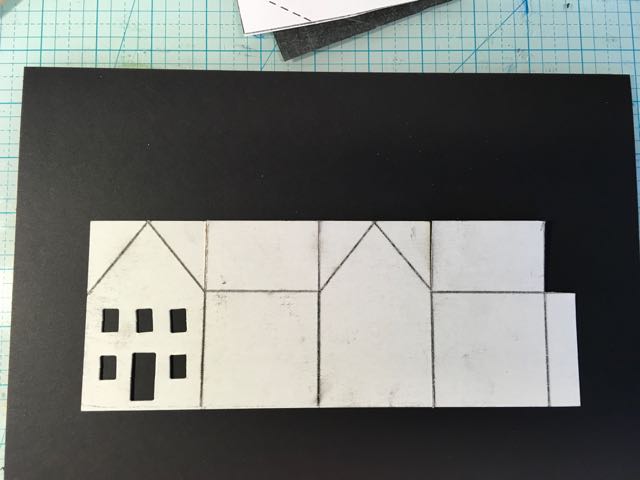
Easy Paper House Pattern traced onto cardboard
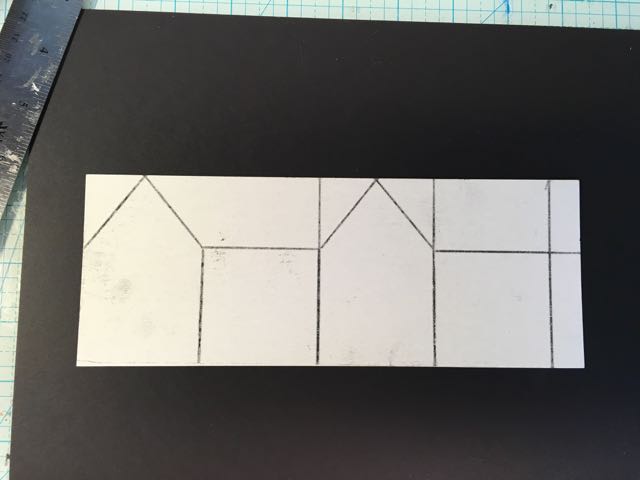
It's easier to score before you cut the pattern out
Next I scored the fold lines and then make the few cuts necessary on this simple house pattern.
3. Cutting windows and doors for your Easy Paper House by hand or with dies
Here is Howard Lamey's method for cutting out accurate windows and doors by hand using a push pin to mark the corners of the windows and doors.
I always feel like I cheat when I say that I do not cut out windows and doors by hand. I justify this because I make a lot of houses and it makes cutting out the windows and doors SO much easier and precise. You could use a drill press as well, but the arbor press I bought online was smaller and cheaper from Harbor Freight Tools, I think.
(Update - now I use my Cricut to cut out the patterns - it is even easier.)
If you cut the windows and door by hand only cut a few windows to make it as easy as possible.
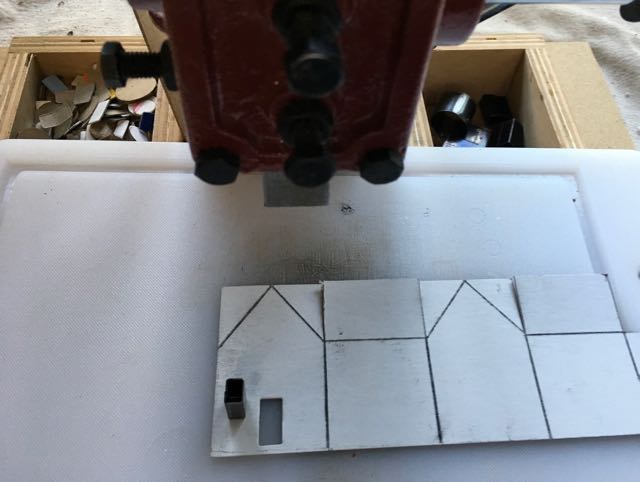
So first I confessed about cutting out the windows, now I have to explain that I cut the windows on the wrong gable end. You want the glue tab to be at the back of the house, not the front. So the middle gable is the one where I should have cut out the windows and door. I'll show you the problem it causes in the next photo.
Here is my tutorial on using an arbor press and dies to cut out windows and doors in your paper houses.
One important tip about cutting out the doors - don't cut all the way to the bottom of the house. You need the house to be intact at the very bottom to keep the house square. Otherwise it will bend at the doorway. See the strip of cardboard below the door? Try to leave about ⅜ inch at the bottom for structural integrity of your little house.
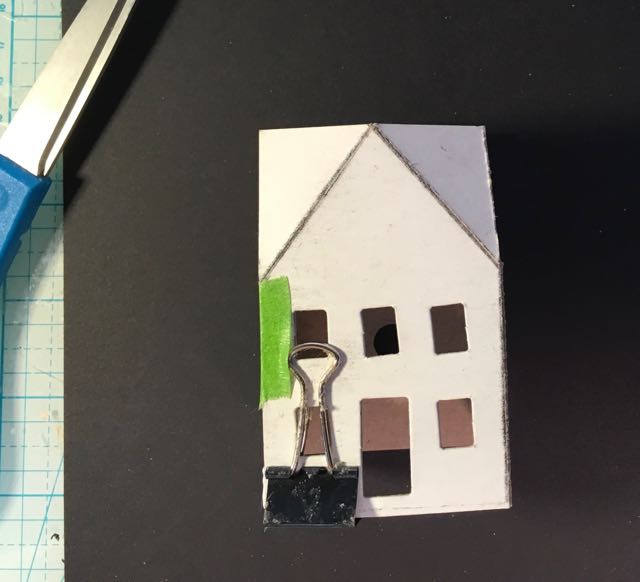
I made a mistake - The glue tab should be in the back, but it's fixed on the pattern.
Here's one problem with cutting the windows and door where I did - the glue tab shows in the windows. I had to cut it down to hide it better.
But, don't worry, I fixed it on the pattern by marking which one gable end is the front.
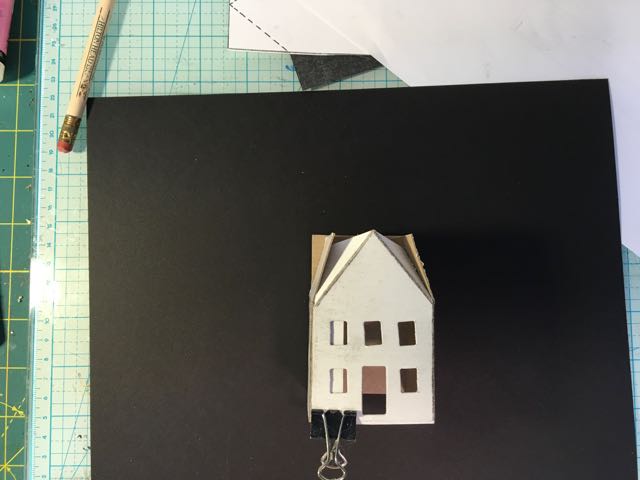
Glue flaps on the gable ends OVER the rectangular roof flaps. This helps keep your paper house square and prevents the gable ends from bending inward.
Remember that the roof flaps are NOT THE ROOF as you might expect. Really they help maintain structure and support for the roof.
4. Cover the windows with tissue paper or printed windows and doors
Since I had to make 20 houses I debated about what to do with the windows and the door. I finally decided to just cover them with tissue paper inside the house. There are light holes on the back and underneath. The houses are so small that they could be perched on a Christmas tree branch if you wanted and a small light bulb from the Christmas lights would fit underneath or on the back.
Another option for windows and doors is to copy the ones on the original Putz houses. Paul Race, who hosts the CardboardChristmas.com forums, has generously made printable PDFs of these windows and doors in various sizes. Find the size you like and cut the appropriate sized hole for the windows or door. I just didn't have time to do all that for 20 little houses.
5. Glue on the roof to your little paper house
The house with the tab is 8.5 inches long. If your cardboard or card stock is 11 inches you have a rectangle 2.5 x 3.25 inches to make the roof. Perfect. So easy for making a large number of houses. Score it in the middle and adhere to the top of the little house.
The paper template for this house has a roof pattern on it. Also there are two chimney variations as well.
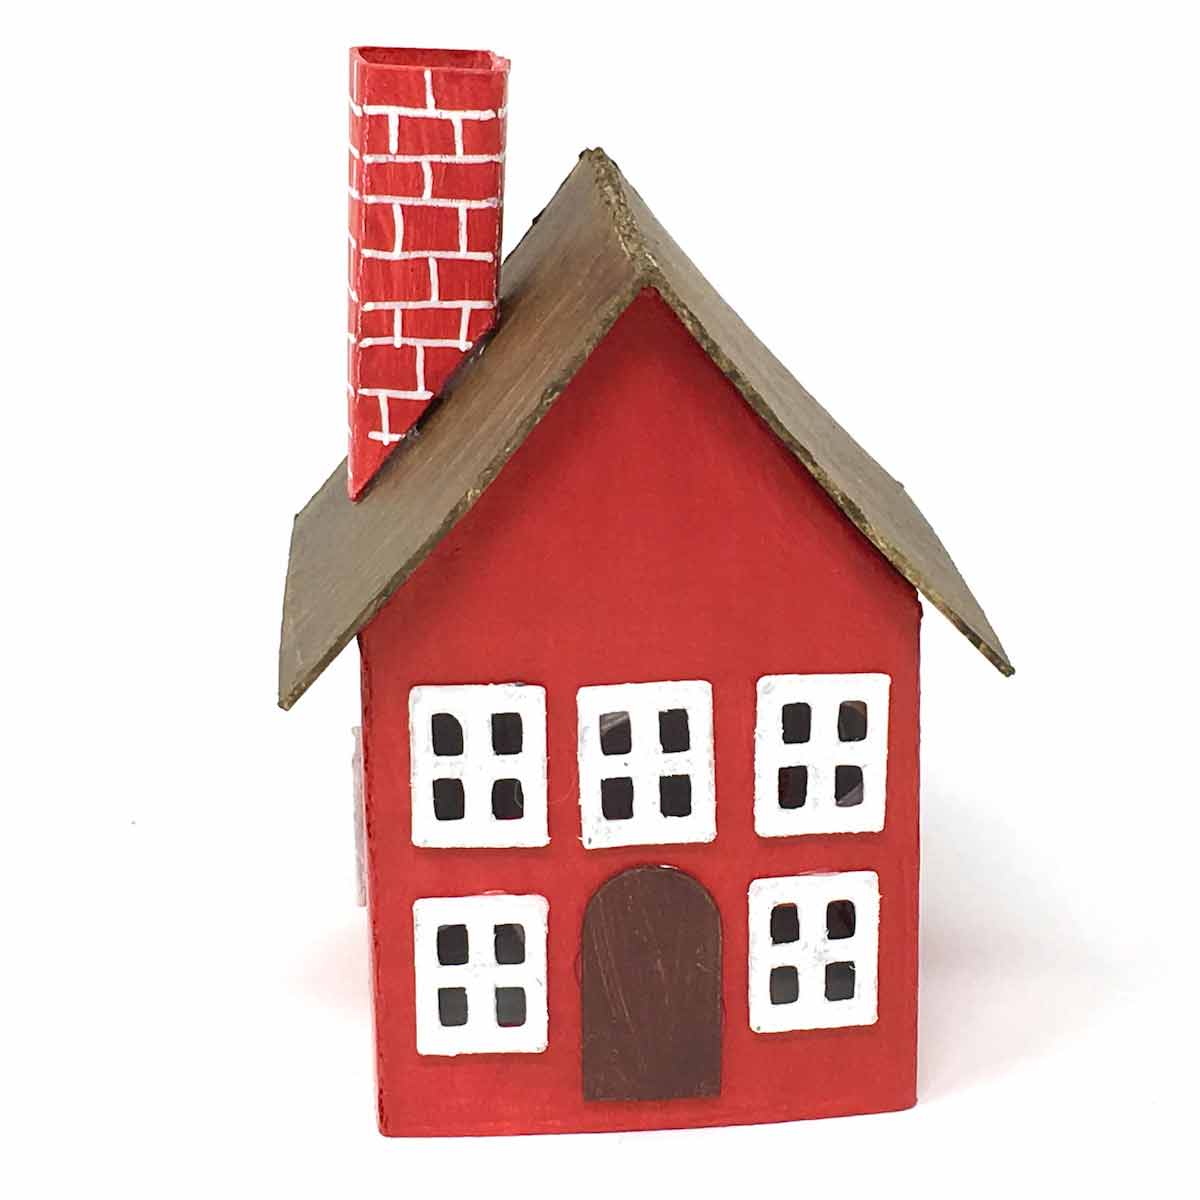
6. Make the base with thicker cardboard
The base is thicker cardboard painted with one of my very favorite green colors - Tim Holtz Distress Paint Mowed Lawn.
7. Paint your mini cardboard houses with colors you love
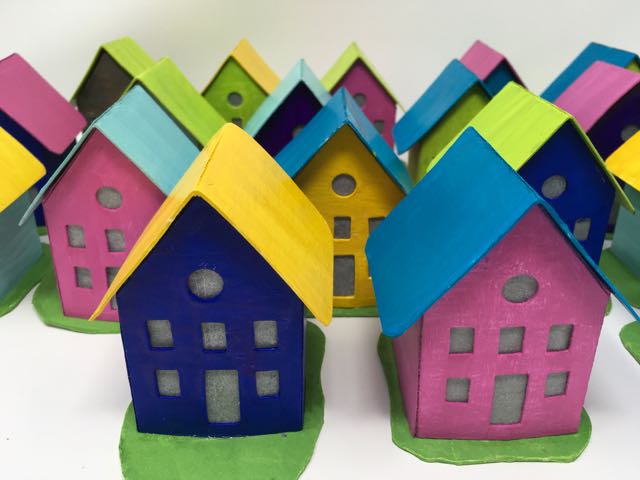
All the colors are from Tim Holtz' Distress Paints - Twisted Citron, Mustard Seed, Picked Raspberry, Tumbled Glass, Blueprint Sketch, Wilted Violet and Mermaid Lagoon. I think that's all of them. Oh, I did paint one of them with Walnut Stain before I decided to go with more colorful options. I just love these colors.
8. What else can you do with the Easy Paper Houses Pattern?
- Make 25 mini houses for an Christmas Advent calendar
- Make an entire village of Holiday houses
- Give as gifts to your child's teachers
- Attach to the top of a gift box to make the gift even more special
- Decorate a wreath with the little houses - here's my Christmas Wreath with miniature houses or Martha Stewart's Christmas Wreath with Putz Houses
- Decorate a tree with the Easy Paper Houses - see here or here
- Make a neighborhood for your child to play with (they are fairly sturdy and easy to make so it's ok if they get beat up - just make some new ones)
You can download the free "Easy Paper House" pattern at my Paper Glitter Glue library by signing up for my newsletter on the form below. I will not share your email with anyone. Any questions about using the library, just email me at [email protected].
9. Other Free Patterns for the Easy Paper Houses:
The Christmas Farmhouse Putz House (traditional little houses were called Putz houses based on the German word "putzen" to adorn or decorate)
The Irish Cottage Putz House and the German Half-Timbered Putz House are two other examples.
Haunted Schoolhouse can easily be made for Christmas as well. See Kelly's Christmas Clockhouse.
Then I also have patterns for the 13 Days of Halloween Houses all of which can be decorated for any season.
And there are 12 House for Christmas patterns as well.
Questions? If you have any questions, just email me at [email protected].
Thank you for visiting me.
Lucy
So that's how you make the Easy Paper House with this free printable template.
10. Check out these two great books with little house patterns to help you make little houses:
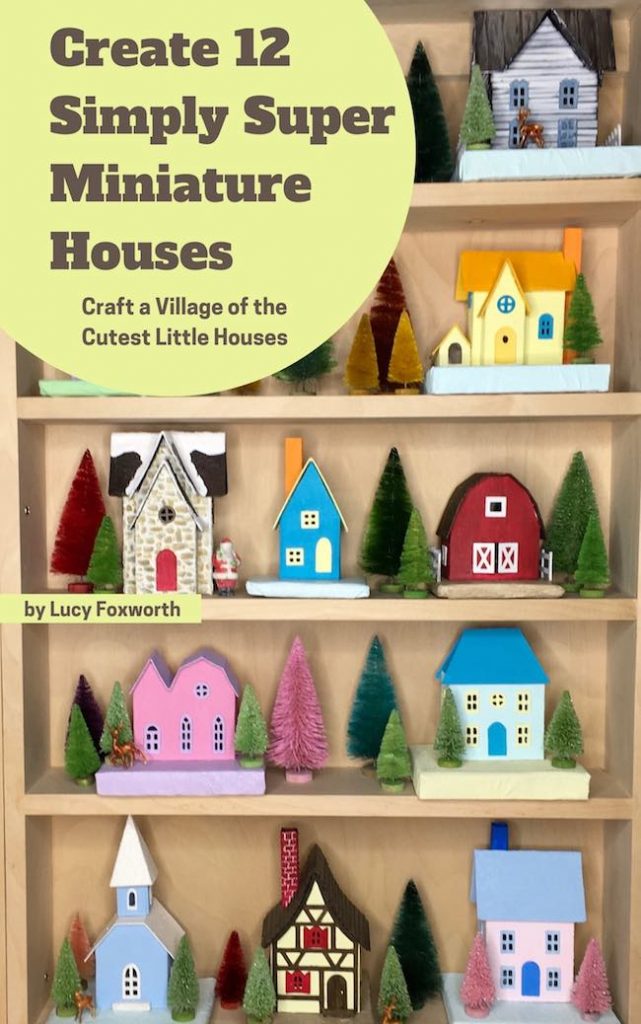
Create 12 Simply Super Miniature Houses - Craft a Village of the Cutest Little Houses
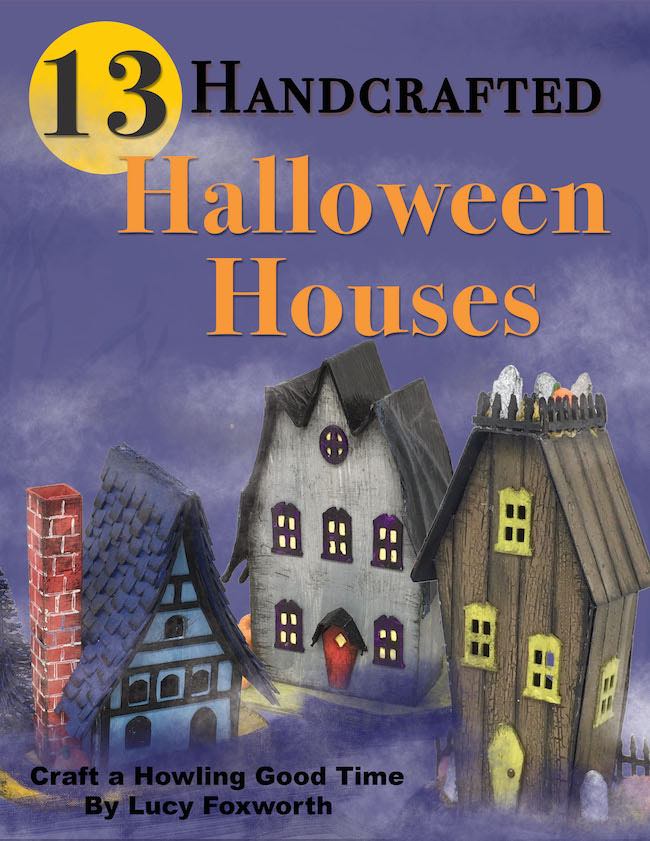
13 Handcrafted Halloween Houses - Craft a Howling Good Time
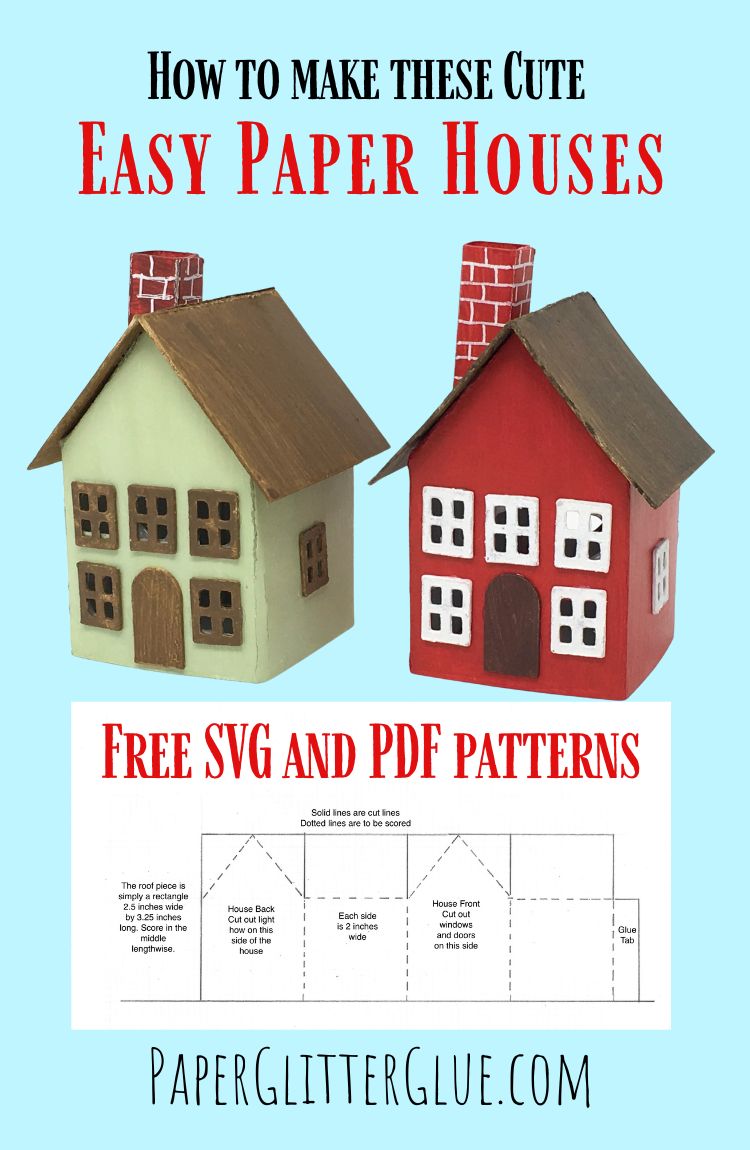
Want to remember where you found the Easy Paper House Pattern? Pin to your favorite Pinterest board.



Stacy
Love your paper houses!
PJ Campbell
I read your "very clear" instructions and followed them very carefully multiple times, but when I click of the Blue words to take me to the place to enter the password, that page does not appear.
That click goes to the library, but I can't open any patterns (presumably because I didn't enter the password, having no opportunity to do so). I get your newsletter, I have the password, but it does not work. Very frustrating -- do patterns for tiny houses really need to be protected? There are plenty of other sources (check pinterest).
Lucy
PJ,
Email me at [email protected] so I can explain better and get you the files that you are looking for. I do put my files behind a password to protect my files.
Ada Clark
Just read your article and enjoyed it very much. I have just started making Putz houses and love it. I’m almost 85 years old and it has given me a new lease on life. Thank you for your article. I’m going to try to make my own patterns as they are a little hard to print out on my printer. Thanks again, Ada Faye Clark
Julie Clark
I love my paper house you gifted in Vermont! I found the perfect spot in my suitcase to pack it without any damage! Now to find the perfect spot to display it!
Thank you. Love your blog!