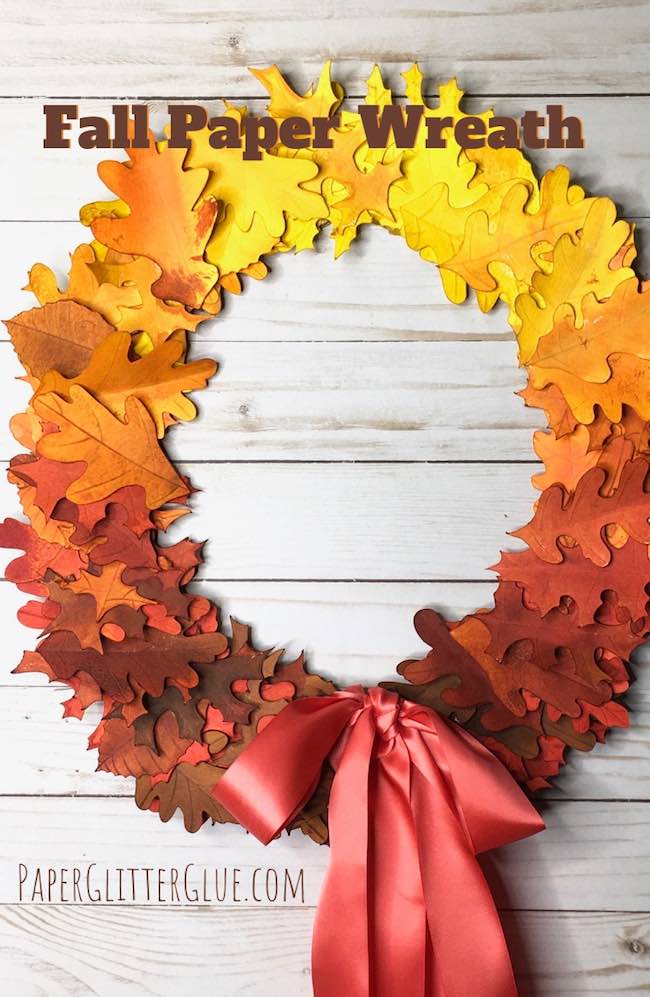
Here's how to make an easy Autumn Paper Leaf Wreath. I made this one with a ombre color scheme, but you can mix in the colors however you like. So here is the tutorial to make the paper wreath in beautiful Fall colors - make it easily in time for Thanksgiving.
This is the first design for the 12 Day Craft-Along from now through December 1st. Each day I will be posting a new craft for you. Most of them are designed to be fairly simple so you can create things fast. I must admit that there will be a few that require some extra time. But I hope you will find them worthwhile.
12 Day Craft-Along Projects
- DIY Easy Autumn Paper Leaf Wreath
- Easy Tiny Paper Church - Quick Holiday Craft
- Tiny Paper Cottage
- Tiny Paper Barn - Quick and Easy Holiday Craft
- Make a Tiny Paper Swiss Chalet for Your Holiday Decor
- Make the Cutest Tiny House Holiday Garland
- Little Cottage Pop-Up Card - Make One for the Holidays
- Make a Paper Holly and Ivy Wreath
- DIY Christmas Fairy House - Paper Fairy House with Poinsettia Roof
- A Storybook Holiday Cottage for Christmas
- Easy Snowman and Scotty Dog Gift Tags
- Little House Gift Tags - From My House to Yours

This post contains some affiliate links for your convenience. Click here to read my full disclosure policy.
Materials to make the Autumn Paper Leaf Wreath
- Paper for the wreaths:
- Distress spray stain to color the paper:
- Cardboard backing for the wreath or a grapevine wreath form
- White PVA glue or hot glue
- Ribbon
- A way to cut out the leaves - I used my Cricut Explore Air 2
Instructions to make the Easy Autumn Leaf Wreath
- Download the free pattern from the Paper Glitter Glue library
- Cut out leaves (I used my Cricut Explore Air 2)
- Spray stain on the leaves if using white watercolor paper or card stock
- Make a cardboard base or use a purchased grapevine wreath form
- Arrange the leaves on wreath form and glue in place
- Tie a bow for the wreath
If you want more details on how to make the wreath, continue to read below.
First, download the free pattern for the Easy Autumn Paper Leaf Wreath
So first get the pattern from the Paper Glitter Glue library. If you have the password, go to the Paper Glitter Glue library, type in the password and download the pattern (No. 99) from the November 2020 section of the library.
If you don't have the password, just subscribe to my Paper Glitter Glue newsletter where I send you tips and tricks and information about new crafts and patterns. The form is below. You will get the password right away.
The pattern is available in three different formats:
- Printable format - the PDF file
- Scalable Vector Graphics. - SVG file for cutting machines
- DXF files for CAD cutters
Just to make it clear, here are the file variations within the files:
- Two PDF files - one leaf file has color and the other version is plain so you can print it on colored card stock
- Two SVG files - one leaf file has score lines and one without score lines
- One DXF file
Next, cut out the leaves
I used my Cricut Explore Air 2 to cut out the pattern, but you can use other cutting machines.
Because I love the way watercolor paper takes stain, that's what the paper I used. I cut out the leaves before using the stain to avoid having a white edge around the leaf. To make a really full wreath, I cut out about 100 leaves.
But to simplify making the wreath, you can use various shades of card stock and cut them out.
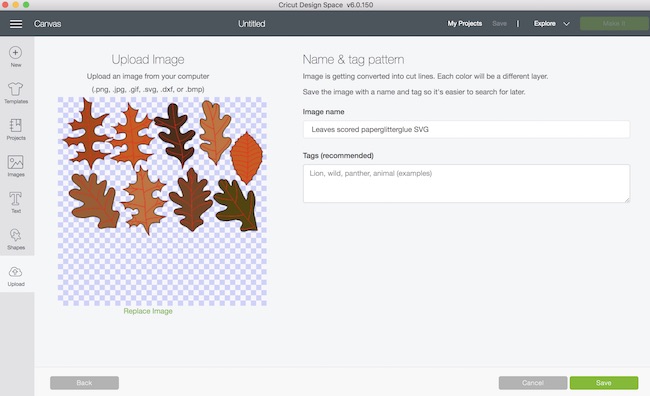
Here's how the file looks when you upload it to Design Space.
And here is how the file looks when you get it in Design Space. On a Cricut cutting machine, the score lines are already designed and attached. I use the scoring stylus for the veins on the leaves, but you could just use a pen and draw them on. Fortunately, the Cricut doesn't know if you are using a scoring stylus or a pen.
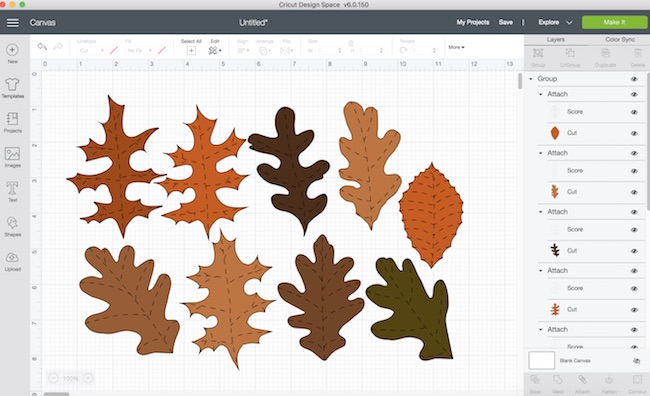
The leaf score lines take longer to run through the machine than the cutting process. I used the 140 lb. heavy watercolor paper setting and ran the leaves through 3 times. The sharper points on some of the oak leaves messed up a little, but it wasn't a real problem. All the leaves were usable.
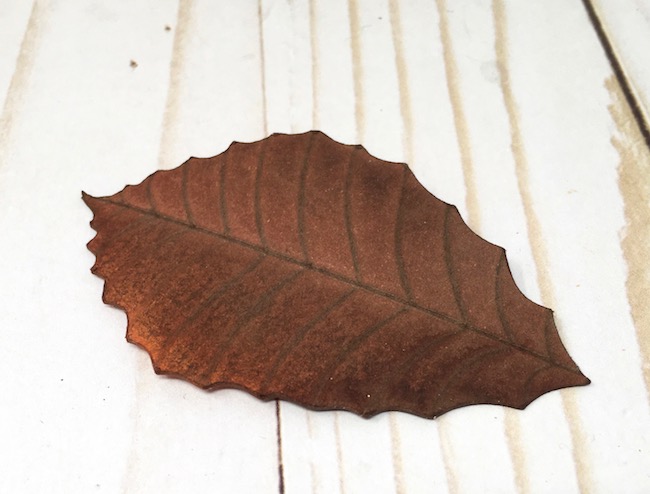
Spray stain on the leaves
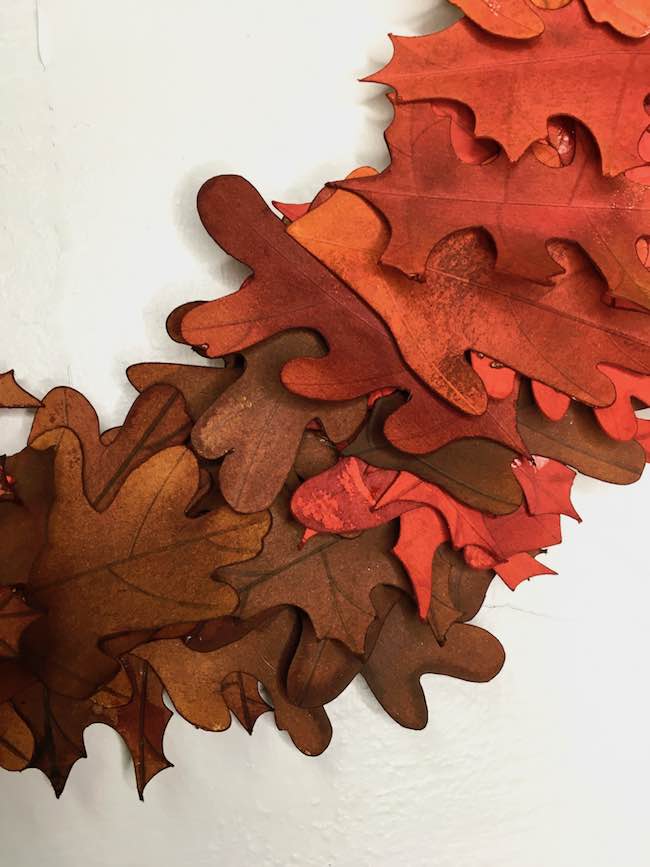
What I love about the Ranger Distress spray stain is that each stain adds such great color and dimension to the paper. I like how the stain pools in the creases - the veins on the leaf.
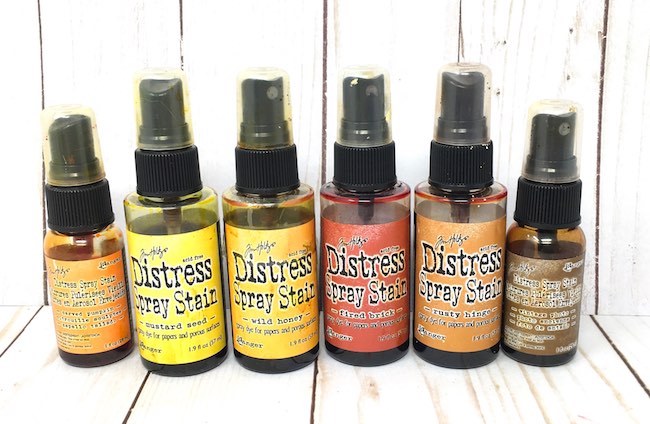
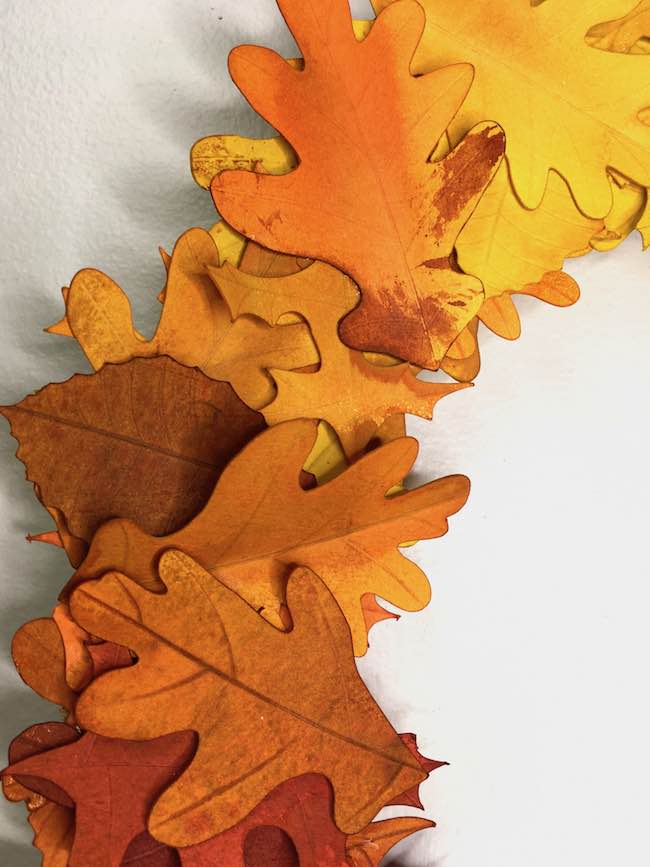
Before you stain your paper leaves, separate them into 4 piles for the 4 main colors of the wreath.
Below is a example of the leaves showing how great the autumn colors look.
Even if you use card stock, you can add a little more color to the lighter shades with the spray stains.
To increase the ombre effect, I sprayed a few of the leaves with two or more colors. For example - on some of the yellow leaves, I sprayed the edges with an orange color and placed those at the transition area between yellow and orange.
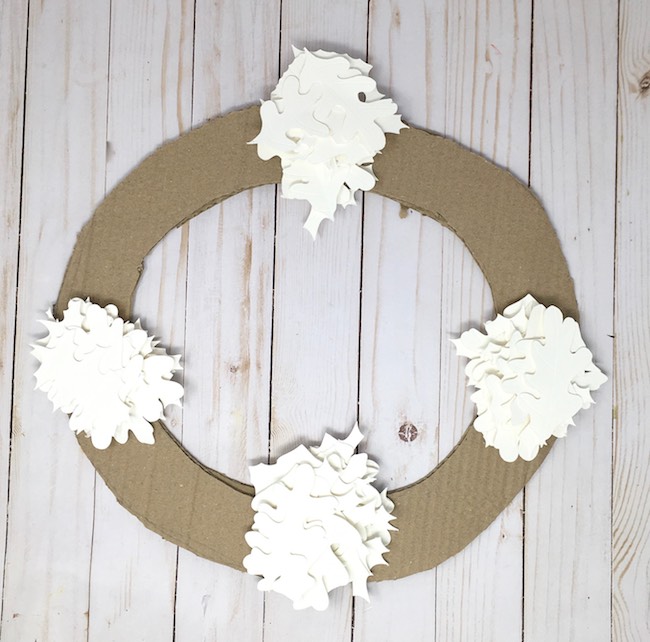
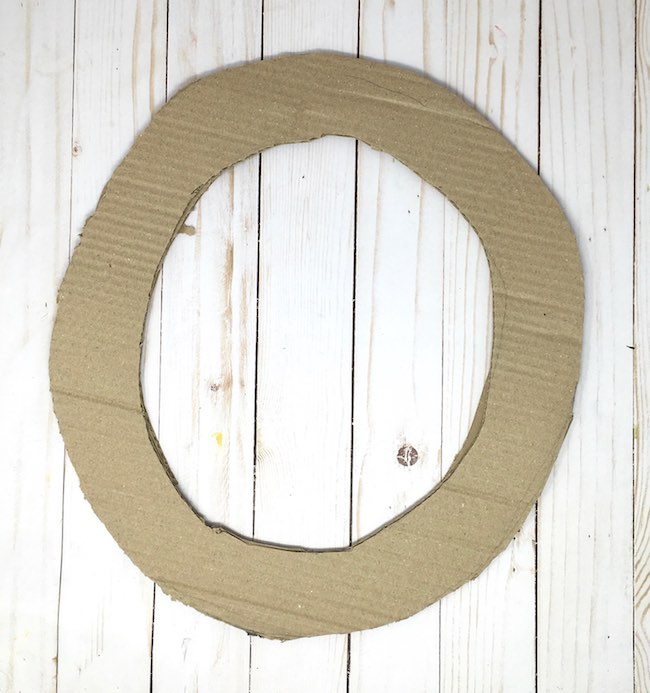
Make a Wreath base
You can use a purchased wreath form such as a grapevine wreath, but you can also make your own wreath base. I drew an elliptical shape on cardboard and painted it with a background color. The cardboard doesn't need to be very thick because the leaves aren't heavy.
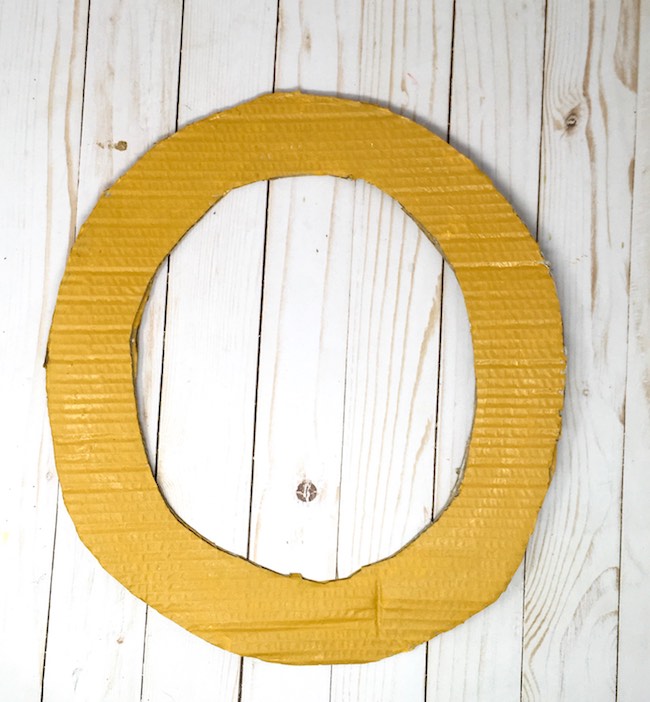
To disguise the cardboard a little bit, I painted it an ochre fall color. Probably a darker color would have been better.
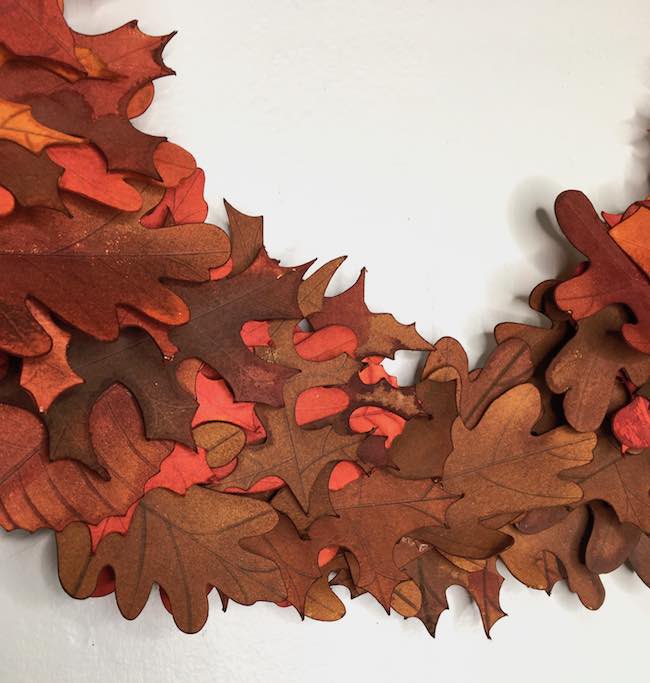
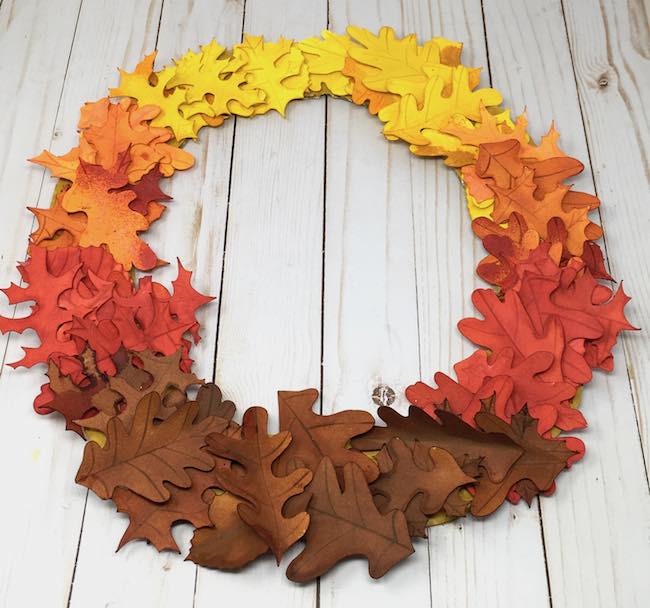
Arrange the leaves on the wreath form
Next, arrange the leaves on the wreath in a pattern that you like. Recently, I saw a Instagram post where someone gathered leaves and arranged them in a lovely ombre pattern. That's what gave me the idea about arranging the leaves in this way. Also it helps to fold the leaves along the center leaf score line to give them more dimension.
If you use a grapevine wreath, glue the leaves on with hot glue. But you can use a regular white PVA glue on the flat cardboard wreath.
Add a bow to the Autumn Paper Leaf Wreath
Finally, you can add a bow to the paper leaf wreath. Or you could make a "Happy Thanksgiving" sign for the center of the wreath.

See, wasn't that an easy wreath to make? I think it's a perfect craft for Thanksgiving.
If you have any questions, email me at [email protected]. Just know that I am happy to help.
Lucy
P.S. Here is a list of the projects in the 12 Day Craft-Along Series:
- DIY Easy Autumn Paper Leaf Wreath
- Easy Tiny Paper Church - Quick Holiday Craft
- Tiny Paper Cottage
- Tiny Paper Barn - Quick and Easy Holiday Craft
Please join me in some happy crafting!
Amy
I love this project, Lucy! The leaves you made look real! The ombre color effect is really beautiful. I just love this wreath. Thank you for sharing.
Kat
Your fall wreath is gorgeous! Love the variations in shading and life-like veins. You’re a dear for sharing!
Lucy
Thank you so much, Kat. I am so glad you like it.
Lucy
Lynn O'Sullivan
Love this. You are a generous person with wonderful talent. Thanks for sharing you creativity.
Lucy
Thank you so much. I just love to make things so sharing things is another fun part.
Lucy