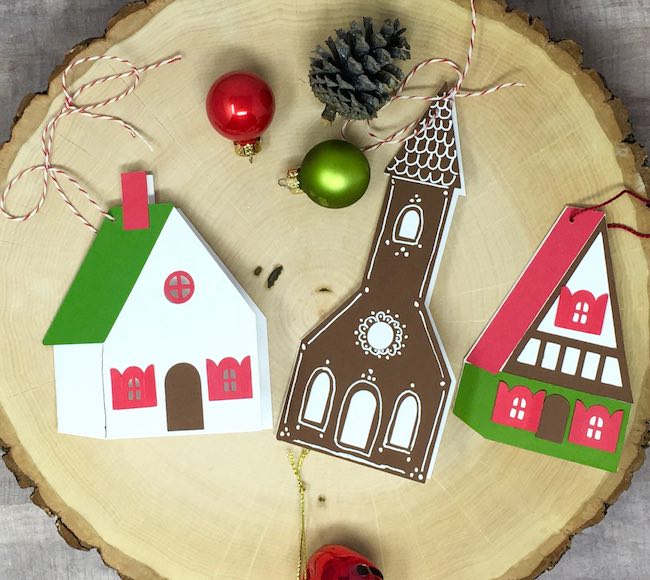
It is no secret that I love little houses. And crafting little houses is about my most favorite thing to do. So after I made the tiny house series, it occurred to me that tiny houses would make adorable gift tags. You know, the kind where say from my house to yours or something like that.
If I have counted correctly this is the latest and last craft in the 12 Day Craft-Along for the Holidays. Does that mean I am done with designing more crafts for Christmas? Oh no. There will be more during the month of December - just not a bunch in a row.
So here is what you need to make these gift tags.
This post contains some affiliate links for your convenience. Click here to read my full disclosure policy.
Materials for Little House Gift Tags
- Cardstock - 65# cardstock works well
- Glue - a good paper glue like Art Glitter Glue or Scotch Tacky Glue
- Pattern - Design No. 109 - from the Paper Glitter Glue library
- A way to cut out the pattern - I used my Cricut Maker
Simple Directions for the Little House Gift Tags
- Cut out the cardstock pieces
- Glue the pieces on the gift tag
- Add a string, if desired
Really, it's that simple to make the cutest little gift tags. Actually they are kind of like cards because they open, but you could just cut them out as one piece to make a simpler tag.
I'll go into a little more detail below. And show a few tiny things you need to know to make them easily.
First, you need the pattern
I keep all my designs (they are all free) in the Paper Glitter Glue library. Sometimes it can be a little confusing finding the files. First you need the password to get access to the library. And how do you get the password? If you don't already have it, just subscribe to my newsletter with the form below and I will send you the password right away.
Then click the big blue sentence in the middle of the page since it is the link to the password page. Add the password and Voila! you have access to all my files. The file are stored chronologically with the newest files at the top of the page. So pay attention to the publish date of the project you are interested in. These Little House gift tags are located in the December 2020 section.
The patterns for these gift tags are available as SVG cut files and as printable PDF files.
Next, cut out the cardstock pieces for the little Holiday House tags
For this project, I used 65# cardstock. You don't thicker or heavier cardstock here. It's easy to cut and easy to find in the stores.
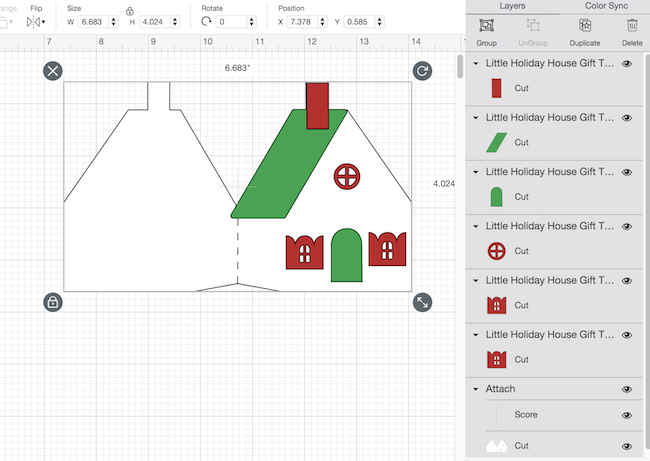
All of the little cards have a score line on them. In Cricut's Design Space, these score lines are already designated and attached to the cardstock piece they belong to. But if you use a different cutting machine, just make sure to designate the line as a score line and attach to your piece.
As an example, see the Little Holiday House version below. The fold line for the little Holiday house noted and attached already.
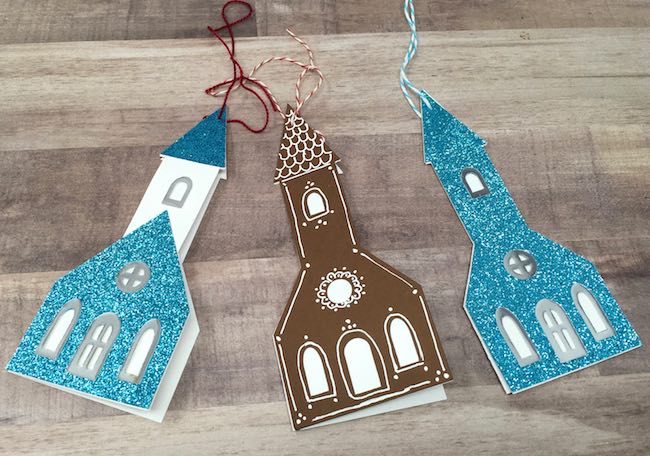
And to simplify things, I stuck to a narrow color palette, but I did use some of my stash of foil paper and glitter paper for the church.
Next glue the cardstock pieces to the gift tags
For this step, I'll show you a photo or two from each gift tag.
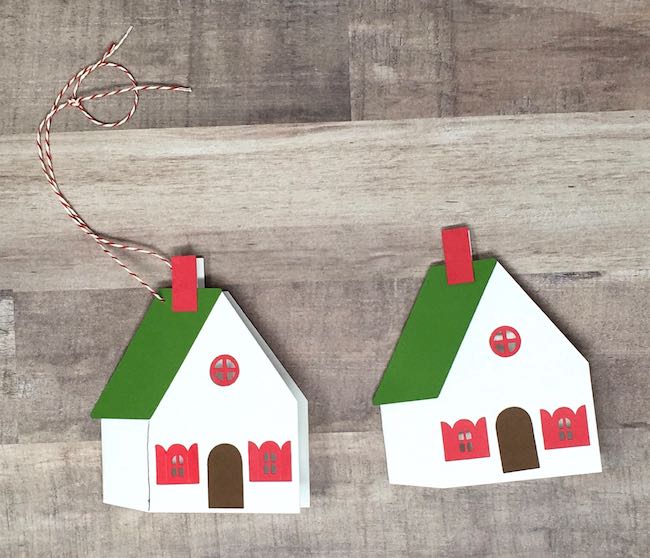
First, the Little Cottage Gift tag
This is the easiest because the fold line for the card is the roof.
Glue the folded house in the center of the roof matching fold lines.
Glue on the tiny paper windows and door.
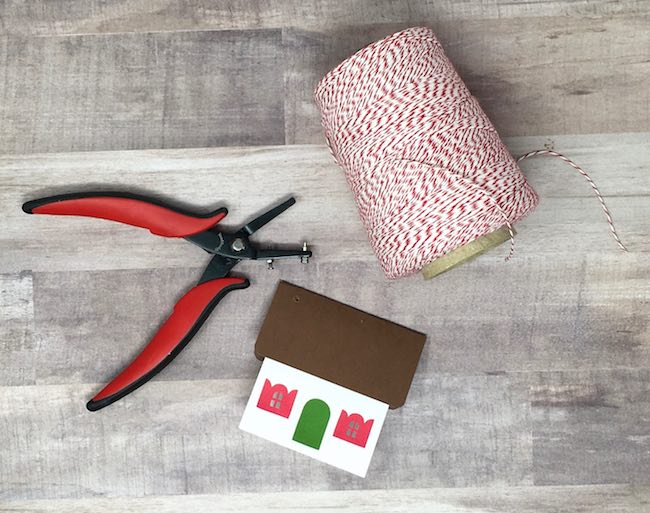
Now punch a hole in the top so you can thread some baker's twine or embroidery thread or ribbon through.
See, that was easy!
Next, how to make the Little Holiday House gift tag
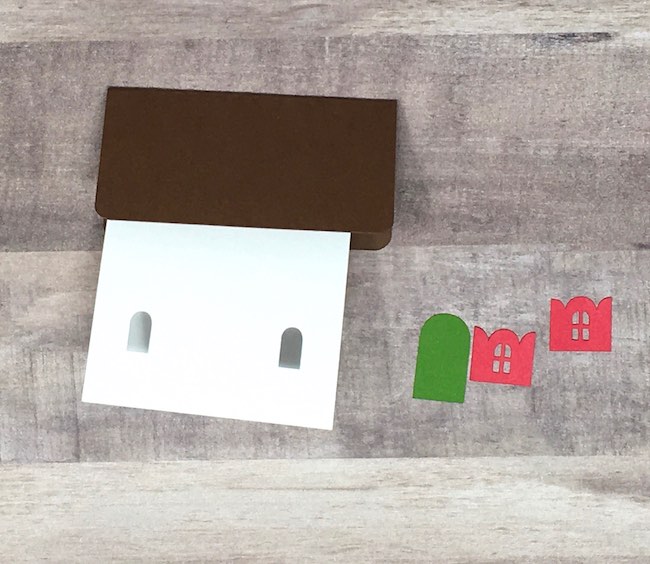
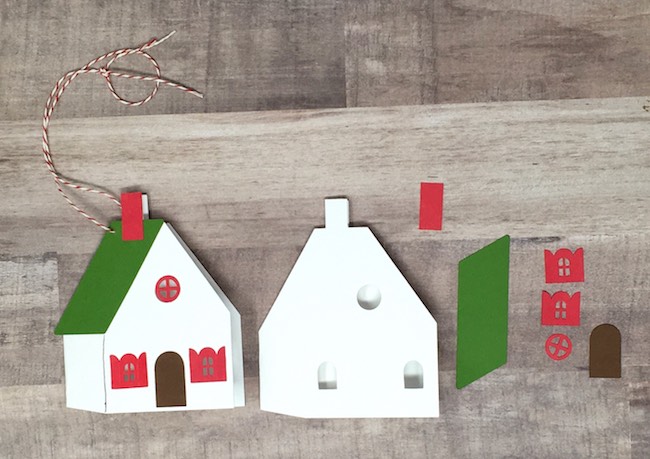
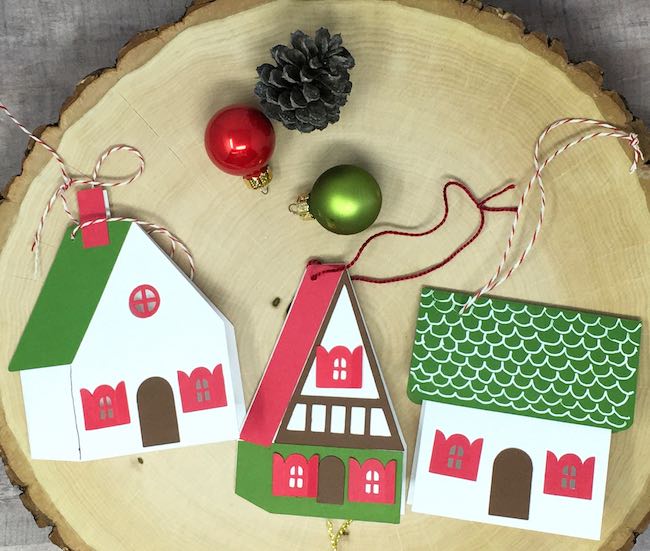
Below you can see the completed tag and all the parts to make the tiny gift card.
Please note that this card has cutouts on the front so you can see where to put the windows. The important thing to remember is that you need to glue the windows and door on with card open so you don't glue the front and back of the card together.
First, glue the green roof piece to the card. It is angled to mimic perspective. Either side can be the "up" side - meaning along the roof line. Next comes the chimney then the windows and door.
To help with perspective, I drew a line from the corner of the roof to the lower corner of house. Not sure it is necessary though. What do you think?
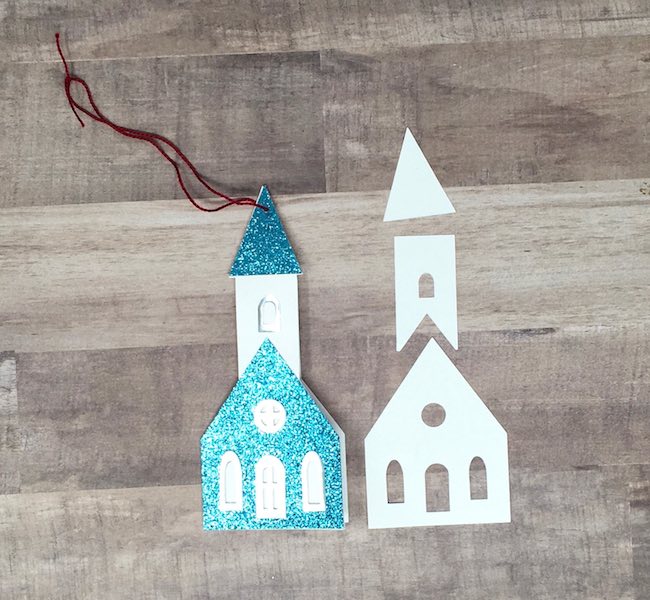
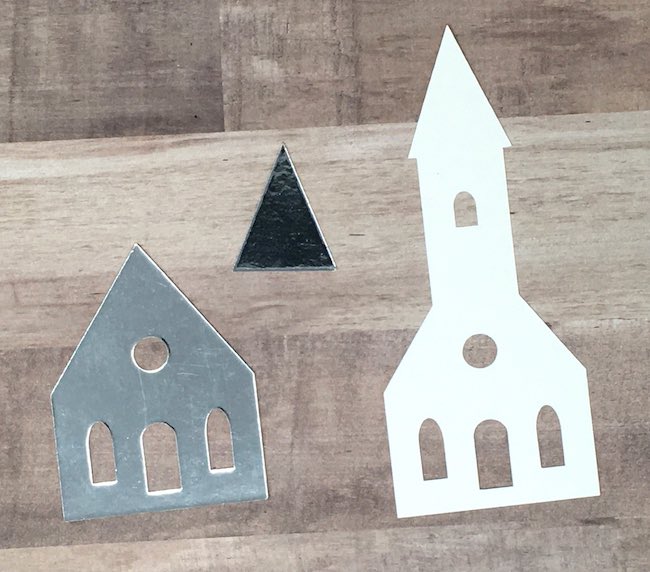
Now for the Little Church Gift Card
This is the very first time I've used glitter paper in my Cricut. Everything cut out well except the door. I just could not get it to cut the door out properly. It may be because my mats are so well-worn that they are not sticky enough to hold the glitter paper down during the cutting process. Also Cricut recommends that you cut the glitter paper with the glitter against the mat.
Also there are more options for the church so you can build your church different colors for the church body.
You can mix and match the pieces for the church.
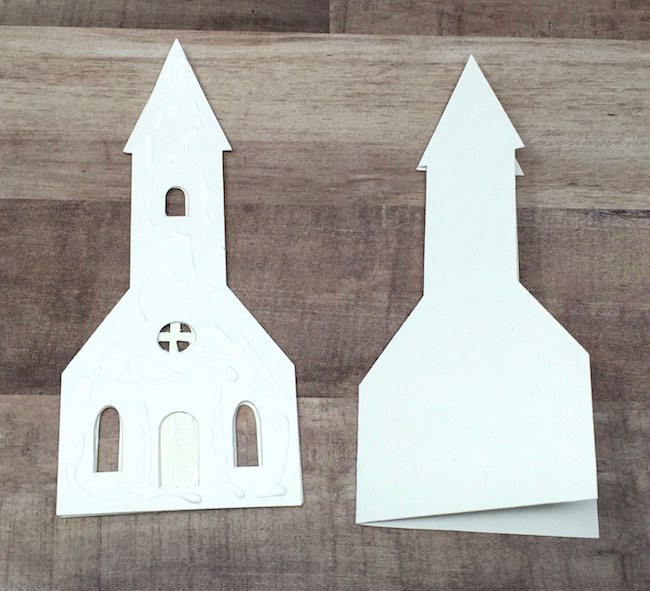
Glue the different colors to the backing piece.
Then glue on the windows and door.
Next, glue the backing piece to the card.
Once it is all glued together, I punch a hole in the top of the steeple and thread baker's twine or embroidery thread through it. Make sure the thread is long enough so the gift tag can open fully.
If you want to make the tag the same size as the tiny church, reduce the size to 80%.
So that is how to make cute little gift tags. Have fun making them.
Here are all the 12 Day Craft-Along Projects
- DIY Easy Autumn Paper Leaf Wreath
- Easy Tiny Paper Church - Quick Holiday Craft
- Tiny Paper Cottage
- Tiny Paper Barn - Quick and Easy Holiday Craft
- Make a Tiny Paper Swiss Chalet for Your Holiday Decor
- Make the Cutest Tiny House Holiday Garland
- Little Cottage Pop-Up Card - Make One for the Holidays
- Make a Paper Holly and Ivy Wreath
- DIY Christmas Fairy House - Paper Fairy House with Poinsettia Roof
- A Storybook Holiday Cottage for Christmas
- Easy Snowman and Scotty Dog Gift Tags
- Little House Gift Tags - From My House to Yours
Lucy
P.S. If you have any questions, feel free to email me at [email protected].






Leave a Reply