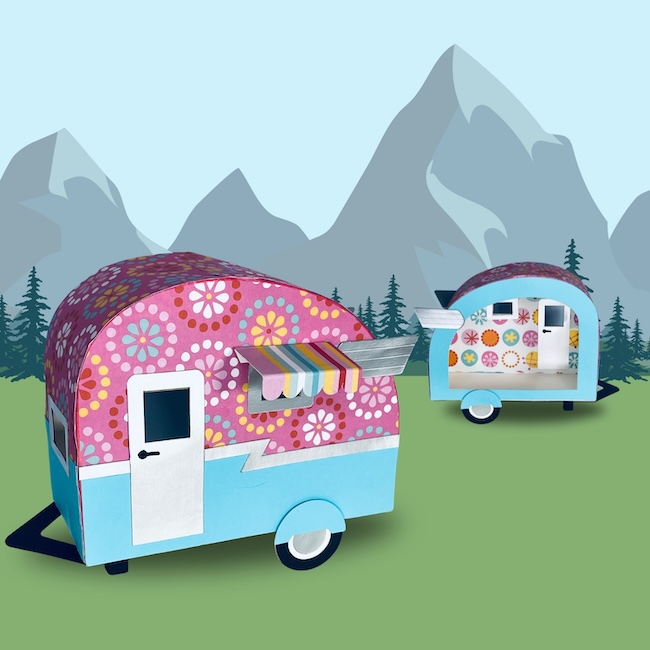
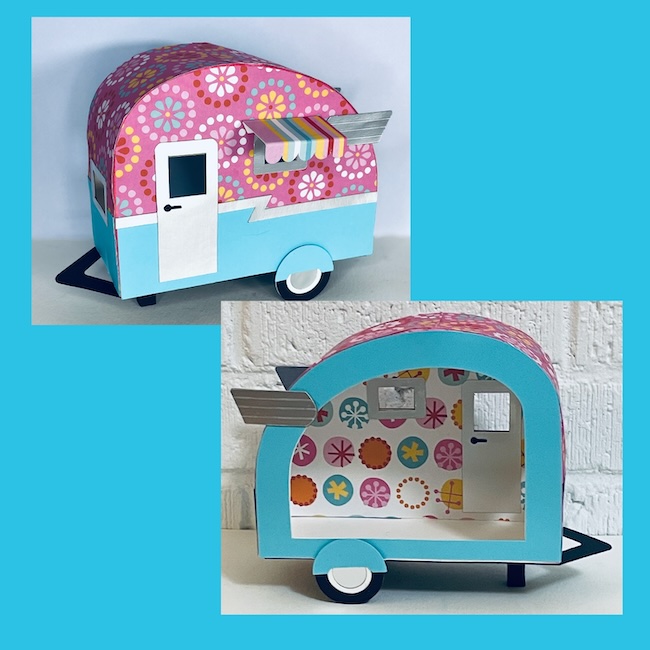
The Happy Camper Mini Travel Trailer is packed with vintage charm and cheerful color. Made with bright patterned papers and simple cardstock details, this tiny camper is a fun papercraft project that looks adorable displayed with miniature houses, summer scenes, or camping decor.
Be sure subscribe to my newsletter to get the password to the library. The Halloween camper is Design No. 213 in the free Paper Glitter Glue library.
This post contains some affiliate links for your convenience. Click here to read my full disclosure policy.
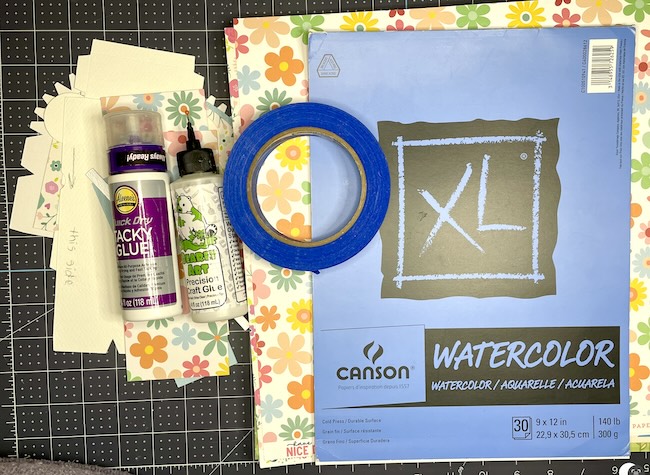
Supplies to make the Happy Camper - Design No. 213
Heavy weight cardstock (110#) or watercolor paper (140# or 300 gsm)
Colorful decorative paper
Foil cardstock for trim
Aleene's Quick Dry Tacky Glue
Bearly Art Glue
Painter's tape
Cutting machine (I used my Maker, it also works with the Cricut Explore Machines and the Cricut Joy Extra.)
Fine Point blade
Standard cutting mat
Scoring Tool or Scoring wheel
Foil Tool if using a Cricut Joy Extra
Steps to make the Happy Camper Travel Trailer
First cut out the Camper pieces:
1. Download the pattern and upload the Happy Camper Travel Trailer SVG to your cutting machine software - Design No. 213 in the Paper Glitter Glue library.
2. Cut out all the pieces including any decorative papers that you have chosen for the camper.
Assemble the structure of the Happy Camper Travel Trailer:
3. Start with 3 main structural pieces - the main front piece with tabs, the open back piece with tabs and the camper base support piece.
4. Glue the open back piece to the side of the base support piece base.
5. Next, glue the main front piece (the closed side with the door and the window) to the base support.
6. Gently curve the structural top pieces to fit on the top of the camper structure.
7. OPTION NO. 1 -Apply glue to the tabs on one side of the camper. OPTION NO. 2 - Use narrow double-sided tape to the top piece of the camper. I think the double-sided option is easier.
8. Insert one of the top pieces inside one side of the camper structure. Ensure that this piece is flat against the bottom of the base support piece.
9. Work your way up from the bottom adhere the tabs to the side piece.
10. Do the same thing on the other side.
Decorate Your Camper Exterior:
11. These two side pieces overlap by about 1 inch on the top of the trailer. Glue that section is glued down well.
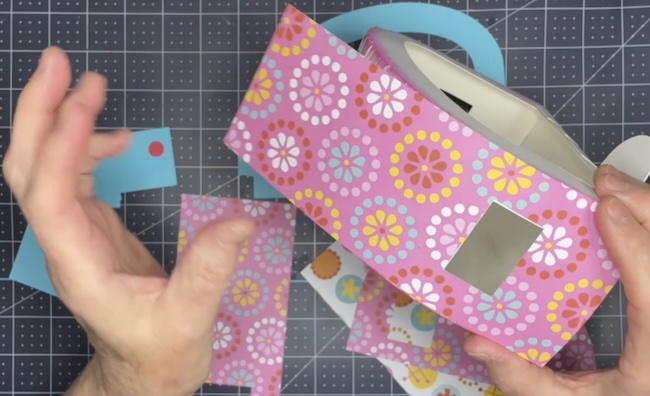
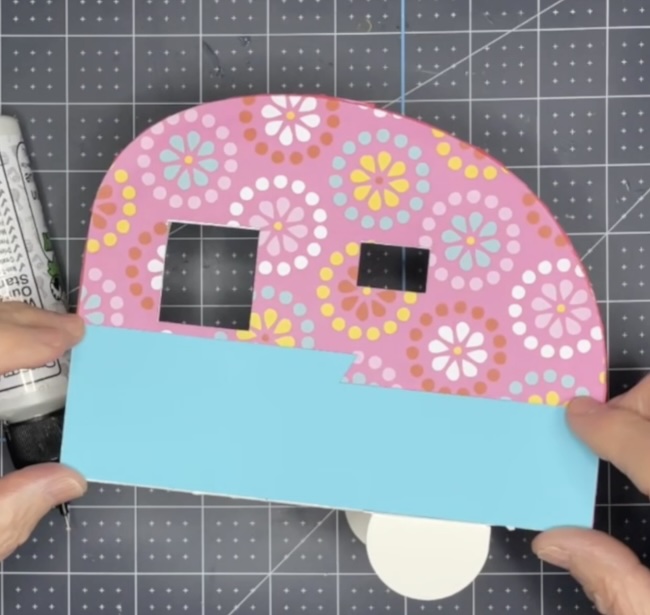
12. Next decorate your camper with the decorative paper of your choice, then windows and doors.
Finish the Base of the Camper:
13. Fold the wheels on the camper base support downward and glue the wheel supports underneath the trailer. These are the wheels with the score lines on them.
14. Now finish the base of the trailer by gluing 2 pieces of the camper base with tow bar together. Then glue the tow bar base underneath the base of the camper. Make sure the tow bar section is in the front.
16. Glue the layers of the wheels together and align them to the wheel section on the base support piece.
17. Make the small front support piece that goes underneath the trailer.
Add the final decorative details:
18. Glue the wheel well covers on the outside of the wheels.
19. Glue the awning in place.
20. Add the wings to the back of the camper.
For more specific details and photos about constructing the Happy Camper travel trailer, continue to read below.
1. Cut out the pieces for the Halloween Camper
First, download the file for the Miniature Halloween Camper - Design No. 213 in the free Paper Glitter Glue library. If you haven't already, sign up for my newsletter and you will get the password to the library immediately.
Upload to your cutting machine then cut
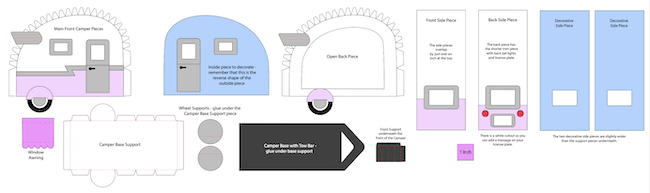
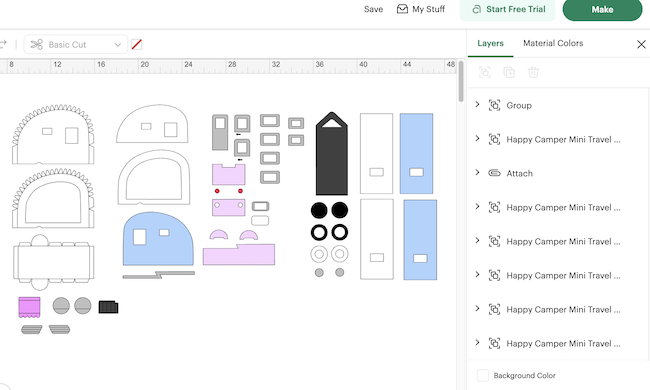
Here's an overview photo of all of the Happy Camper pieces
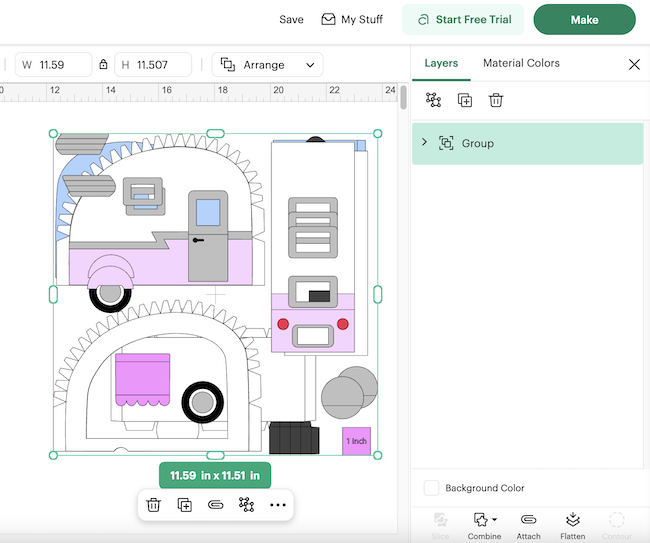
This is the file as it is uploaded as one group in Cricut Design Space
See all the pieces separated within Cricut Design Space
Next, I have ungrouped the design and separated out all the pieces. The pieces with score lines are on the left.
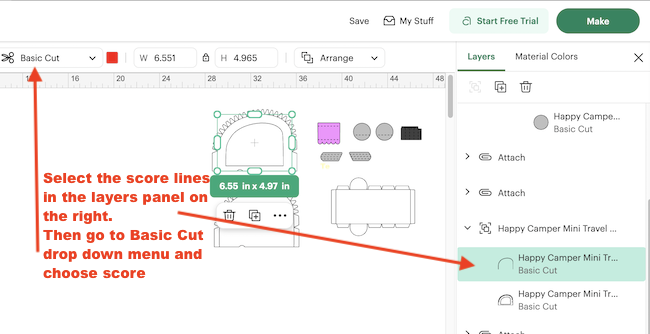
Camper pieces with Score Lines
Below you can see the pieces with score lines encircled in red. You can tell which pieces have score lines because I always group the score lines with the piece they belong to.

Here are all the camper pieces with score lines. Each of those pieces requires you to select the score lines under the BASIC CUT drop down menu and choose score. Then you must select both the score lines and the piece it belongs to in the layers panel on the right and ATTACH these pieces together so your cutting machine knows where to put the score lines on each piece.
See the lines changed to score below.
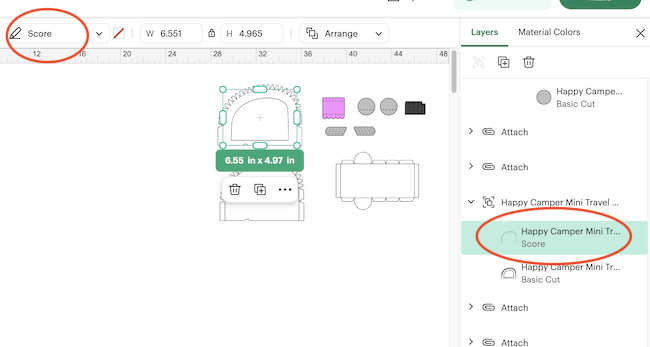
Remember to select the entire piece and ATTACH. The attach button is on the bottom of the layers pain.
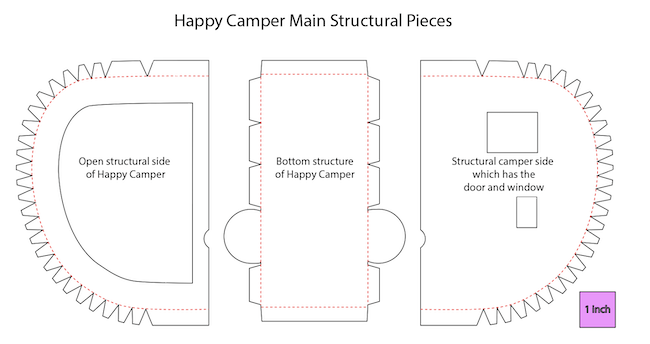
More score lines
The two side pieces - one with an open area and one with cutouts for a window and a door - both have score lines around the tabs outside to form the curved shape of the camper.
Heavy Cardstock Setting for Cutting the Structural Pieces
Since I use heavy cardstock (110#) for the main structure of the camper, I use the heavy cardstock setting within Cricut Design Space. Also I prefer to use the scoring stylus because it's easier for me rather than changing out the scoring wheel.

If you use one-sided decorative paper, make sure you cut it in the correct orientation. Lay them out and figure out the orientation BEFORE you cut.
2. Assemble the Main Structure of the Camper Travel Trailer
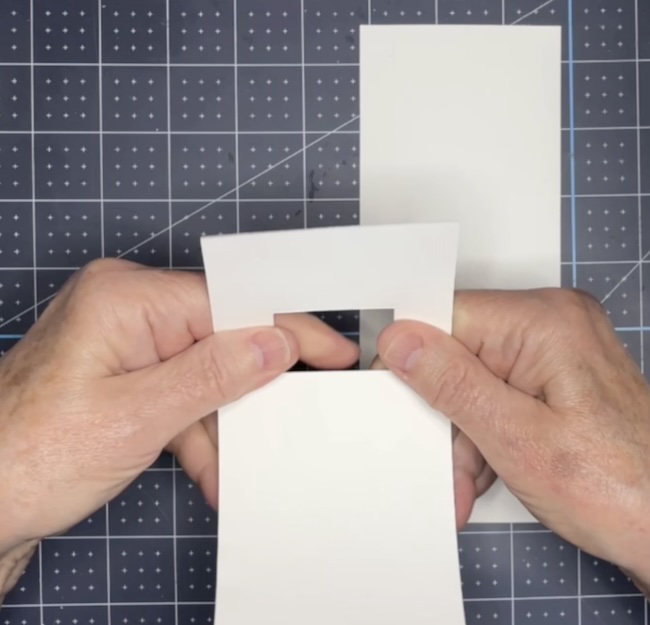
To assemble the miniature Camper, start with the 3 main structural pieces - the main front piece with tabs at the outer edge, the open back piece with tabs and the camper base support piece.
Glue the Open Side Piece in place first
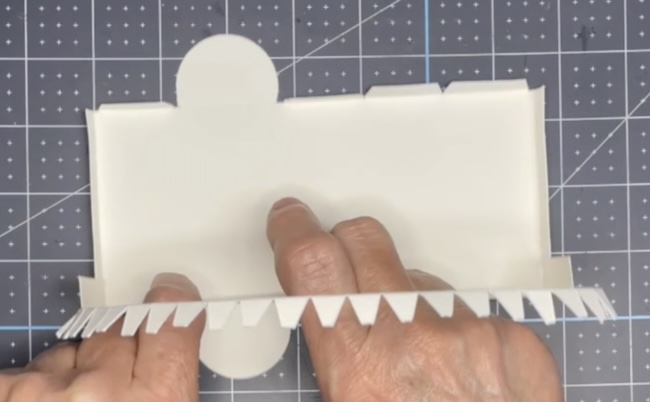
Glue the open back piece with tabs to the side of the base support piece making sure the wheel on the base support piece is located with the tiny circular cutout on the open back piece. See the photo below.
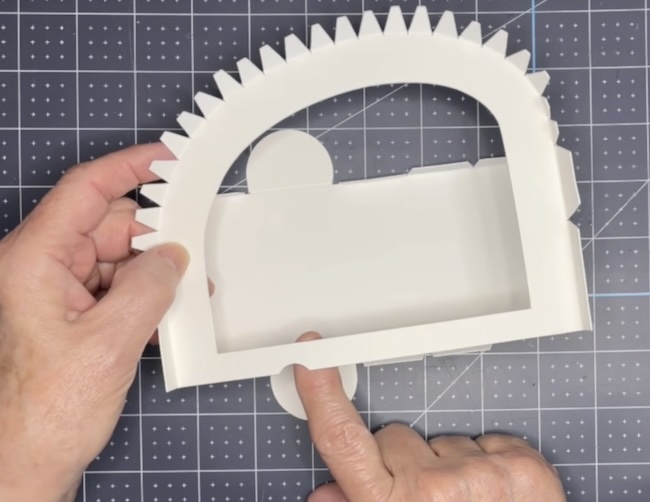

Next glue the Main Front Piece to the Base Support
Once the glue is holding, start on the front piece - the part which will have the door and window.
Again, make sure the small circular cut out on the front piece lines up with the location of the wheel on the base support piece. In other words, the wheel cut out needs to be towards the back of the camper.
Gently curve the roof pieces before gluing them in place
Once the main structure is dry and before you glue the top pieces in place, gently curve them so they conform to the circular curves of the camper. If needed, you can just slightly dampened the pieces so they curve easier.
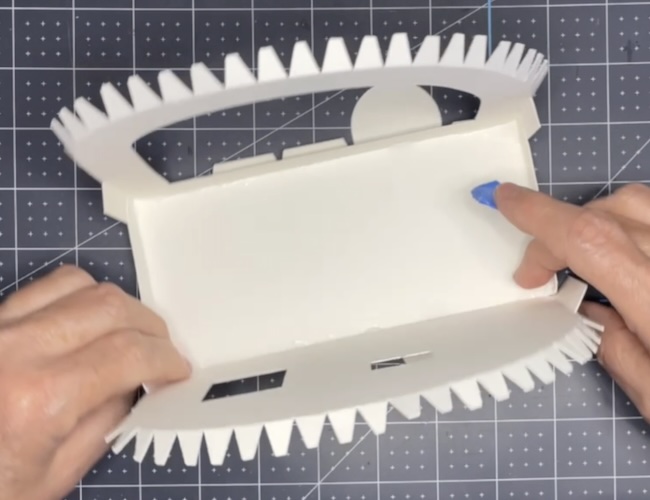
Adhere tabs to roof piece with either glue or double sided tape
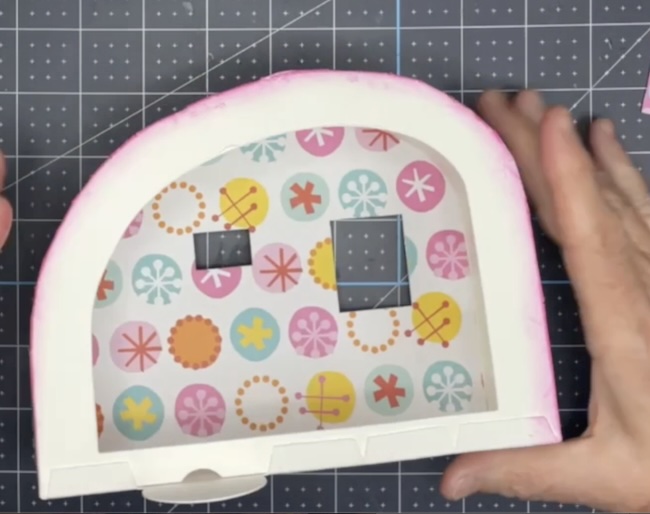
Apply glue to the inside surface of the tabs on one side of the camper. It is easiest to start with the open back side first. Another option is to use double-sided tape applied to these top side pieces.
Note that the window is at the bottom of the trailer.
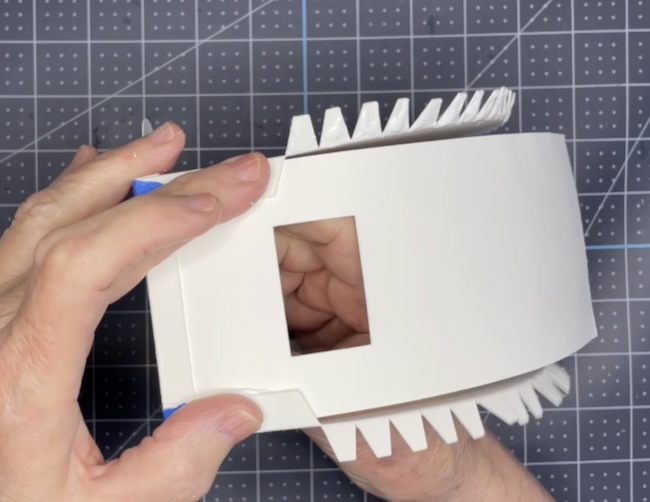
Insert the first top piece within the camper base. Make sure it is flat against the bottom flap of the base support piece.
Work your way up from the bottom apply the tabs to the side piece. Use small pieces of painter's tape to hold the tabs in place if they won't stick down easily. But that is not a problem when you use the double-sided tape.
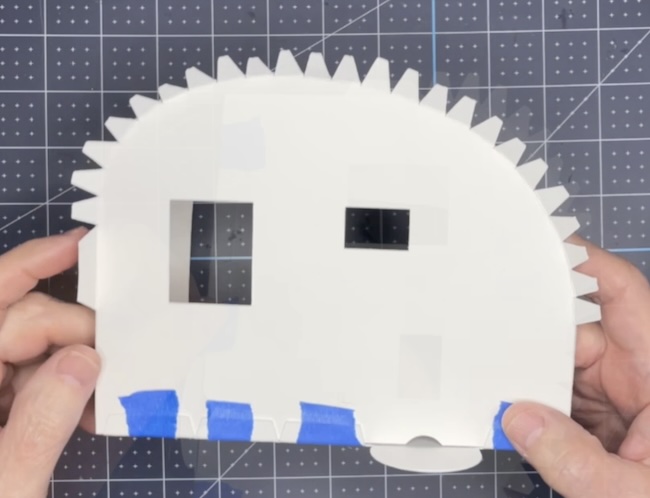
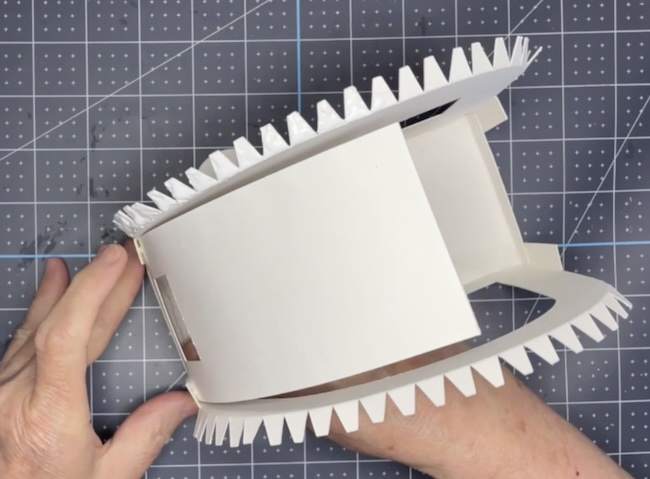
Repeat on the other side
Do the same thing on the other side.
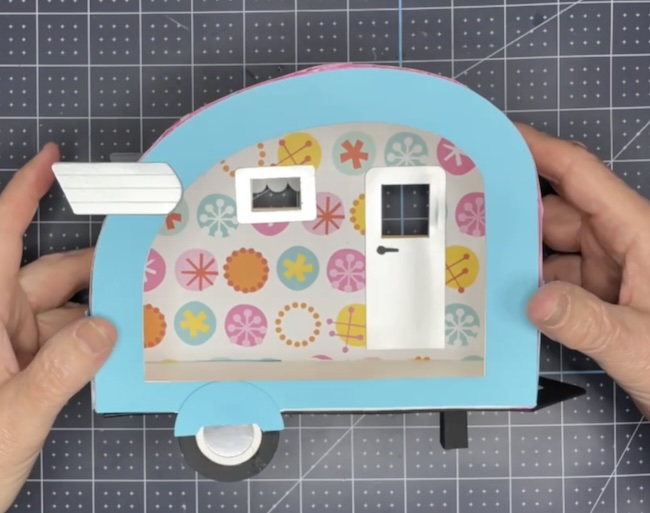
These two top pieces overlap by about 1 inch on the top of the trailer. Make sure these sections are glued down well where they overlap on the top of the trailer.
Now you have the main structure of the camper completed.
3. Decorate Your Miniature Camper
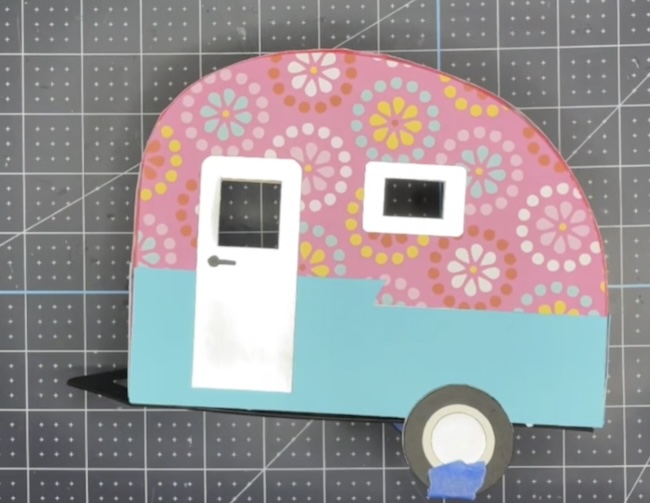
Next decorate the outside of your camper with the decorative paper of your choice, then windows and doors. Do not apply the awnings or decorative wings at this time. We have a few more steps to add before we add these decorative details.
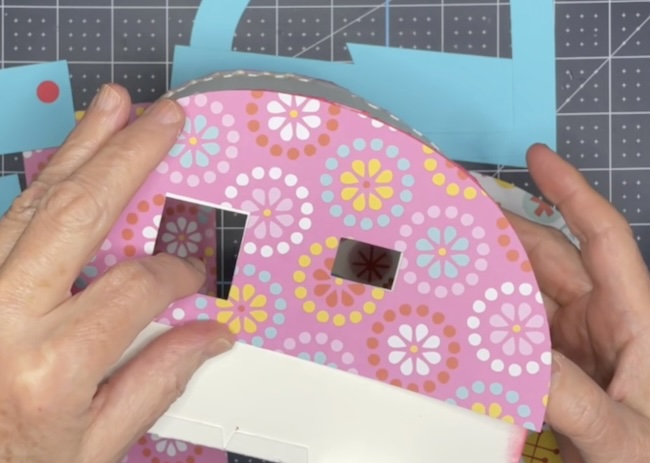
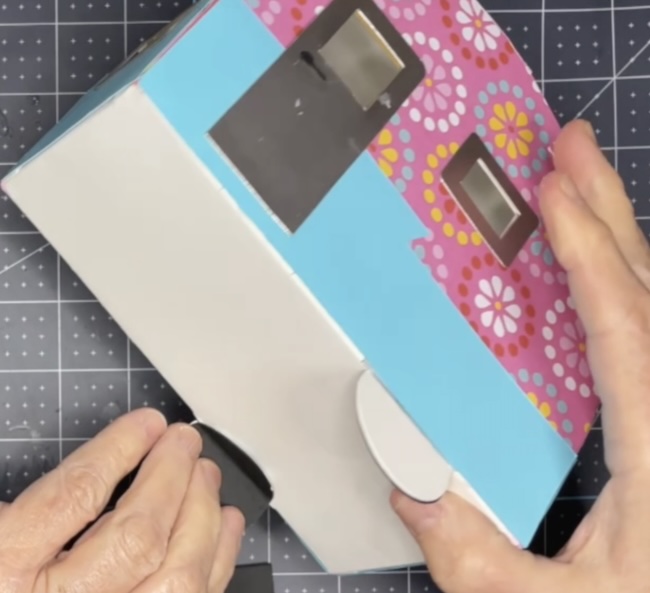
Remember to glue the decorative paper to the top as well.
4. Finish the Base of the Happy Camper
Fold the wheels on the camper base support downward and glue the wheel supports underneath the trailer. These are the wheels with the score lines on them. They prevent the wheels from splaying outward.
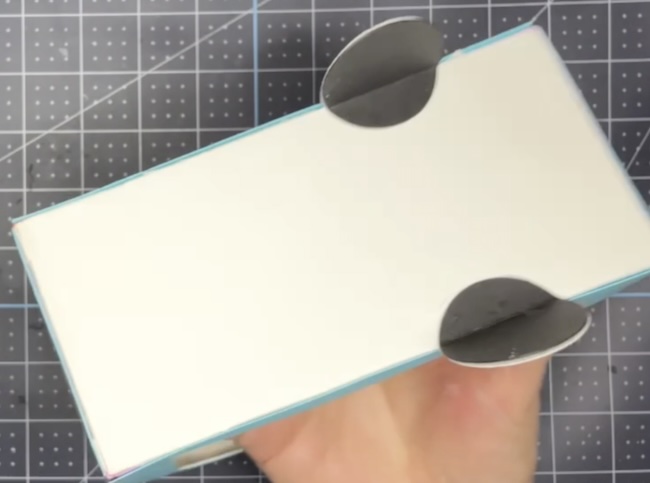
Now finish the base of the trailer by gluing 2 pieces of the camper base with tow bar together then gluing that to the base of the camper. The tow bar section should be in the front of the trailer.
Glue the layers of the wheels together and align them to the wheel section on the base support piece.
Finally, make the small front support piece. Fold along the score lines on the front support piece and glue along the glue tab. Fold the flaps at the top outward and glue to the front of the trailer.
5. Final Decorative Pieces
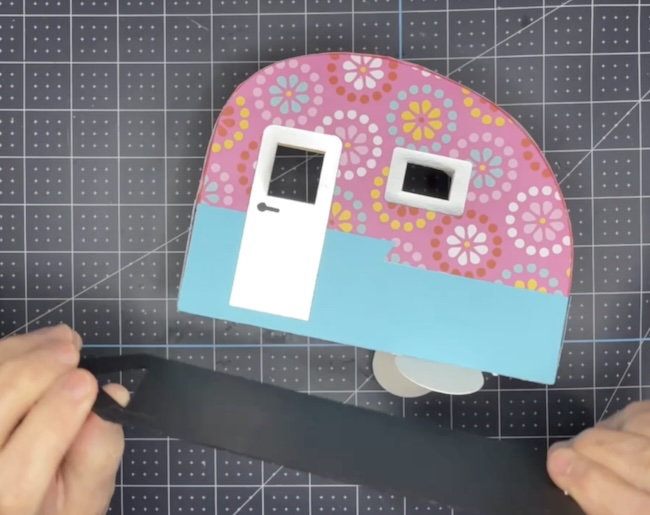
After the wheels are layered and glued together, glue the wheel well covers on the outside of the wheels. It gives a nice dimension to the wheels when you do that.
Finally, glue the awning in place as one of the last steps.
Glue on the wings to camper at the back.
Note: I found that when I glued metallic paper to both sides of the wings, they kept coming off the camper because they did not adhere well. Therefore, I recommend that you add one or two layers of regular cardstock behind the wings for structure and to help them adhere better to the camper.
Decorate your Happy Camper
So I hope you bring a little retro road-trip magic to your craft table with the Happy Camper Mini Travel Trailer. With colorful papers, sweet vintage-inspired details, and cozy camper charm, this miniature project is a delightful way to celebrate summer crafting.
If you love your camper, decorate with tiny furniture and other details. Here is my tutorial for making a simple bed, table, chair, and picnic table.
Also I have a Halloween version if you want to make this camper specific for Halloween. For the Halloween camper you can also make the little Cat bench and a Bat Wing Bed. You can read about how to make the Bat Wing bed here.
Have fun!

Leave a Reply