Here's how to make a really easy and quick tiny paper house ornament. You can decorate it different ways, but they are all pretty simple. If you make the house with a Cricut, for example, you can use a pen or the new foil transfer sheets. Or if you want to color it by hand, I love white gel pens to draw a design. Since the design consists of delicate lines, the foil transfer makes a subtle, elegant design on the surface.
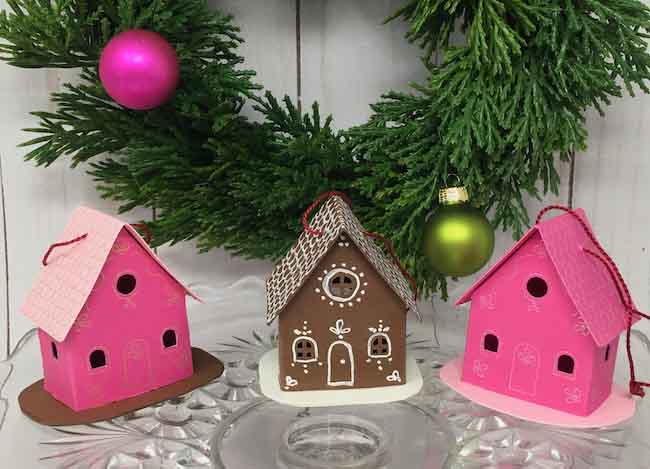

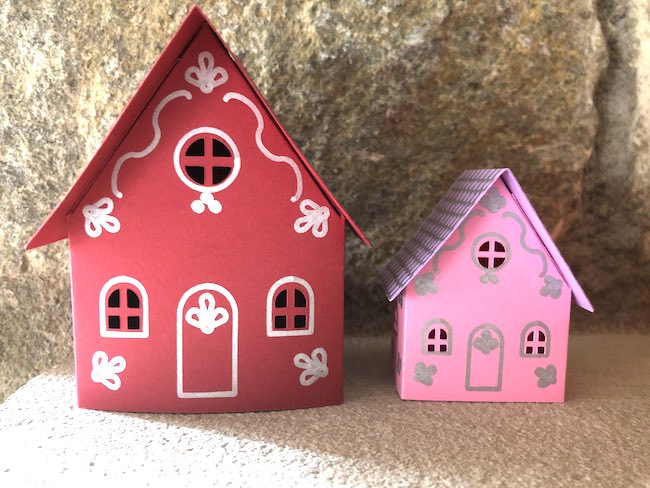
The house pattern comes in two sizes - small and tiny. The small house is 2.5 inches across the front and 1.5 inches wide and 3.5 inches high. But the tiny house (my personal favorite) is 1.5 inches across, 1 inch wide, and 2 ⅜th inches high.
Here are the other little paper houses in this easy craft series:
- Tiny Paper House Ornament
- Easy Tiny Paper Church - Quick Holiday Craft
- Tiny Paper Barn
- Make a Tiny Paper Chalet for Your Holiday Decor
- Tiny Paper Birdhouse
- Tiny Paper Cottage
Let's start making these fun little house ornaments.

But first, what do you need to make these adorable little houses? Here's the materials lists with options for decorating the tiny house.
This post contains some affiliate links for your convenience. Click here to read my full disclosure policy.
Material to Make the Tiny Paper House Ornament
- Card stock - I used either 65# or 110# card stock - either works
- Glue - Any PVA glue will work, I used Aleene's Quick Dry Tacky Glue
- Decorative options:
- Gel pen - the Uniball Signo is my favorite
- Cricut Pen for the drawing a design - the glitter pen works really well
- Foil transfer kit for Cricut
- Cutting method - I cut them out on my Cricut Maker, but the design is easy to cut out by hand
- Embroidery Thread
- Large needle

Steps to Make the Tiny Paper House Ornament
- Download the free pattern - Design No. 97 - from the Paper Glitter Glue library
- Cut out the tiny house pattern
- Use the pen or foil transfer tool with the Cricut to decorate
- Or decorate with a gel pen
- Glue the house together
- Adhere the tiny house to a base
- Make a hanger for the little house
For more details on making the house, read on.
1. Download the free pattern template for the tiny house ornament
If you are new to my craft blog, here is how to get the house pattern. Subscribe to the Paper Glitter Glue newsletter where I share craft tips and inspiration and new projects. The form is right below. You will get the password to my library right away. Then go to the library and you have access to all the files in the library. All the files are listed in chronological order. So pay attention to the month and year for the file you are looking for.
The patterns for this holiday ornament are available in 2 formats - a printable PDF format and as SVG files for automatic cutting machines.
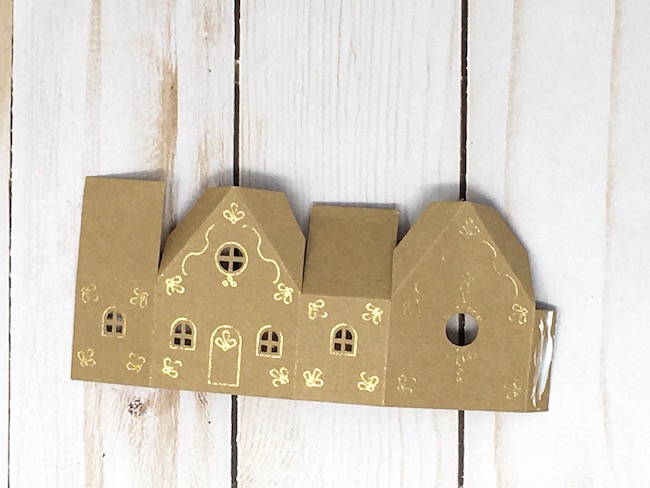
2. Next cut out the pattern

As you can see from the photo above, this pattern is easy to cut out by hand. It's actually designed so if you don't have a cutting machine, you can cut it out simply.
Important tip: If you are using a cutting machine AND you are going to decorate with the foil transfer tool or a drawing pen in the machine. you must choose a setting that will cut through your card stock without reloading the machine. You just can't run it through again when you use those other tools.
So I was new to using the foil transfer tool and I wasn't aware of the order of things. Usually when I make my houses out of cardboard, if the house isn't cut out completely, I can just run it through the machine again. But when you use either a drawing pen or the foil transfer tool, you have to make sure the setting is correct before you start to cut it out. You can't just run it through the cutting cycle again.
With 65# card stock, I increased the pressure on my Maker and had it do 2 cuts rather than just one under the heavy card stock option. I increased the number of cuts for the #110 card stock.
In addition, there are two different window patterns. Sometimes the window "panes" cut out properly and sometimes they don't. For example, on the pen designs below, the lighter colored card stock windows cut out fine, but they did not on the dark brown card stock. The darker card stock was also 110# card stock.
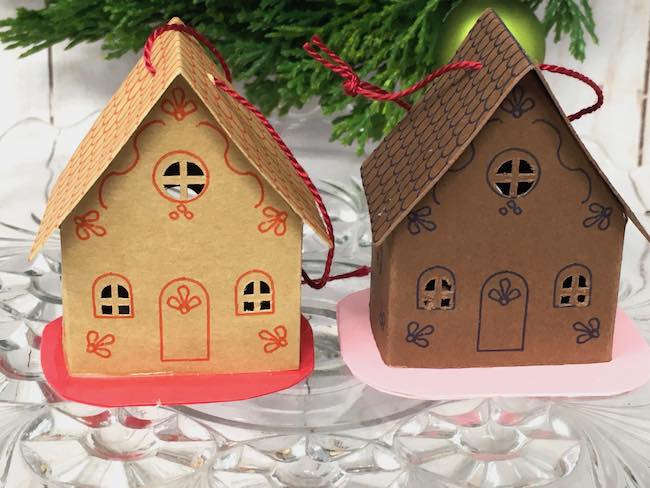
So on the tiny design there are two versions - with and without windows panes in SVG file. I recommend the version without window panes if you use heavier 110# paper for the tiny house.
3. Use the Drawing Pen or Foil Transfer Tool on a Cricut
It's easy to use a drawing pen on the Cricut Maker. Here's the order of operations when you use the drawing pen - score, then draw, then cut.
My friend, Maggie, made up a couple of houses this morning with her daughter. She used a Cricut Glitter pen and it worked REALLY WELL. It covers up any imperfections such as poor alignment. For some reason my thinner pen didn't go around the design as well as the foil transfer tip did. But you can see how nice Maggie's version looks with the thicker pen.
What about using Cricut's new foil transfer tool?
Now the foil transfer tool uses the same order, but is a little more challenging. First, the machine scores the material, then you tape the foil in place, then the Maker cuts out the design.
What you are SUPPOSED to do is tape the foil in place while the mat is still connected to the machine AFTER it has scored the little house. I never could tape the foil down very well while it was still on the machine. So my solution was to tape it down BEFORE I put it in the machine and the scoring tool went over the foil. It worked every time. Then the Maker would do the Foil transfer step, and finally change to a fine point blade for cutting out the house. I'll write more about that later.
Since the design on the house is kind of delicate, I found the fine tip on the Foil Transfer Tool worked best for me.
4. OR decorate the tiny house with a gel pen
If you don't want to go through those steps above, you can easily decorate with a gel pen. My favorite gel pen (particularly a white gel pen) is the Uniball Signo. I just love this pen. Above you can see the tiny house I decorated with the gel pen. It is fun and easy. If you are going to draw on your project, remember to do so before you glue the house together.
5. Next glue the tiny paper house together
This little house is so easy to glue together. First, fold along the score lines. Next, apply glue to the glue tab on the side.
You don't need a lot of glue for this tiny house. Here's the same house right after I glued the house together.

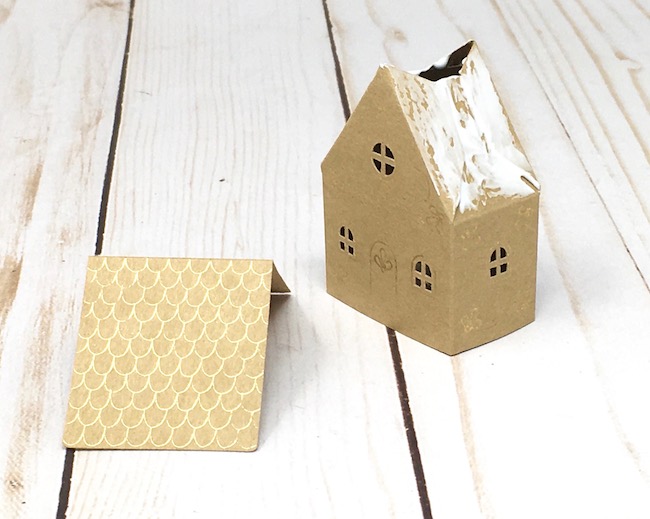
After that, fold the roof flaps inside the roof tabs and glue the roof tabs to the roof flaps.
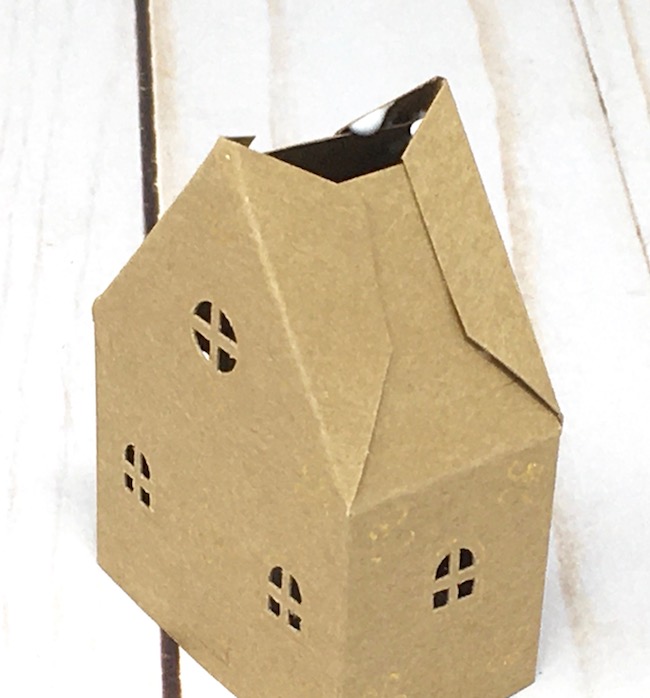
You may notice that I snipped a little bit of the excess paper off the roof tabs so that they don't overlap. Then give it a few minutes to dry.
Finally, apply glue to the upper surface of the roof tabs and adhere the roof in place.
6. Glue the house to a card stock base
To keep things simple, just glue two layers of card stock together for the base. I just kind of estimated how big to make the base - something like 2.5 inches by 1.5 inches. And round the edges of the base because it will be stronger. Sharp corners tend to get bent.
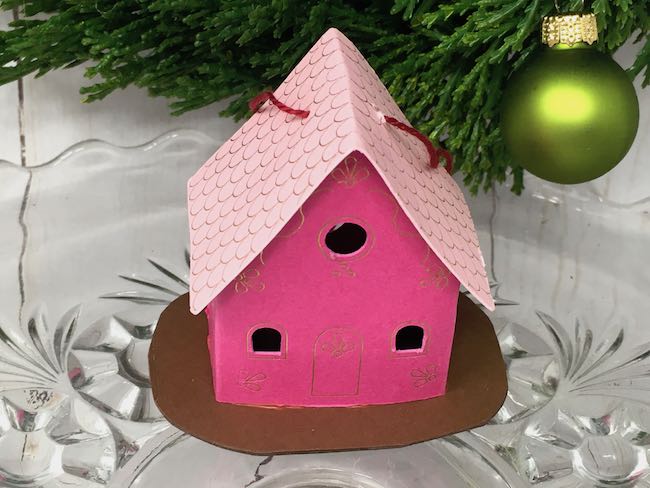
7. Make a Hanger for the Tiny house
This is another simple step. Thread a needle that has a large eye (like a crewel needle or embroidery needle) with embroidery thread. Poke a hole in the roof about ¼ inch down from the top. Pull the needle through and then tie the thread in a knot. That's it.
Now you have an adorable little house ornament that didn't take much time at all. You could make a multitude of tiny houses for your tree or for a garland or a wreath. Serious cuteness in no time at all.
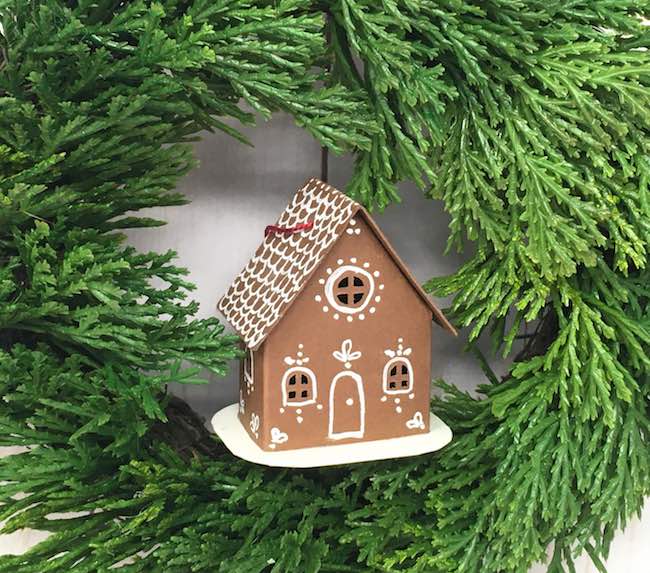
I hope you enjoyed making a little tiny EASY paper house. It's a good craft to make with kids. And you know they love little tiny houses. Remember that these little houses would be perfect for decorating a Christmas wreath.
Take care. And I hope you have some happy holiday crafting.

Patricia
so simple and cute! this will be a great start for my 5 yr old granddaughter! She'll love adding her own elements. 🙂 Thank you!
Stacey Hall
I will be using this at our retirement community for lovely door decorations as a crafting activity. The residents love it when I bring in my cricut for projects! Thank you.
Lucy
I am so glad to hear that because I know most of my projects are fairly involved. But this one is easy.
The small (rather than the tiny version) might be easier to make. Also you can leave off the design so people can color their own design. That is what one of my friends did with her kids. Your community of older "kids" might like that.
You know, when I was working as a pediatric ER doc, there is a saying that kids are not little adults to remind us that kids are different. But the truth is that adults really are just big kids. If you treat adults with the same kindness and care as you would a small child, they will respond better.
Thank you for what you do.
Lucy
Diana
Love the cute little house...but what is the round hole on the back for?
Lucy
That is actually a very good question. I started making little houses several years ago based on traditional "Putz houses" little houses with a hole in the back for the light. I still maintain that tradition. So if you make the little house as an ornament on a tree or even on a mantle, you could add a small LED light in or near the hole to light up the house.
I didn't think to explain that in the tutorial. I will go back and do that. Thank you for a great question.
sandra
Love this tiny little house. It will be so cute for my niece's Christmas tree in her room. Thank you so much for sharing your creativity.
Lucy
Thank you, Sandra. I do appreciate it that you took the time to comment. That is so nice.