To be honest, I don't consider myself a good photographer. In fact, I think at best I can be described as adequate - not great, but not horrible either. Still I can give you simple advice to help you take better photos of your crafts with your phone.
Since I host several little house contests during the year, I want to list some easy tips so people can showcase their little houses better. Remember that I'm not teaching a photography course here. I merely want to point out simple things to do to make better craft photos with your phone.
With the technological advancements in the current phones, you can take great photos with your phone. I'm not going to discuss phone and phone cameras. Just thinking of that topic makes my head swim.
That's why I am so thankful that my phone does such a good job, I don't have to try to figure out which camera to buy and how to use it.
If you want to learn more about taking photos of your crafts, this article on how to take product shots on your phone is excellent.
Table of Contents
1. Lighting for Better Photos of Your Crafts
This post contains some affiliate links for your convenience. Click here to read my full disclosure policy.
Lighting is a crucial to taking good photos. But you don't need strong sunlight which tends to give harsh shadows. You can use regular inexpensive lamps like this. Or use indirect light from a window as outlined in the article I linked to above.
Another thing to consider is to use a bulb that mimics daylight. That helps, too. Check out this example of a daylight LED bulb.
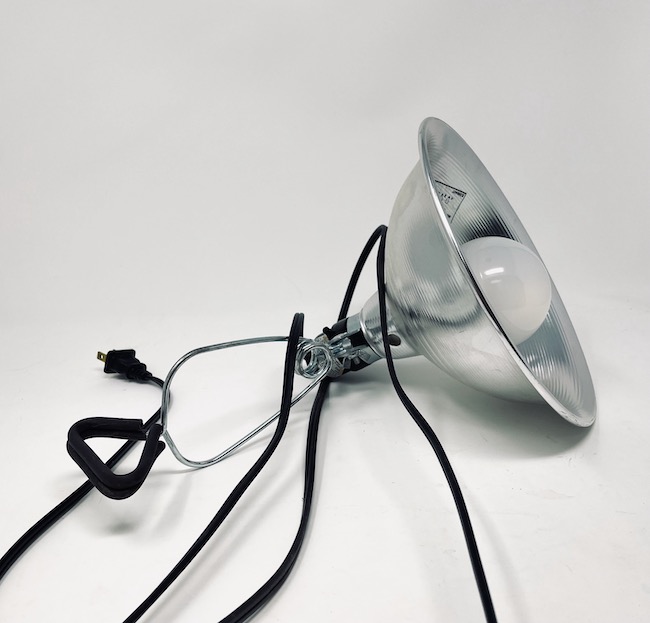
Or buy a small ring light to make taking the photos easier.
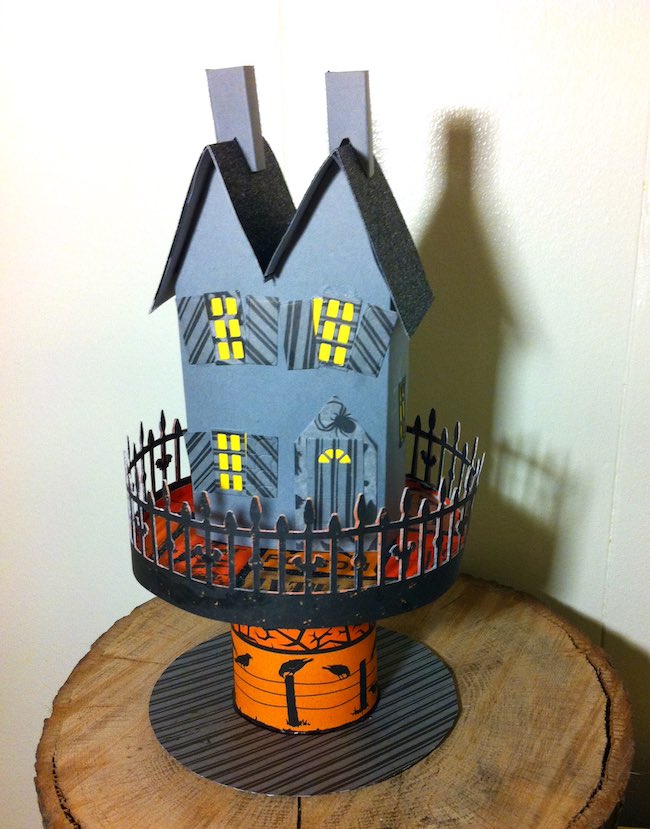
Now for some of my "bad examples" from a few years ago. For this photo, I used an old iPhone in 2015. Literally, that is the way it looked when I took the photo. This was one of my very first houses.

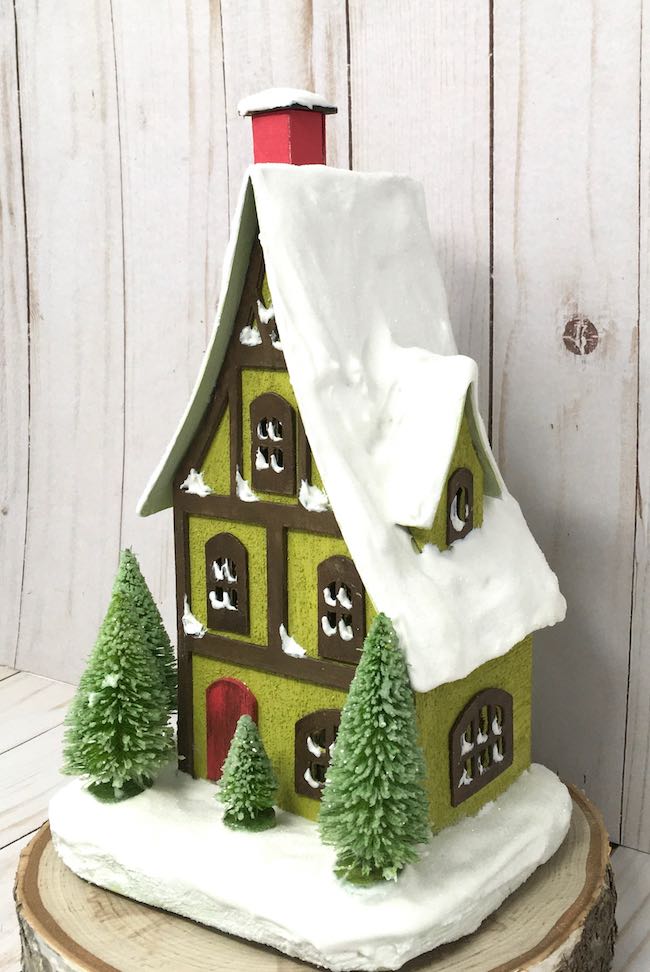
The photo below shows what the house is supposed to look like with improved lighting.
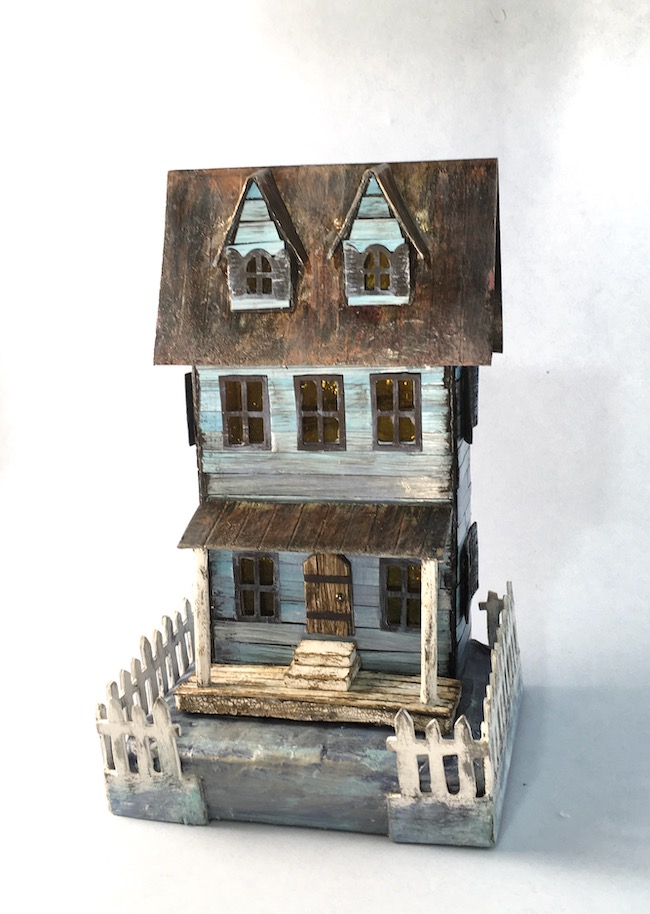
The Sea Worn Beach house is one of my most popular houses, but lighting was an issue here as well.
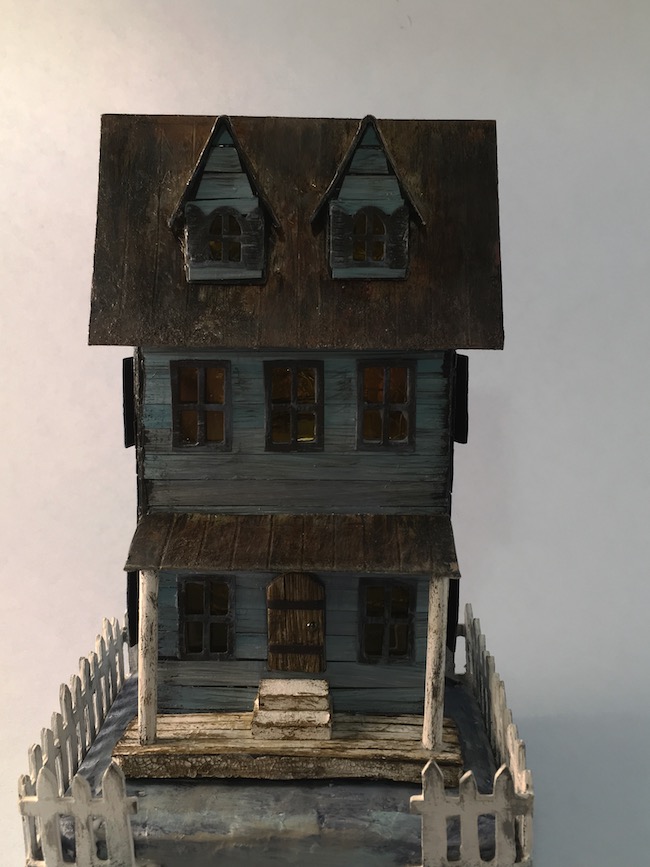
Fortunately, the next photo shows the house off better. Still not great, but better.
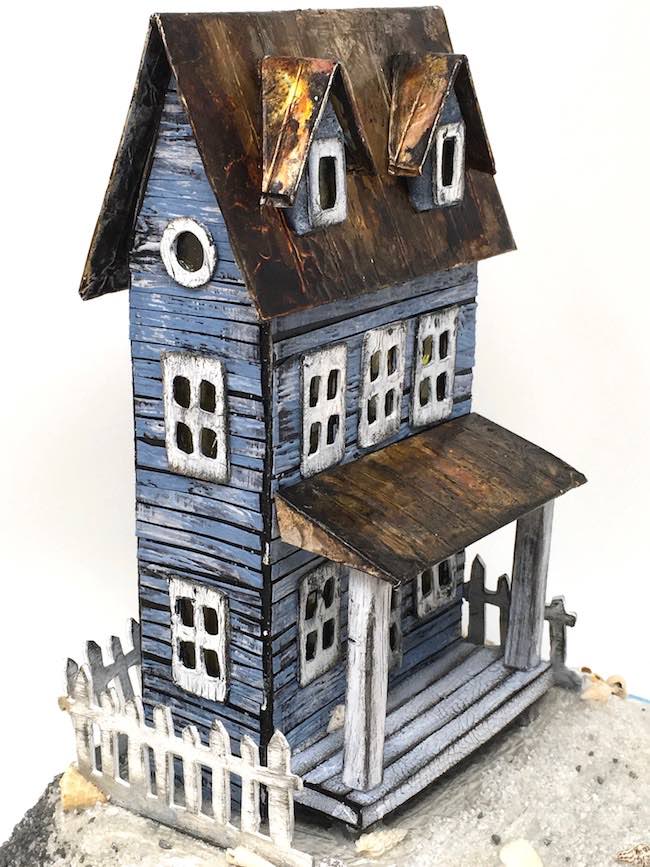
I made a second version of the Sea Worn Beach house. I did better on the lighting for this version.
2. Next Pick a Background for Your Craft Photo
I see many people take photos of their beautiful creations with distracting backgrounds - TVs, chairs, etc, etc. Getting a decent background isn't that hard because you can always use poster board. Poster board solves the problem easily. You can get inexpensive poster board at a dollar store, any craft store, even at the grocery store.
Poster board provides a large background to cover up unwanted visual details behind your crafts. In addition, you can get poster board with different designs - wood grain or clouds for example.
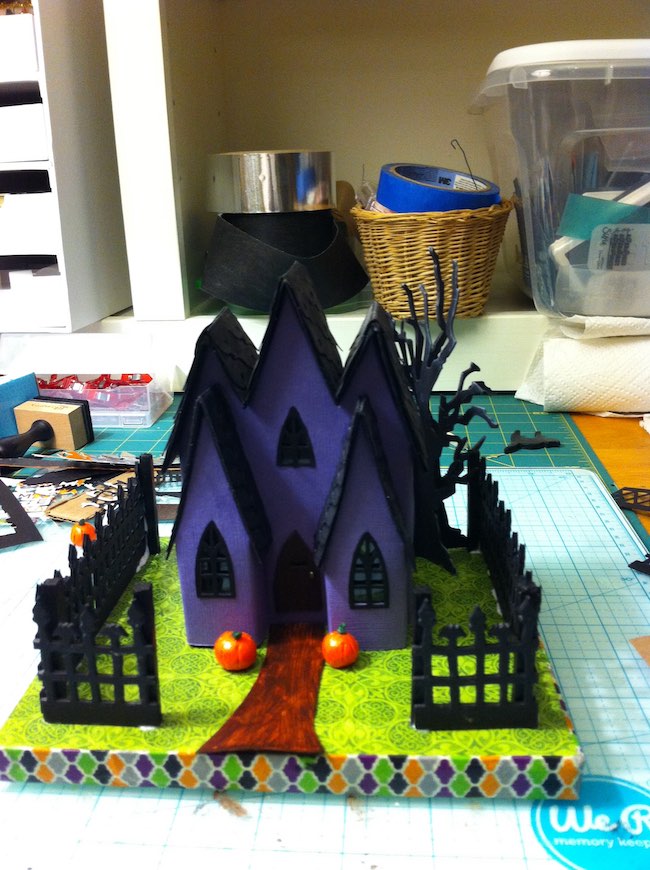
First, the bad examples. Again, this is one of my first houses made in 2015. Why did I even take this photo?
But luckily, I do have a better photo of this little house called the 5 Gable Gothic house. I used plain white poster board for this background. I think I used an ancient iPhone for this photo.
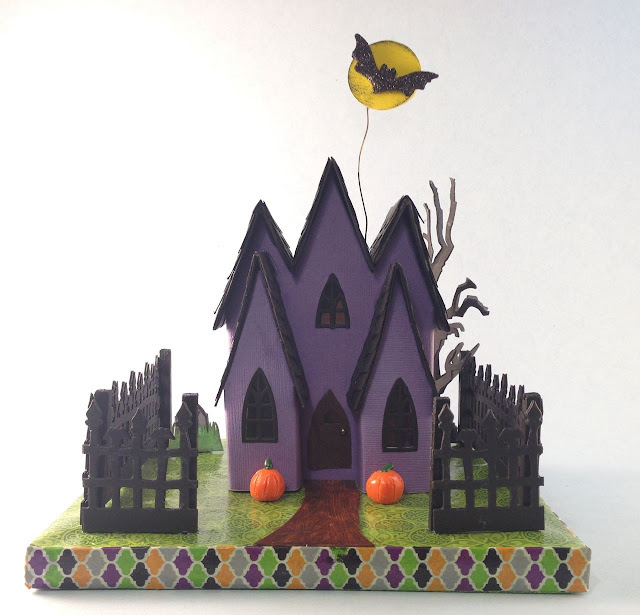
What do you think about the cloud background?

Or how about a wood grain background?

For this background, I used two sheets of matching scrapbook paper.
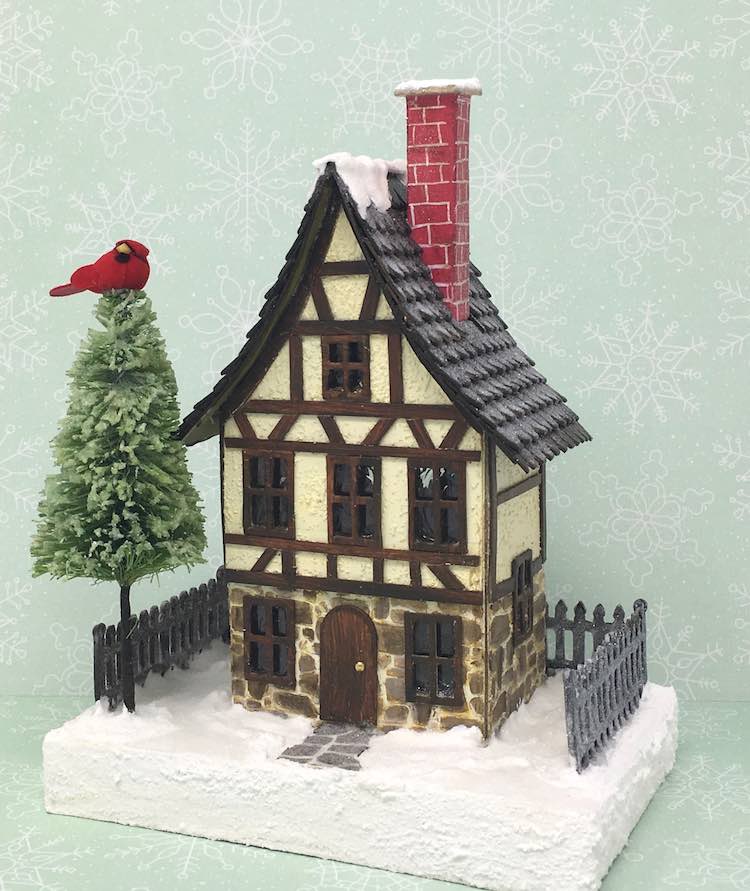
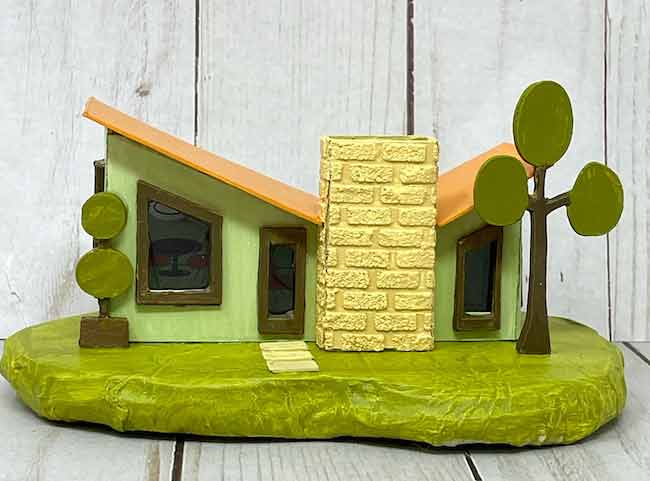
3. Think about the Angle of Your House
Often I choose an angled photo of my houses because it shows depth and dimension so much better. You get to see the roof line when the house is angled slightly. Check out these examples below. Which ones do you find more visually interesting?

Now look at these two angled views.

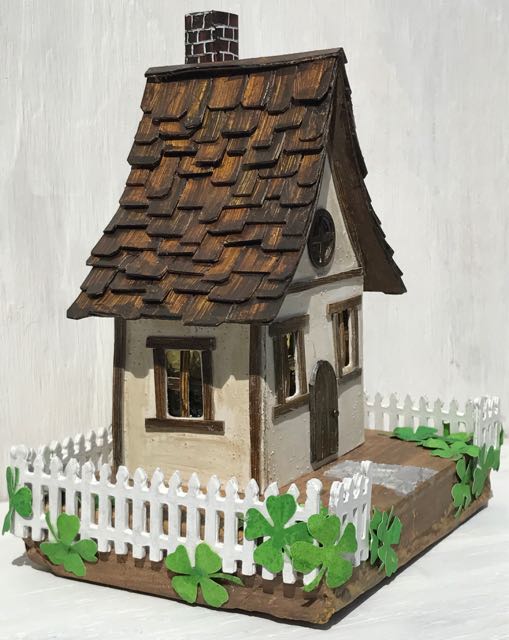
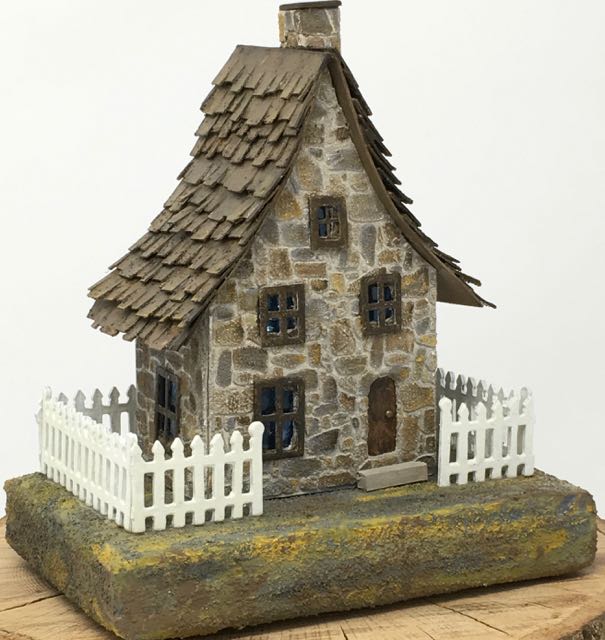
The Irish Stone Cottage which is the same pattern looks good when angled too.
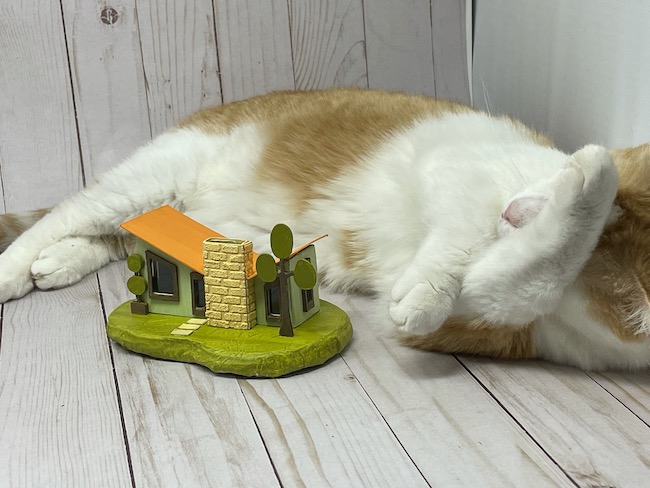
4. Get Rid of Cat Hair
If you have pets, you know how pet hair can get everywhere. And when you are gluing things together, tiny hairs tend to find their way into the glue. Sometimes even the cats find their way into the photo.
I used the photo editing app that comes with my MacBook computer to erase the cat hair. It works great.
It's harder to erase the cat though.
5. Straighten Your Photo
Most photo apps have a mechanism to straighten photos. Remember to straighten before you crop your photos. You have more room to straighten the photo if you crop after straightening the photo.
And here is the after photo. I should probably rotate this photo slightly more to the left.
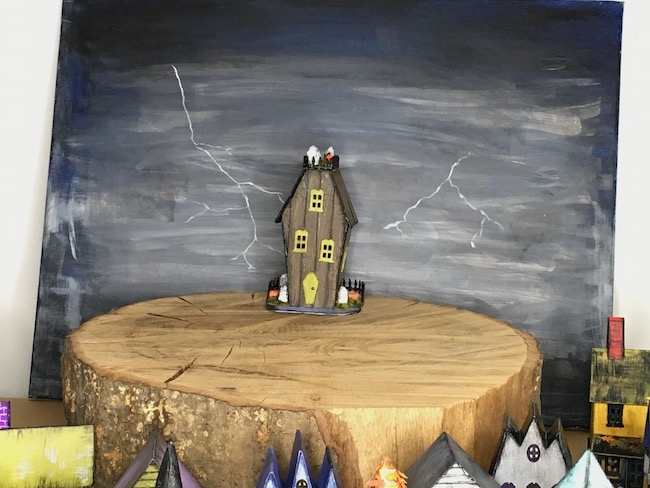
6. Try Things Even if They Don't Work
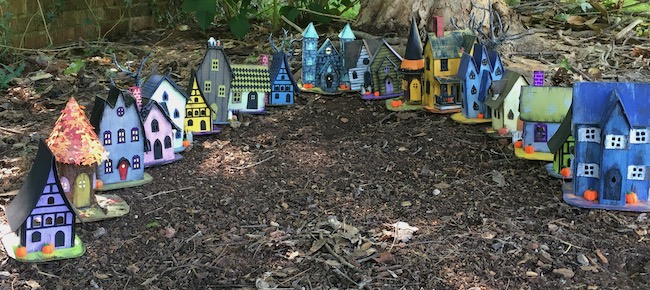
When I was writing my Halloween house book, I got the great idea to do photos underneath one of my dogwood trees. I spent probably an hour in the dirt arranging the little houses and taking various photos. It was not a success.
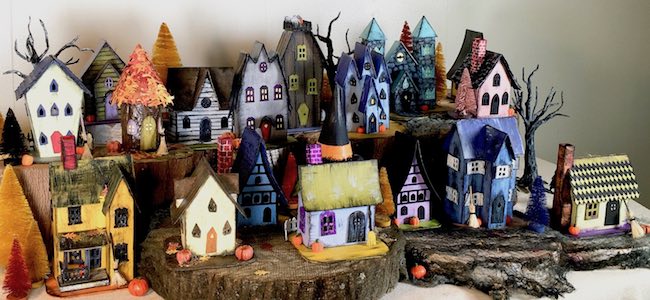
This photo is a better effort. I find it challenging to take photos of entire villages. I still need better lighting there. But it is a more effective photo.
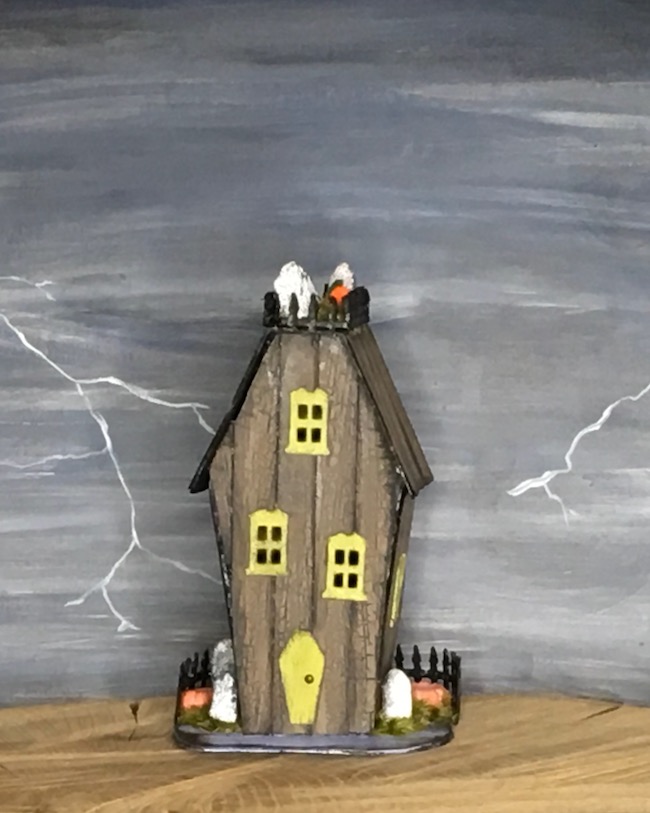
7. Take Extra Photos because You Might Need Them
This is a rather extreme example, but I take lots of photos with slightly different angles to show the houses better.

I hope this helps you take better photos of your crafts
These are just a few simple hints to help you take better photos of your crafts or little houses. What are the most important hints? Lighting and background. Poorly lit photos with distracting background make it hard to see the incredible work you've put into your crafts.
Do you have more hints in taking photos with your phone? I'd love to hear your advice.
You can always email me at [email protected].
Thank you for reading.
Lucy
Emily
Great tips!
I especially love the ‘cat with the house’ to show the size. Honestly, it helps with the perspective so much!
Lucy
Thank you. I am glad Bill the cat provides some purpose.
Lucy
Howard
Lucy…
Excellent tutorial on photography of little houses!…it checked all the boxes…
Howard
Lucy
I just included very simple tips because not all of us want to have to think that hard about photography. We aren't worried about perfection. We just want a decent photo of our projects.
Thank you, Howard.