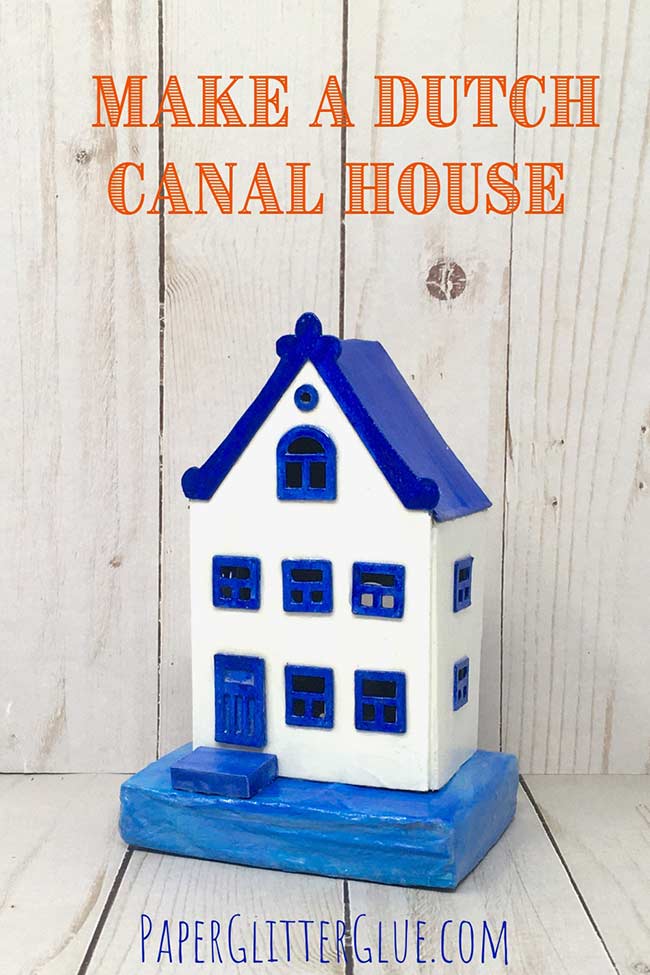
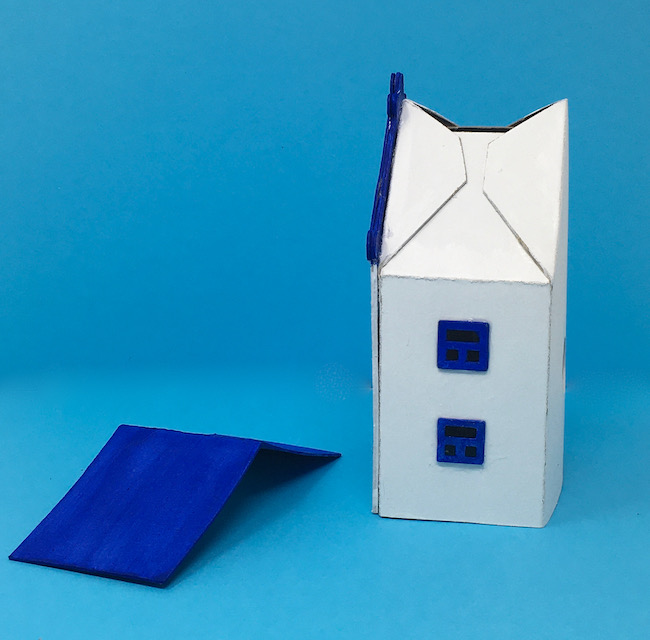
Somewhere I came across these incredible ceramic Dutch Canal Houses that the Royal Dutch Airline gives out to all of its business class passengers. When I saw these adorable little houses, I sketched a bunch of them for future house projects. Here is the first blue Delft Canal miniature house that I've made. I even coated it so it would look like a tiny ceramic house.
If this house design appeals to you, you would like the Amsterdam Canal Houses as well.
The nice thing is that this house is easy to make. So I think you will have fun making your own little Blue Delft Canal House.
This post contains some affiliate links for your convenience. Click here to read my full disclosure policy.
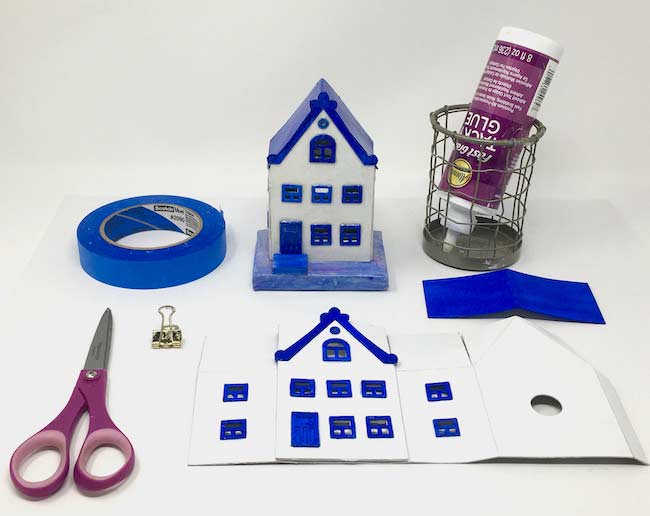
Materials to Make the Dutch Canal House
- Delft Canal House Pattern - Design No. 114 - from the Paper Glitter Glue Library
- Cardboard - I use this cardboard
- Glue - Aleene's Fast Grab Tacky Glue is my favorite
- Gesso primer
- Blueprint Sketch Distress Paint
- Picket Fence Distress Paint
- Ranger's Glossy Accents Glue
- Corrugated Cardboard for the Base
- Brown packing paper or newspaper to cover the base
- A way to cut out the pattern - I use my Cricut electronic cutting machine
Directions for Making the Dutch Canal House
- Download the pattern for the Delft Blue Canal House - Design No. 114 - from the Paper Glitter Glue Library
- Cut out the pattern pieces in cardboard
- Prime your cardboard with gesso, then paint
- Glue the decorative pieces to the house
- Glue the house structure together including the roof
- Paint with Glossy Accents for a ceramic look
- Make a base and adhere the house to the base
Read below for more detailed instructions on making this adorable Dutch Canal House.
First, download the free pattern for the Dutch Canal House
The files for this pattern are available as printable PDF files and as SVG cut files for electronic cutting machines.
I keep all my free designs in the Paper Glitter Glue library. Every single pattern there is free for download. But you do have to have the password to the protected library. And you can get the password by subscribing to my Paper Glitter Glue newsletter with the form below. You will receive the password right away. Also don't worry as I will never send you any spam or share your email address.
All the files are listed in chronological order with the most recent files first so you can find the files for the Delft Blue Canal House in the March 2021 section of the library.
Second, cut out the pattern for the miniature house
Next cut out the pattern. I used my Cricut cutting machine for this step because it makes it so easy to cut out small details like the windows and the door.
Here's how the pattern looks in Cricut's Design Space. For your convenience I have already designated the score lines and attached them. So really all you have to do is load your material and push the button.

Next prime and paint your cardboard pieces
To ensure that the paint goes on easily, I always prime my cardboard first with gesso primer. Then I paint. Also this helps so you don't have to use more layers of paint to get the depth of color that you want.
Because the color scheme of this house is so simple, basically a rich cobalt blue and white, the painting is easy. I found the Blueprint Sketch color in the Tim Holtz Distress Paint line to be perfect for the blue accents, but really any cobalt blue would work. Even though the gesso primer is white, I did paint over it with a layer of acrylic white paint (Picket Fence Distress Paint).
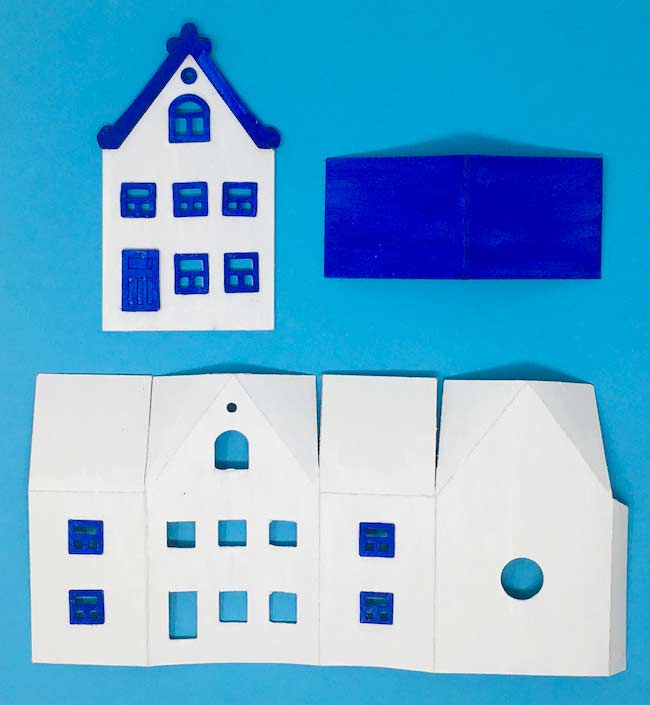
Glue the decorative pieces to your paper house
Once your painting is dry, you can glue the decorative pieces to the house structure. I'd like to tell you a little about the front piece for the house. In order to have a curved facade protrude from the roofline, I added the facade piece.
You will find it much easier to glue these little pieces on straight before you assemble the building together. That is my standard way of making miniature houses. And with 7 small windows, one arched window, 2 larger windows, one door one tiny circular window and trim around the top of the facade, it is certainly easier.
In addition, now is the time to glue the facade to the front of the house. Make sure to line up the bottom edge and sides. Sometimes it is hard to get it to adhere. You can use binder clips to help hold it or out it under something heavy while it dries.
Glue the house structure together
Next, glue the house structure together. Do this by gluing the side glue tab to the house to make the rectangular structure. Use a binder clip to hold the bottom edge in place and some painter's tape as well.
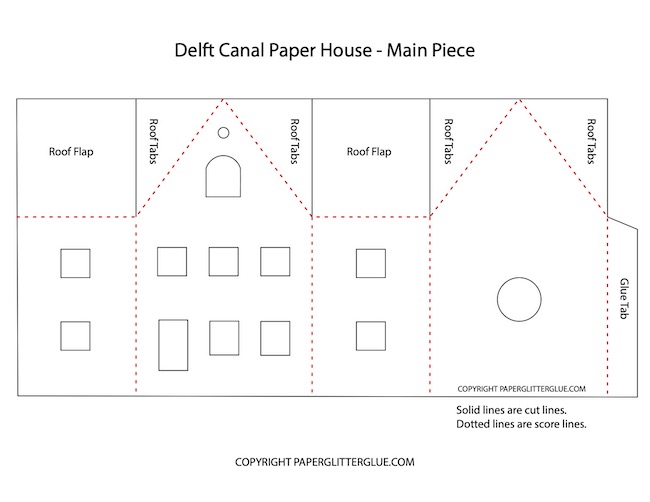
Make sure the roof flaps are folded inside the house. They hold the front and rear gable ends in place. You can see what I am referring to in the photo above.
When the side glue tab is dry, glue the roof tabs on top of the roof flaps. See below.
Once the roof tabs are adhered to the roof flaps, glue the roof in place.
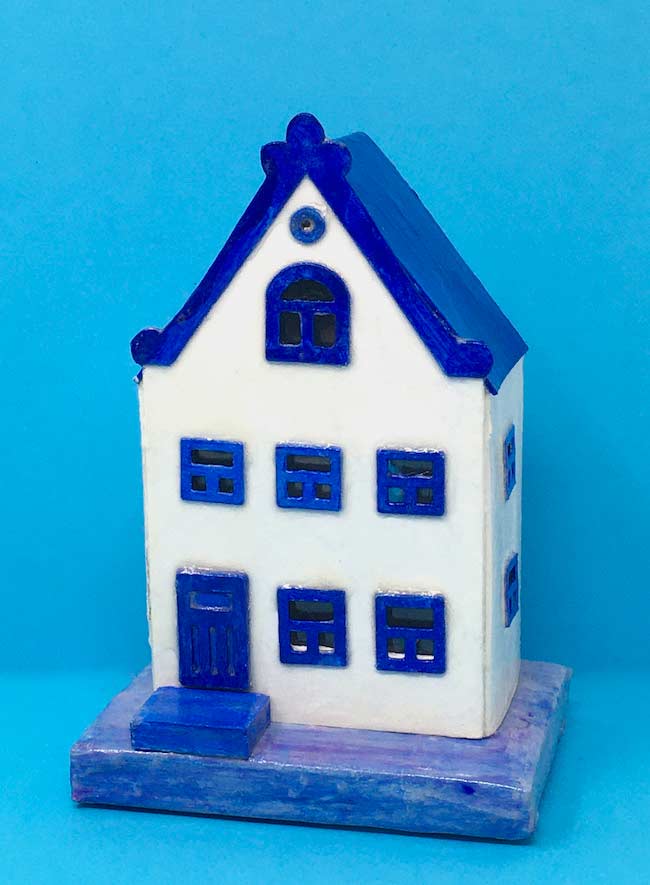
Coat the house with Glossy Accents to make it look like a ceramic house
For this step, I used a really quick drying glue - Glossy Accents - to give a really shiny surface that looks like glass. I've haven't tried Glossy Mod Podge, but I suspect it would work as well.

Make a simple base for the Dutch Canal House
Because these canal houses are set so close together in the Netherlands, I decided to make a very simple, narrow base. It's made of 3 layers of cardboard covered with brown packing paper, then painted. As usual, I cut a section out of the middle for an LED light to light up the little house. Here's a good article on making a base for the Amsterdam Canal houses.
Just glue the house to the base and coat the base with Glossy Accents as well.
And that's it. That's how you make the Delft Canal House to look like a miniature ceramic house. I hope you like it. Please let me know. If you have any questions, just email me at [email protected].
Lucy
Helen J Roberts
This is such a cool looking little house. I love how you made it look like a ceramic piece. Thank you for sharing!
Lucy
Helen, I didn't see your comment until today. Thank you for the kind words. It makes me happy to hear that you like it.
Lucy
Jacky
Thanks for all the freebies, Lucy. I really love this Delft Canal House. But I'm wondering if I'm the only one having trouble with the roof not fitting? The first time I printed it and had trouble with the roof, I thought it was my fault. So I printed another one and I'm having the same problem. The sides don't come all the way down to the side walls of the house. I can't figure out how to make it work, other than to hand cut a longer roof and color it by hand, which won't match the blue trim. Has anyone else mentioned this problem or is the problem really me?
Again, thanks for all the free projects. I love making these little cardboard houses to put on my mantle. I like them for more than Christmas
Lucy
Jacky, let me look into it. I will get back to you. Thank you for letting me know about this issue.
Lucy
Lucy
Jacky, I fixed the pattern. You were correct, the roof pattern was way too short, but I've updated the corrected pattern.
Thank you so much for finding that error.
Lucy
Katherine
Wow so pretty! What a great idea!
Lucy
Thank you, Katherine. I hope you will have fun making it.
Katherine
it's so perfect for my sister, she conserves ceramics and has conserved delft tiles!!!
Lucy
Now that is really cool. If you make one for her, would you please share it with me, if possible.
Lucy
joanne
Thank you for this cute little Dutch house! In fact, thank you for all the houses you've given us. They are such fun ,even though mine don't turn out like yours!
Lucy
I am so glad you like the little houses. Often mine don't even turn out like I want them to. They are fun anyway.
MonaLisa
So cute! Than you for sharing!
Lucy
I am so glad you like it. Thank you.