Make a Miniature Candy Box Piñata!
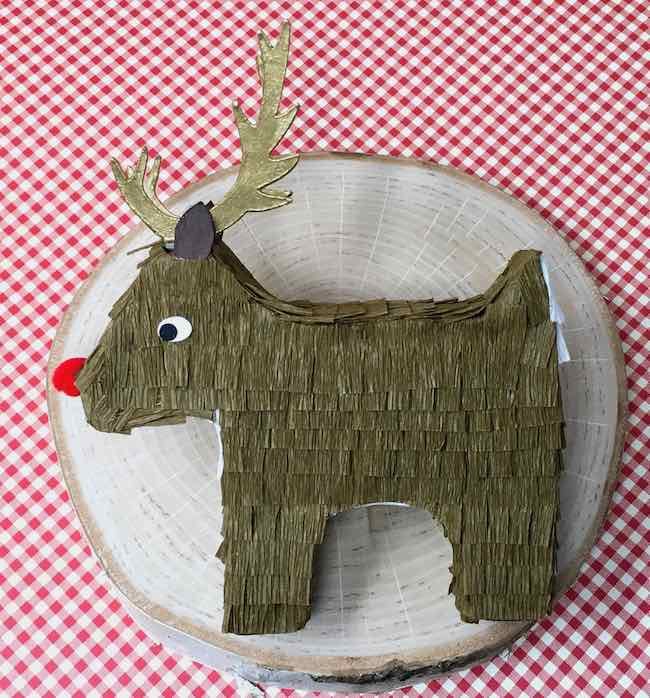
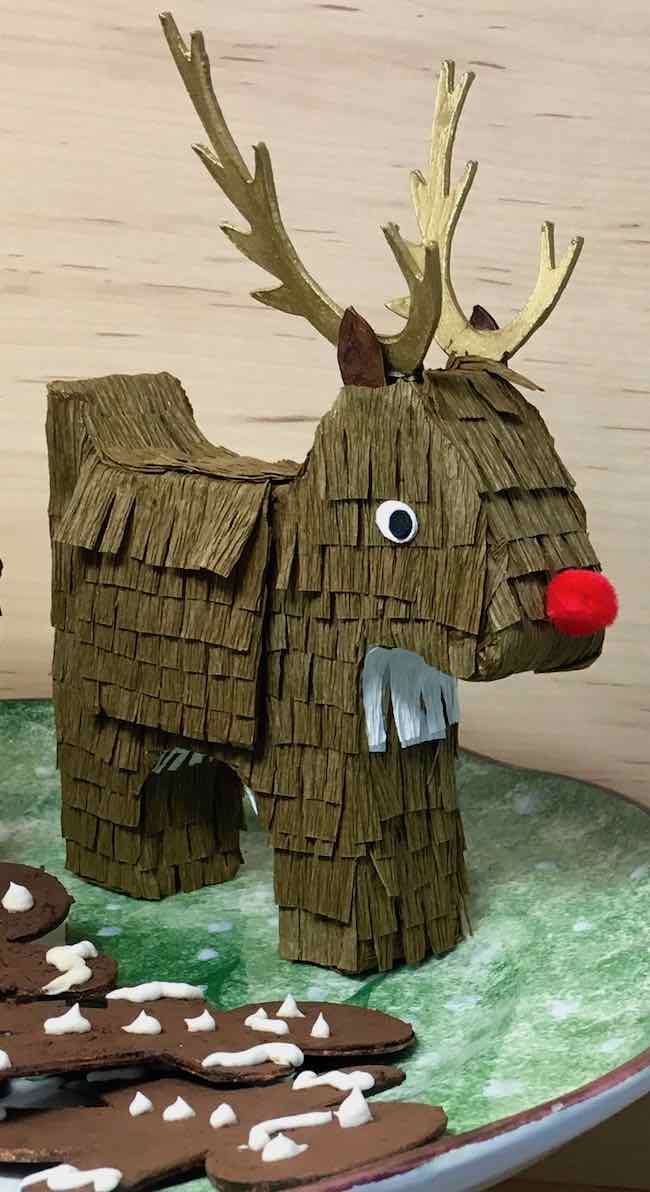
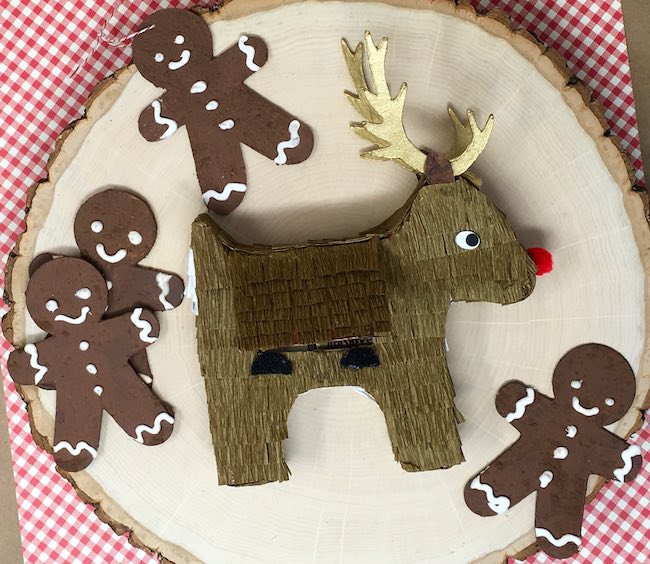
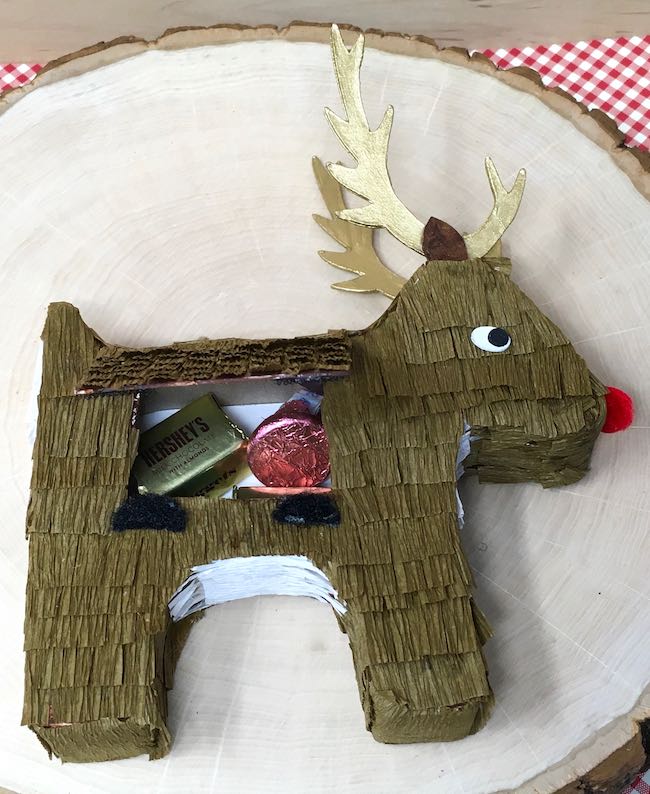
Introducing Happy Hollydeer, the Mini Reindeer Candy Box Piñata that you can open and close so you don't have to tear up the piñata to get to the treats inside. It's another great way to tell someone they are special with this little candy box. Want to make it? Well, here's how you do it.
So this is the another project of the 15 Days of Holiday Craft series - more great paper crafts for the Holidays.
- Red Roof Holiday Cottage
- Merry ChrisMoose Gift Box – DIY Mini Holiday Piñata
- Mini Paper Christmas House with Barn Shaped Gable (the Green Gable house)
- Gingerbread Paper House – made with Gingerbread Paint
- DIY Gnome Gift Box
- Scotty Dog Gift Box
- DIY Paper Wallet for Holiday Gift-Giving
- Paper Gingerbread Ornaments – Scented Gingerbread Men
- Happy Hollydeer Piñata Candy Box
- How to Make a Paper House Ornament for the Holidays
- Easy Gingerbread House Paper Ornament
- DIY Display Gift Box for the Paper House Ornament
- Pull String Piñata - Miniature Firecracker Piñata
- DIY Bird Ornaments - Cardinal, Goldfinch, and Bluebird (counts as 2 projects)
This post contains some affiliate links for your convenience. Click here to read my full disclosure policy.
What materials do you need to make the Happy Hollydeer Candy Box Piñata?
- Piñata Deer Pattern - Design No. 69 - from the Paper Glitter Glue Library
- A way to cut out the pattern - by hand or with an automatic cutting machine
- Cardboard (I almost always use cardboard - it's my favorite crafting material)
- Glue - a thin glue with a narrow tip works well
- Masking tape - plain old masking tape, not fancy painter's tape for this paper craft
- Crepe Paper or Tissue Paper - I like this crepe paper the best, but tissue paper works too
- Gesso primer
- Paint for undercoat and antlers
- Tiny red pom pom for the nose
- Velcro dots
- Googly eyes (optional)
And here is a brief outline of the steps to make this Mini Reindeer Candy Box Piñata
- Download the pattern - Design No. 69 - from the PaperGlitterGlue library
- Cut out the pattern - I use my Cricut automatic cutting machine, but this isn't an intricate pattern, you can cut it out by hand
- Bend the side strips so they are more flexible
- Tape the side strip to the solid piñata body easing the cardboard strips around the curves
- Then tape the other side of the reindeer piñata body to the side strips
- Tape and glue on the candy box flap
- Make antlers for the Reindeer Candy Box Piñata
- Prime and paint candy box reindeer and antlers
- Adhere the ears and antlers in place
- Glue on crepe paper or tissue paper strips
- Adhere velcro dots in place
- Fill with candy
Let's go over the steps to make Happy Hollydeer Mini Piñata in more detail.
I go over most of the steps in how to make a mini piñata in this video when I made the Mini Llama Piñata if you are a visual learner.
First download the free pattern from the PaperGlitterGlue Library
The first step is to download the pattern from my Paper Glitter Glue library. The file is saved as a zip file which means it is compressed to make it easier to download. So after you download it, you have to “unzip” it or uncompress it to get the file. Now you can see the PDF printable file and the SVG cut file for your automatic cutting machine.
Print the file if you are cutting by hand. If you are using an automatic cutting machine like a Cricut or Silhouette or a ScanNCut, then upload the pattern to your design software.
Subscribe below to get these free files for the Hollydeer Mini Piñata if you haven’t already subscribed to my newsletter. You will get the password right away so you can access the library.
Next cut out the pattern for the Reindeer Candy Box Piñata
Now if you are cutting by hand the pattern is pretty simple because doesn't have a lot of sharp corners or curves. Really, it is pretty straightforward. And you can cut out the crepe paper or tissue paper pretty easily as well. I have used a rotary cutter to cut the long strips and then just regular scissors to make the fringe. You can use fringing scissors, but I never can find mine when I need them.
If you are using an automatic cutting machine, just upload the pattern to your design software and then cut out the cardboard.
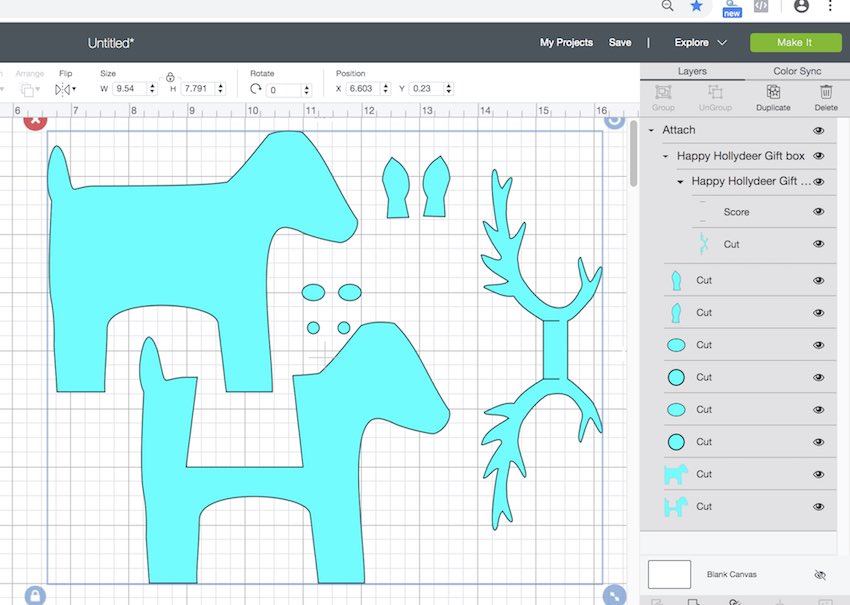
Here's how the Reindeer Piñata pattern looks in Cricut's Design Space.
The only score lines you have to remember on this first page are the score lines on the cardboard connecting the antlers. Be sure to designate them as score lines and attach.
And there is only one score line on this page for the flap of the candy box. Again be sure to designate it as a score line and attach it.
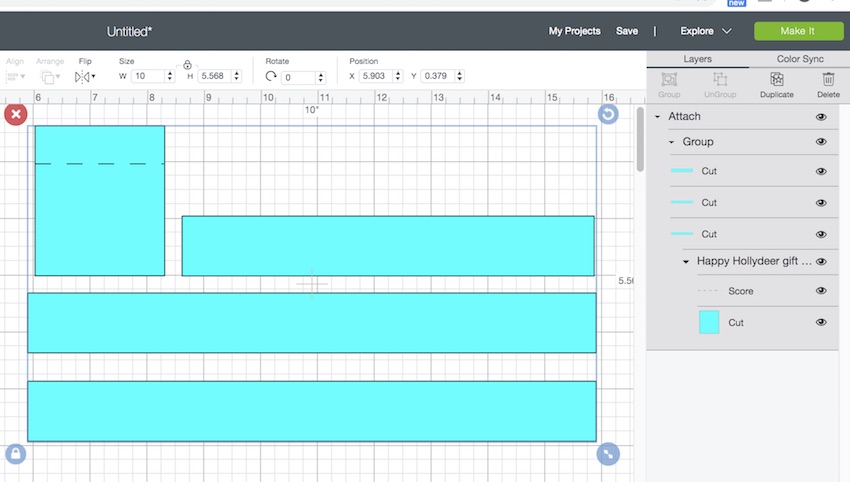
Finally here is the way the crepe paper cut out looks in Cricut's Design Space. You just attach the cut lines to the body of the paper in the design software.
I did use my Cricut Maker to cut out the crepe paper. It works surprisingly well on a fabric mat IF you have it firmly stuck in place. To make sure it is correctly stuck down, I use a little painter's tape on the sides as well a brayer to make sure all the crinkly surface is STUCK on the mat.
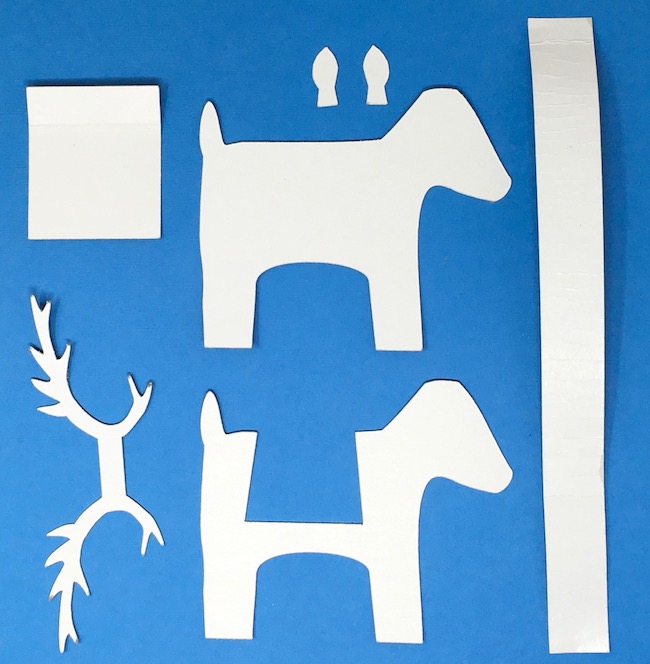
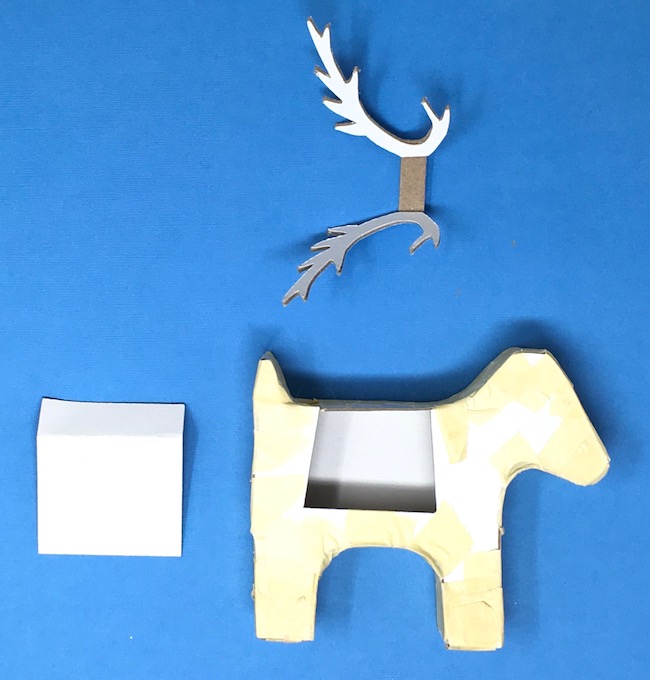
Here are all the pieces cut out.
The little fish-shaped things are ears. I added them to the pattern to help support the sided of the antlers.
Bend the side strips so they are more flexible
Next bend the side strips so they become more flexible. Usually I pull them through my fingers to get them to curve easier.
Tape the side strip to the solid piñata body easing the cardboard strips around the curves
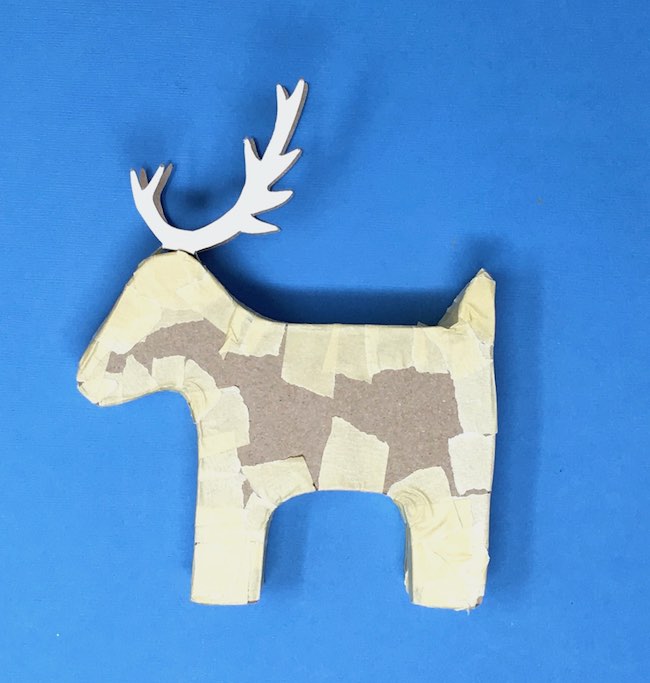
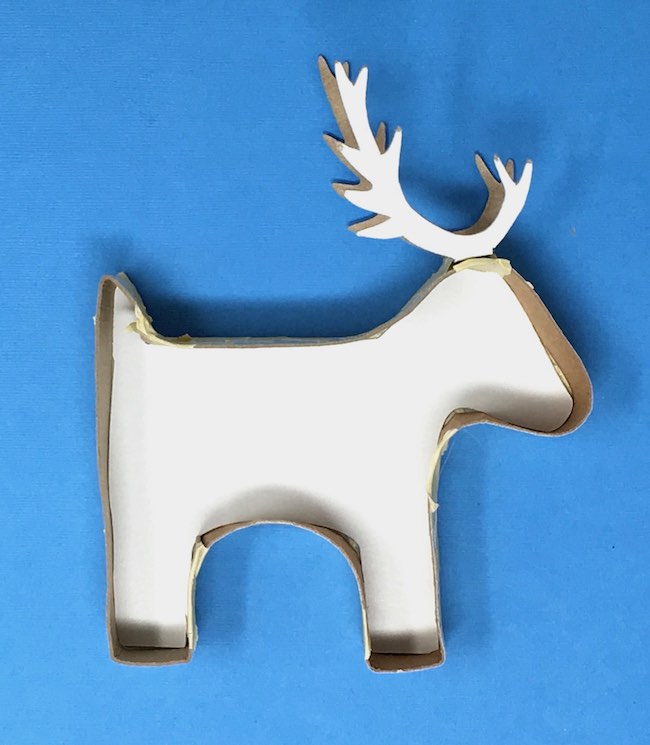
Pick a starting point and start taping the side strip to the main body of the reindeer. I always use the solid body piece because it doesn't flex as much. Often I start near a curve like the tail so I can bend it around that part easier, but it doesn't really matter much. The reindeer pattern takes about 2 and ½ strips to go all around the edge.
Then tape the other side of the reindeer piñata body to the side strips
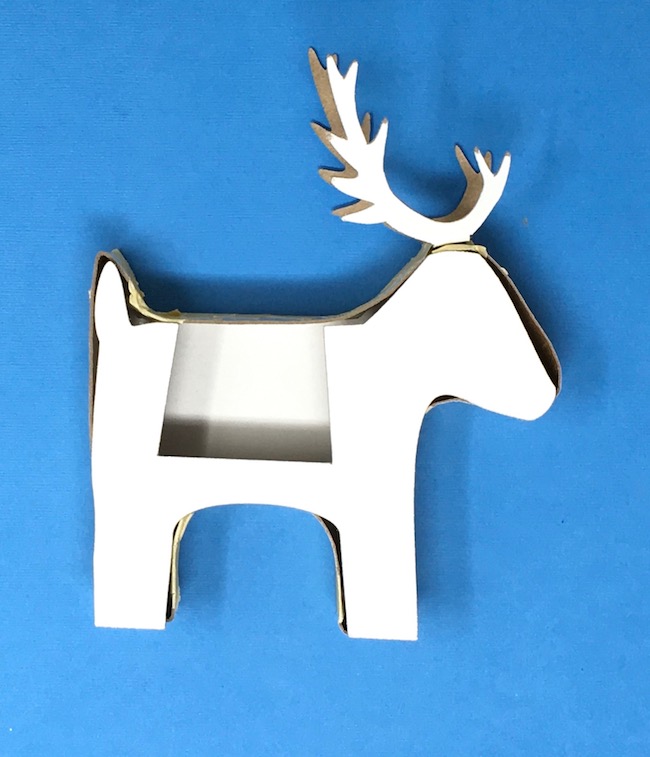
Once you have the side strips adhered to the main piñata body, start on the back side, the side with cut out portion. At first it looks like it won't fit in place, but the cardboard is flexible. It will fit. Just ease it in place and tape. In piñata-making, there is no such thing as using too much masking tape.
Tape and glue on the candy box flap
Once you are done taping the body pieces together, then tape and glue the candy box flap on the back. I glue it first and then add masking tape for extra strength.
Make antlers for the Reindeer Candy Box Piñata
Now to make the antlers more substantial, I cut out 2 sets. Then I trimmed off the connecting flap and glued an extra layer of the cardboard antler to each side. It really makes them less like to break and bend.
Prime and paint candy box reindeer and antlers
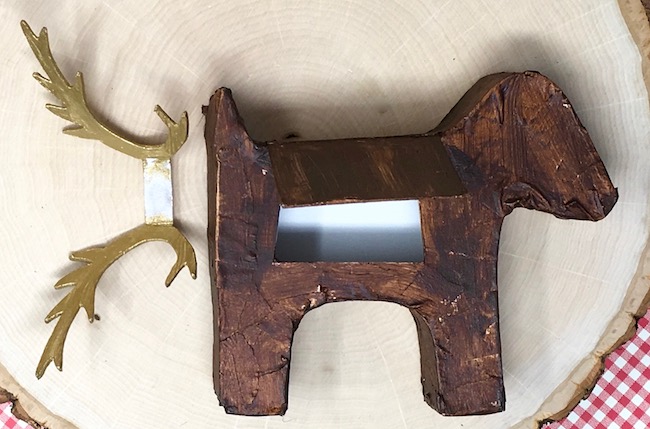
This is an optional step, but I think it helps a lot. Often there are little gaps between the crepe paper fringe and the body below. I like to paint it so the cardboard under layer is close to the same color as the crepe paper. Just one of my OCD details. You can ignore this step if you wish.
Next paint the eyes, ears, and antlers. I chose a beautiful gold paint from Martha Stewart for the antlers. For the ears, I just used the undercoat color. It should probably be a lighter color to match the crepe paper better.
Adhere the antlers and ears in place
Before you add the crepe paper, glue and tape the antlers and the ears in place. That way you cover up the tape when you apply the crepe paper fringe.
Glue on crepe paper or tissue paper strips
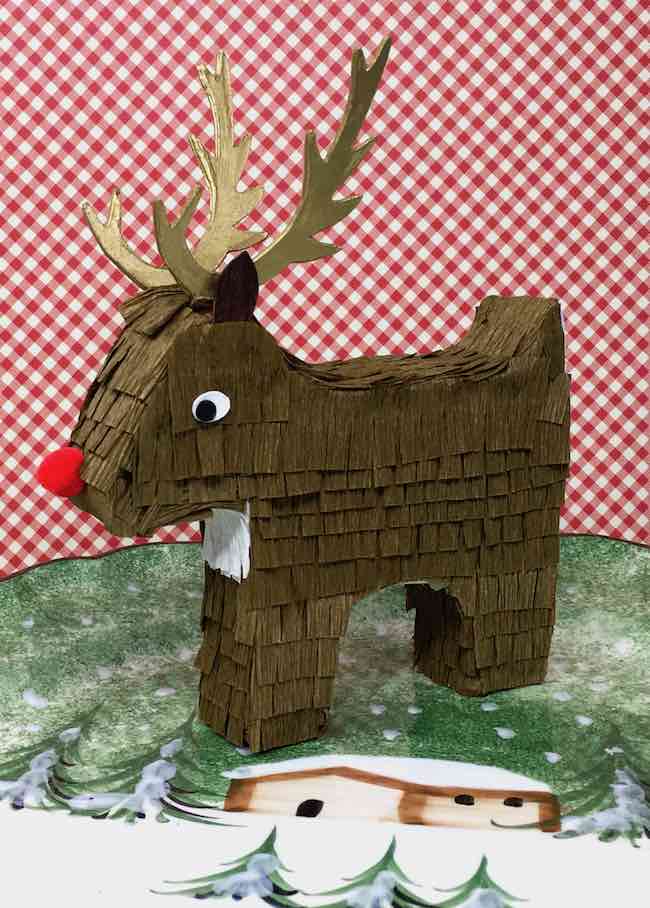
Now start gluing on the crepe paper strips. I start at the bottom sides and work around. It's a piñata. You can start wherever you want. Well, with one major caveat - you start at the bottom and work you way up so the each successive layer of fringe overlaps the one below.
But if you are going to use the velcro dots to hold the flap down, you have to make sure that the crepe paper covering that spot is glued firmly to the body of the reindeer.
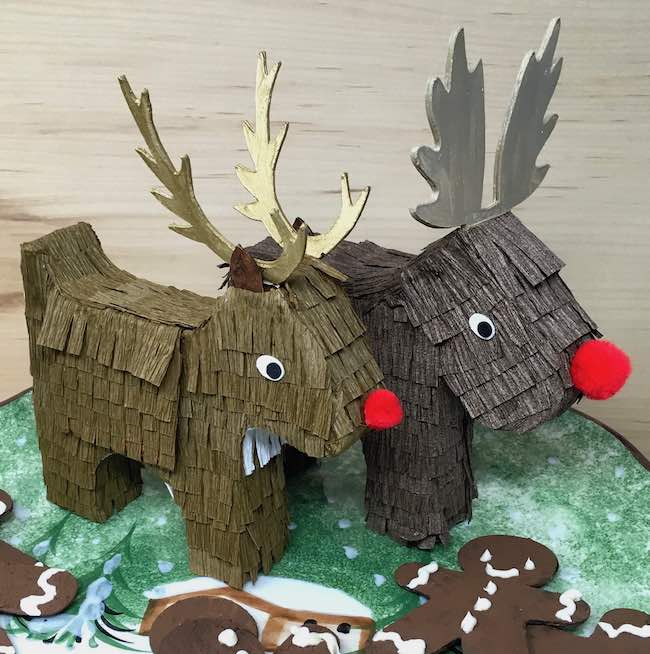
Because I tried to differentiate Happy HollyDeer from the Merry ChrisMoose candy box (which everyone thinks is a reindeer), I added white below the chin, the underbelly and on the back of the tail. I'm not sure that detail stands out that much. When Merry and Happy are together you can tell that Merry is a Moose, but if you separate them, the distinction goes away. Oh well.
See how dramatically different they are?
Adhere velcro dots in place
After all the fringe is in place you can use a velcro dot cut in half to keep the flap closed. I reinforce the self-adhesive on the velcro dots with extra glue for strength. First glue one side in place, then the other side. Make sure each side is dry before you test it. Velcro is strong and it will pull the other side off the candy box if you don't let it dry.
Fill the Happy HollyDeer Candy Box Piñata!
Now fill with candy and give to someone you love. Or money - you can always fill it with money. That would be quite a treat, wouldn't it?
If you want to make more variations on gift boxes, here are some others you can try:
- Scotty Dog Gift Box
- Gnome Gift Box
- Valentine gift boxes – DIY Valentine Pinata Candy Box, Easy DIY Heart-Shaped Candy Boxes
- Shamrock Candy Box
- Easy Peat Pot Easter Baskets to Make
- Valentine Basket
- and of course, my favorite – the Mini Llama Pinata which you can easily decorate for Christmas
Ya'll have a good day.
Lucy



Leave a Reply