It's the holiday season so it's a time people think of gift-giving. And what a great way to make your gift extra special by making a fun little Scotty Dog Gift Box.
Here's how to make the Scotty Dog Gift Box.

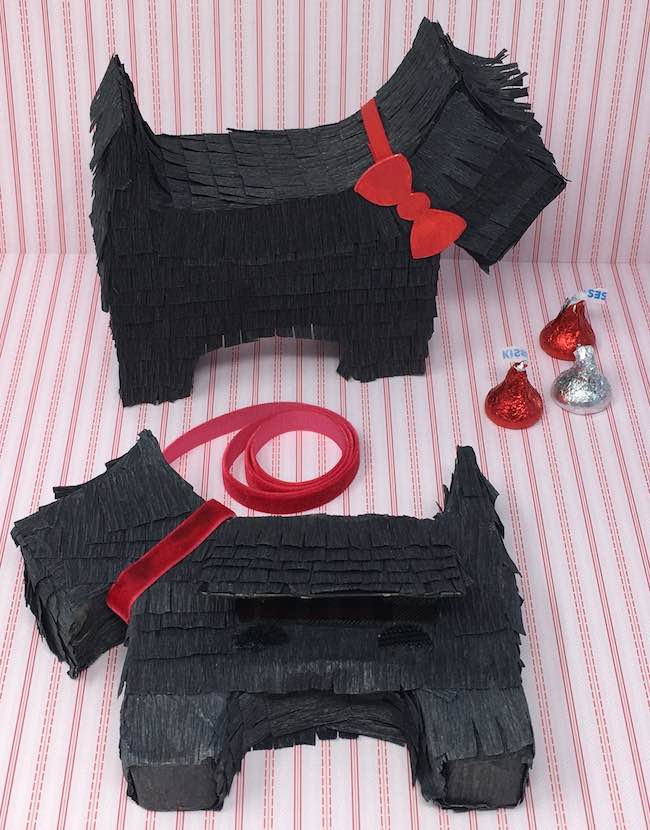
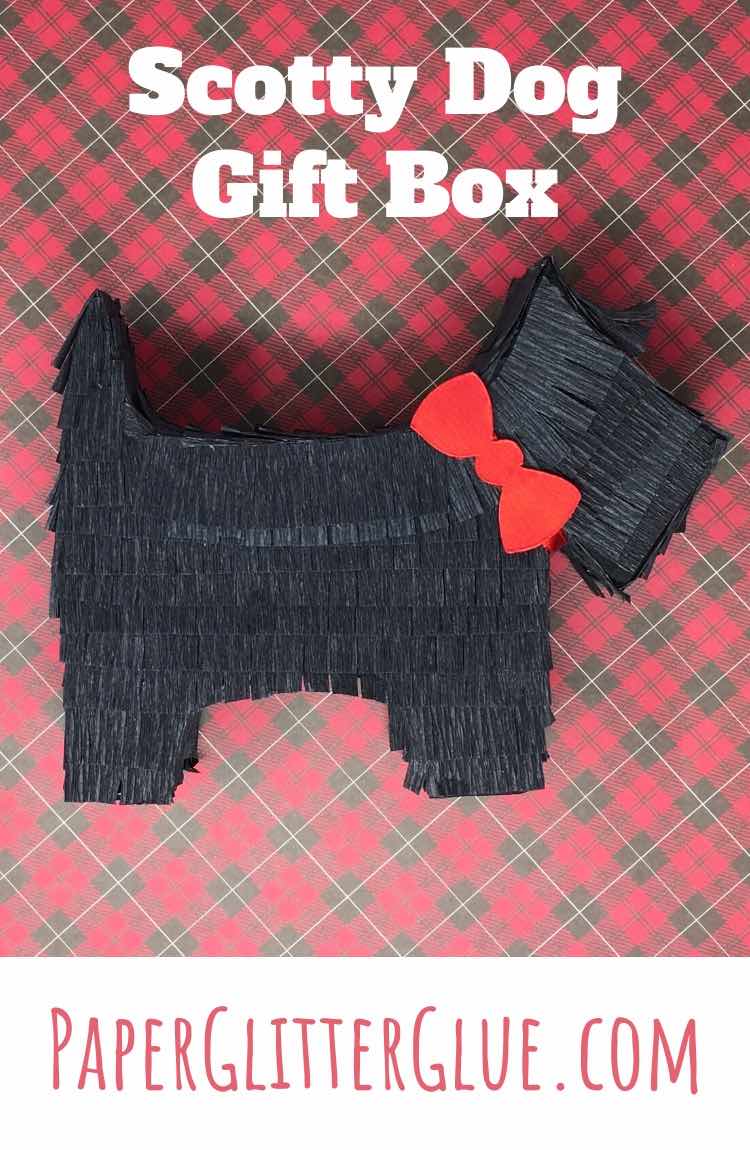
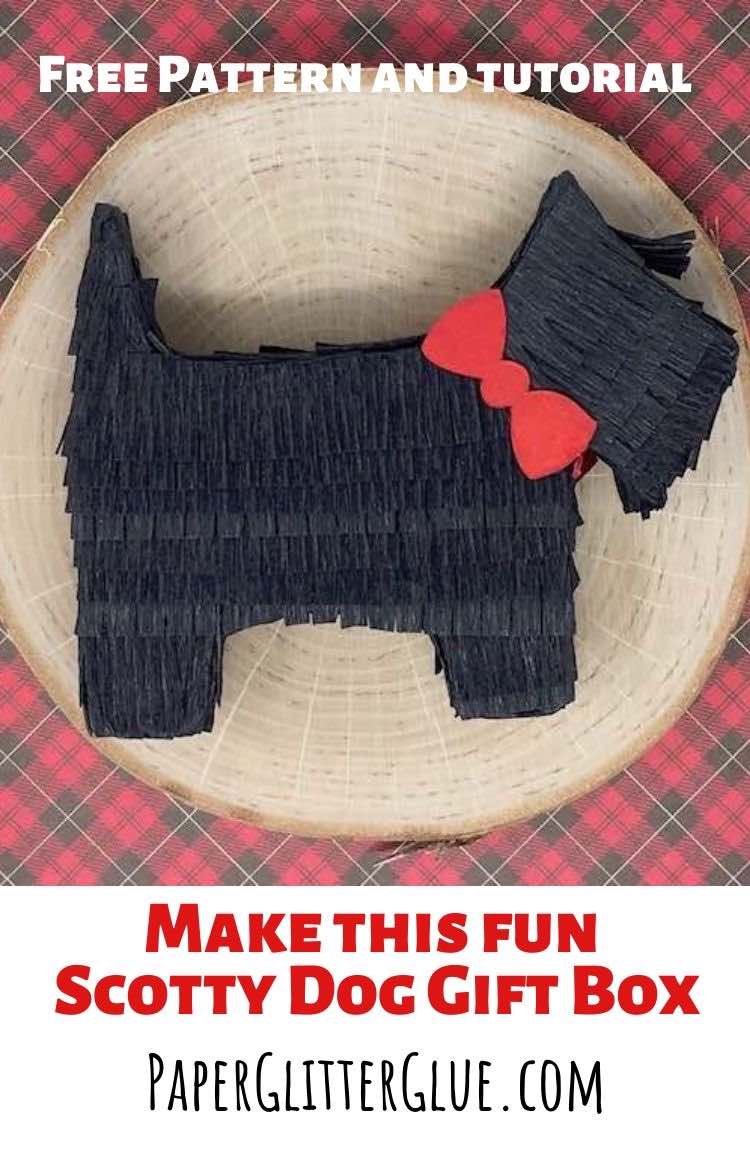
What inspired me to make this gift box? I saw a vintage Christmas card with a little scotty dog on it. And the thing that struck me about this vintage image was that the scotty dog silhouette would make a great 3-D treat box. You know I love to make 3-D items - like the Mini Llama Piñata and the Gnome Gift Box and the little houses, of course. So here is my piñata gift box in a Scotty Dog shape. The back opens up so you can add treats without tearing the box open so it can be used again and again. Kids love stuff like this.
Here's how you make the Scotty Dog Gift Box.
This post contains some affiliate links for your convenience. Click here to read my full disclosure policy.
First, Here are the Materials You Need for the Scotty Dog Gift Box:
- Free pattern - Design No. 62 - from the Paper Glitter Glue library (SVG, and PDF patterns are in the library)
- Cardboard
- Masking tape - plain old masking tape - Scotch brand works best because it tears off easier
- Cutting method - craft knife or an automatic cutting machine like a Cricut Maker (works well because it can cut crepe paper), Silhouette, or ScanNCut
- Gesso (optional)
- Crepe paper - this brand works well
- Velcro dots
- Ribbon
- Red Paint
Outline of Steps to make the Scotty Dog Piñata Gift Box
- Download the pattern - Design No. 62 - from the Paper Glitter Glue library
- Cut out the pattern including the crepe paper strips
- Bend the side strips to make it easier to fold around the Scotty dog shape
- Tape side strips to front cardboard shape with masking tape
- Tape the back piece to the side strips
- Glue on the gift box flap
- Prime with black gesso or black paint (optional step)
- Glue on crepe paper strips starting at the bottom
- Adhere the Velcro dots to the flap
- Glue ribbon to the doggie's neck. Add name tag if desired.
- Glue the bow on the front
- Fill with treats!
Now let's go over these steps in more detail.
First download the Scotty Dog Gift Box pattern from the Paper Glitter Glue library
You'll find all of my patterns in this password-protected library. That way I can give stuff away for free, but everything is still protected. If you have already subscribed to my newsletter, then you already have the password. If not, just subscribe below to get the password. Immediately on signing up, you will receive the password. And you will get it in each of my emails.
The patterns are listed chronologically with the most recent pattern first. Also the patterns are in a zipped (compressed) format that you will have to unzip or extract to use them.
Now cut out the gift box pieces
The Scotty dog shape is easy to cut out by hand or using one of the automatic cutting machines.
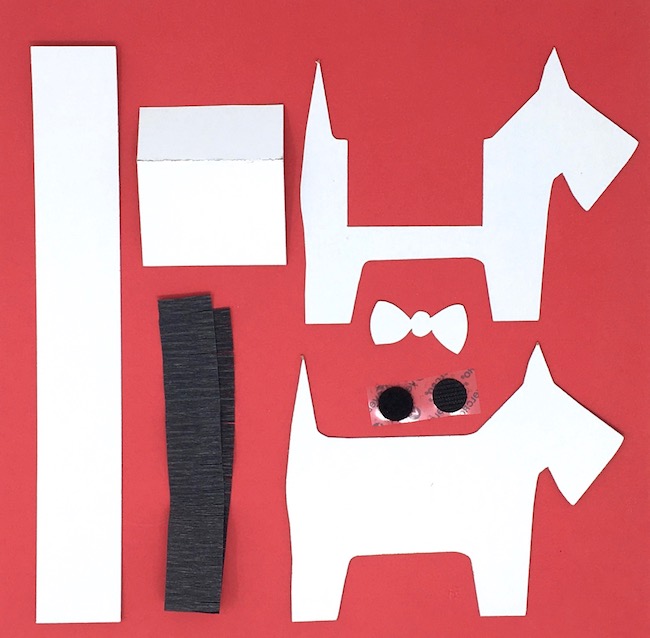
Please note that I added a dog tag after I made the first two doggies.
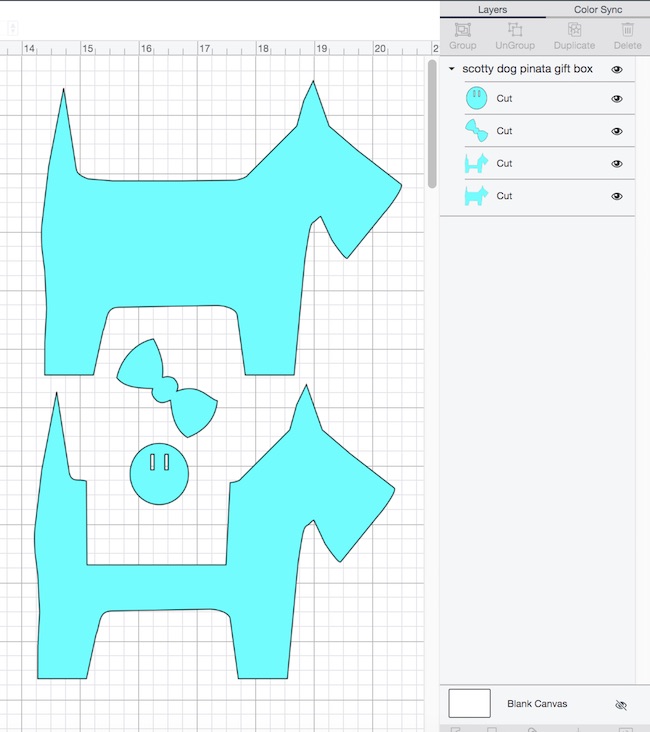
Here's how the pieces look in Cricut's Design Space.
First, here is the main body of the gift box. It fits on a 8.5 x 11 piece of cardboard. There aren't any pieces to change to score lines or attach on this part of the pattern.
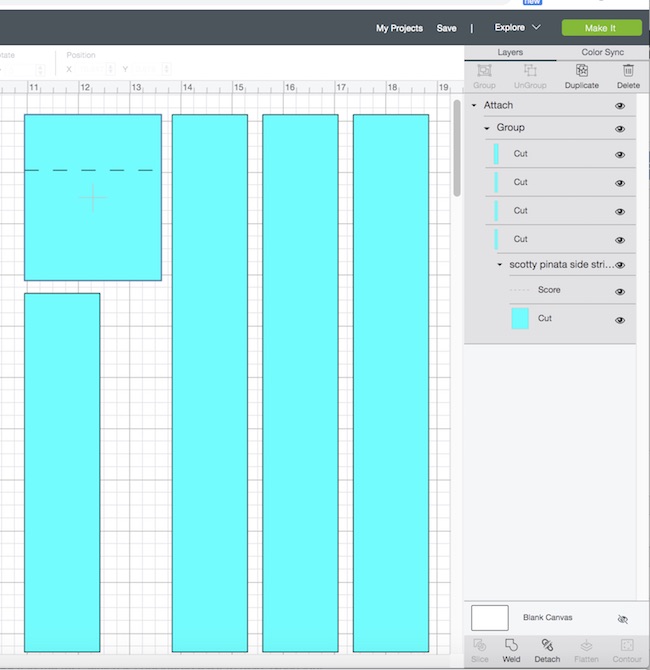
Next pattern includes the side strips and the gift box flap in Cricut's Design Space. And pay attention to the score line on the gift box flap. Be sure to change that line from cut to score on the linetype section at the top left of the Design Space screen and then attach to the flap. Do that before you cut.
And finally here are the Crepe paper pinata strips. These can only be cut on the Cricut Maker with a rotary cutting wheel because the other blades will tear the paper. I used a roll of crepe paper that is thicker and stronger than regular crepe paper streamers. And I cut a 12 x 12 inch piece of crepe paper and placed it on Cricut's fabric mat. It worked really well. Be sure to attach all the vertical cut lines to the pattern.
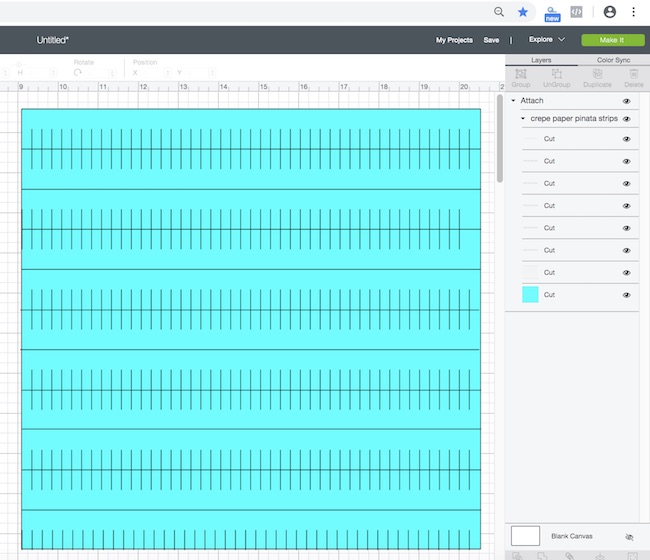
You can use this pattern for any crepe paper pinatas.
Bend the side strips to make it easier to fold around the Scotty dog shape
To make it easier to fold the cardboard side strips around the Scotty dog shape, I pull the strips between my fingers to make them more flexible.
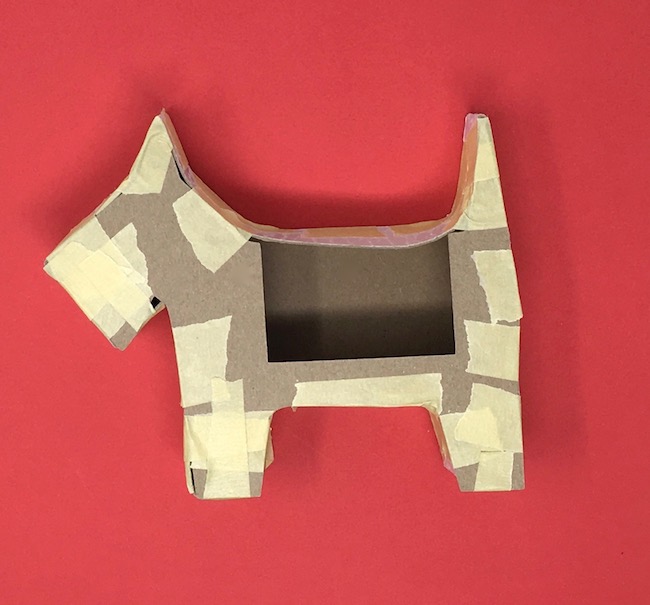
Tape side strips to front cardboard shape with masking tape
Now take the front cardboard shape - the one without the cut out - and start taping the side strip to it. Generally I start somewhere near a sharp curve so I can bend it in place easily - around the ear or the tail or the jaw line. Crease it where there is a sharp curve or angle.
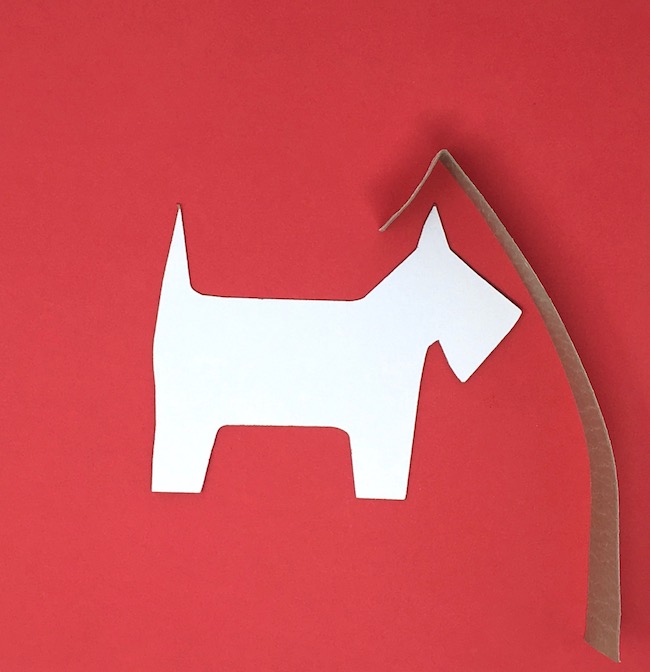
Work your way around the cardboard shape using as much tape as you want. Plain old masking tape is not expensive so you can be quite generous with it. After you finish you're going to cover the dog with crepe paper anyway so no one is going to grade you on how much tape you used.
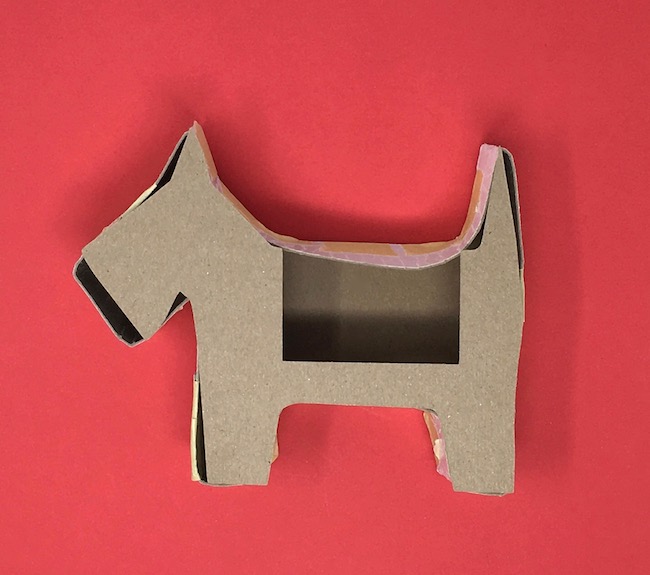
And here is the front piece with the side cardboard strip taped in place.
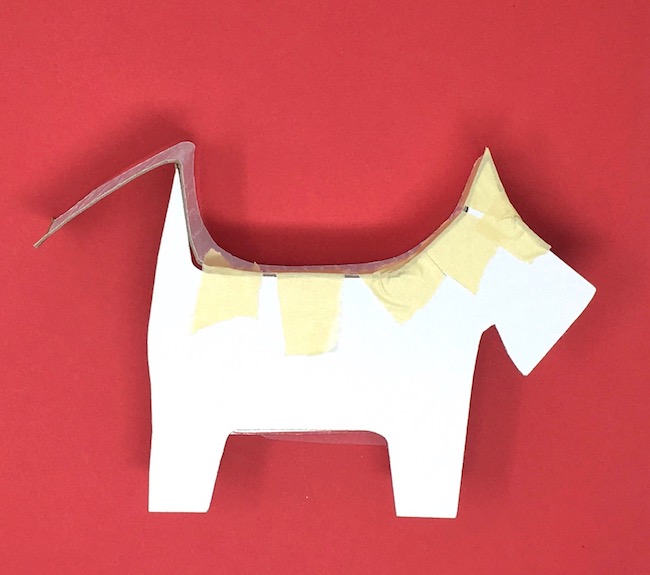
Tape the back piece to the side strips
Next flip the Scotty dog over. Now place the back piece on the back side of the Scotty dog. You might notice that it doesn't look like it fits very well. Don't worry. Tape and the flexible cardboard solves this problem. Start taping in the middle so you can get it situated properly then work you way around.
See the back piece does fit. Masking tape is your friend.
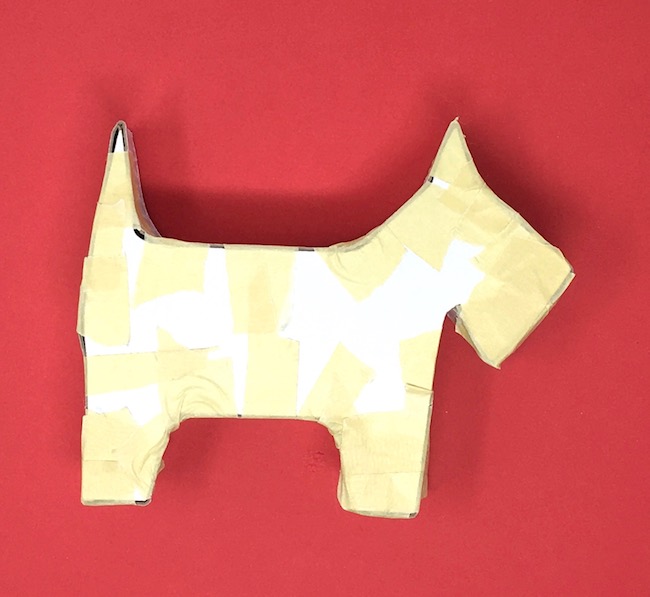
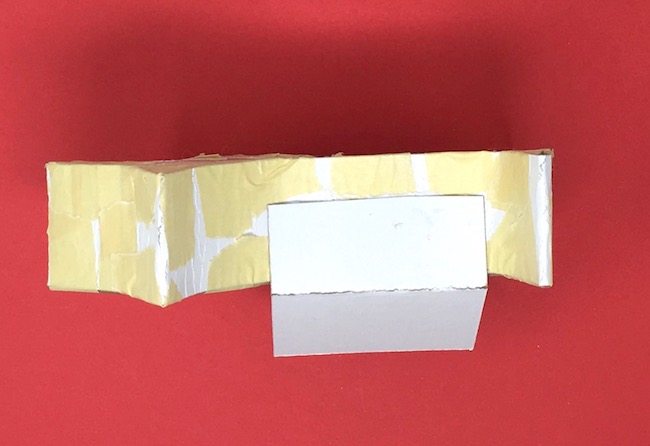
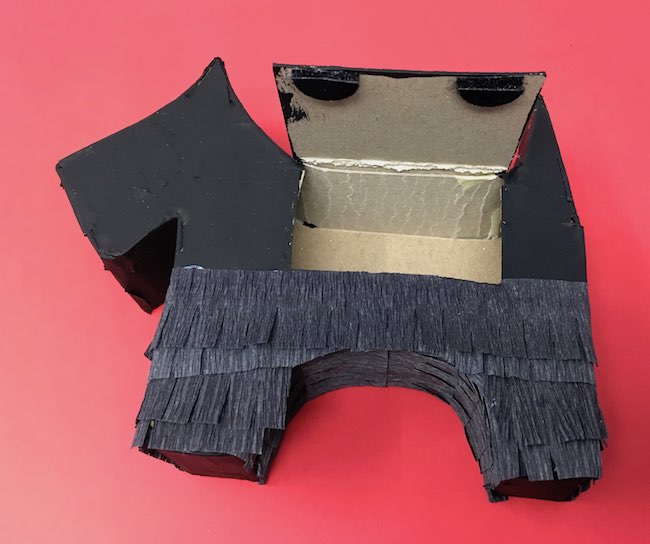
Glue on the gift box flap
Once the back and front pieces are together, glue on the gift box flap.

Also I move it out slightly from the dog's body so there is room to put the velcro dots to secure the flap closed.
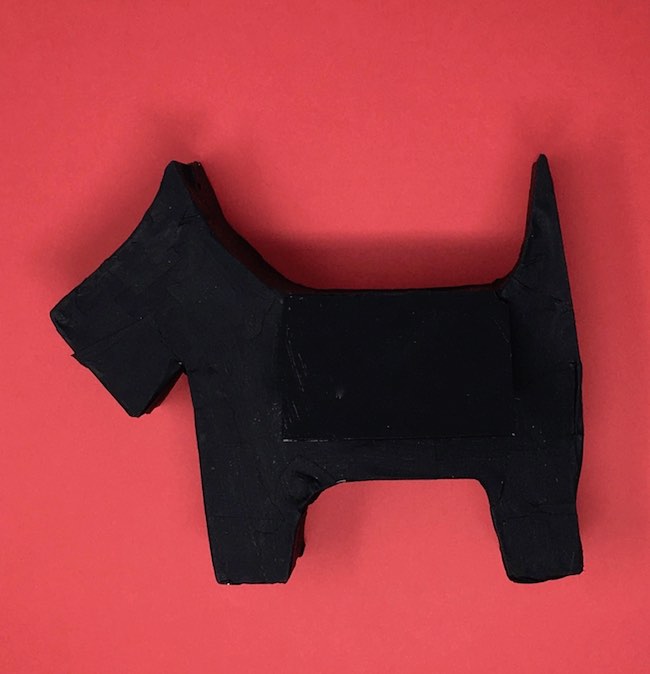
Prime with black gesso or black paint (optional step)
Now you don't have to do this priming step, but I think it makes the next step easier. If you paint your little scotty dog with black paint or primer, any inadvertent gaps of the black crepe paper will be less visible. So I think it makes sense to paint it before you glue on the crepe paper.
Glue on crepe paper strips starting at the bottom
Just like I did when I made the Mini Llama Piñata, start gluing the strips on at the bottom. Other than that there's not really a right way to do it. Sometimes I do the sides first. Sometimes I do the underside of the legs and then start wrapping the crepe paper around the legs. Generally I do one side then the other to avoid being excessively messy with the glue.
If you want even more detail about how to glue on the crepe paper strips, go to the Llama piñata gift box post.
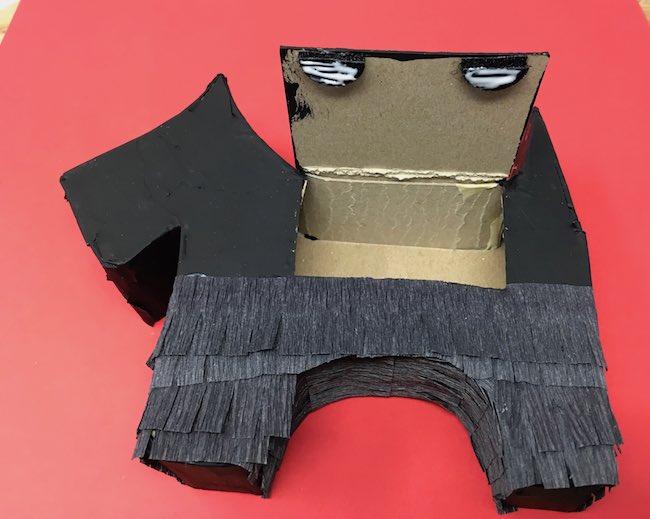
Adhere the Velcro dots to the flap
First I cut the self-adhesive dots in half with the protective plastic in place. Then I adhere 2 pieces to the top part of the flap. That way I know they are going to be in the right place. I do use extra glue because I just don't trust the self-adhesive to last over time. In the above photo you can see the top half glued in place.
After the glue is good and dry, then I take the plastic cover off and add more glue to the other side and press down. Let it dry completely before you test it.
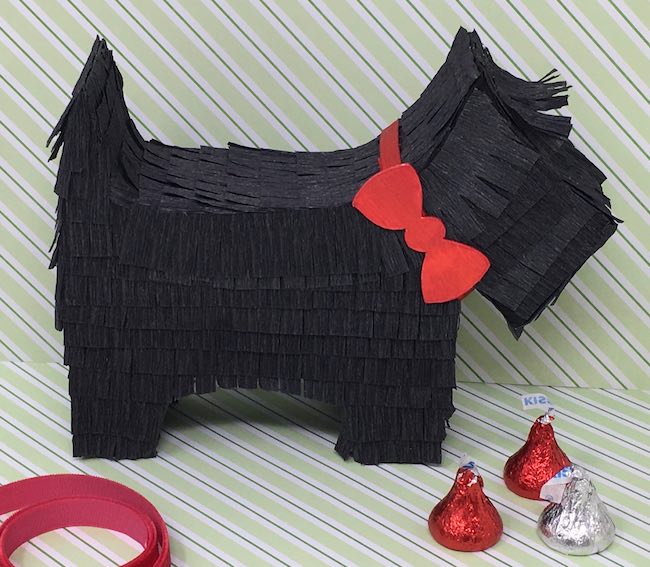
Glue ribbon to the Scotty Dog's neck. Add name tag if desired.
If you want to use the name tag, write the name on the tag. Then slide it onto the ribbon before you glue the ribbon down.
Glue the bow on the front ribbon
After you have the ribbon in place, glue the bow to the front of the Scotty Dog Gift Box.
Now fill your cute little Scotty Dog Gift Box with treats!
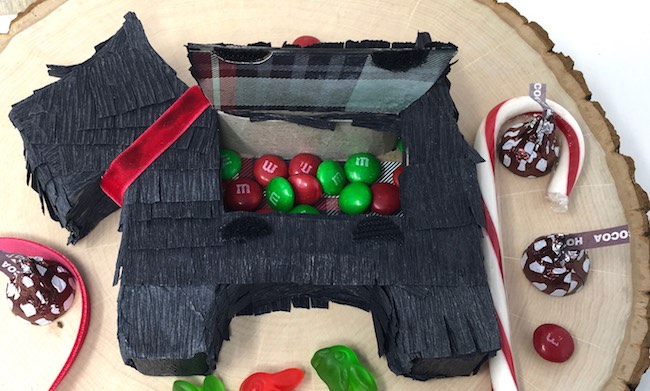
Finally, fill your cute little Scotty Dog Gift Box with treats - money, some candy, or little toys.
Related links to other gift boxes and baskets tutorials:
- Gnome Gift Box
- DIY Valentine Piñata Candy Gift Box
- Easy DIY Heart-Shaped Candy Boxes
- Upcycled Cardboard Book Box with Drawer
- DIY Mini Llama Piñata
- Easy Peat Pot Easter Baskets to Make
- Shamrock Candy Box
And the Scotty Dog Gift Box is second of the 15 Days of Holiday Crafts. Here are links to the others:
- Red Roof Holiday Cottage
- Merry ChrisMoose Gift Box – DIY Mini Holiday Piñata
- Mini Paper Christmas House with Barn Shaped Gable (the Green Gable house)
- Gingerbread Paper House – made with Gingerbread Paint
- DIY Gnome Gift Box
- Scotty Dog Gift Box
- DIY Paper Wallet for Holiday Gift-Giving
- Paper Gingerbread Ornaments – Scented Gingerbread Men
- Happy Hollydeer Piñata Candy Box
- How to Make a Paper House Ornament for the Holidays
So that's the latest project for me. What are you making these days? You can always join my Facebook group - Paper Houses and Paper Crafts Hosted by PaperGlitterGlue (that's me - Lucy) where you can ask questions AND share your projects. I love to see what you make.
Lucy
P.S. Please pin to your favorite Pinterest board so you can remember where you found this pattern.
Bianca Mitchell
I love this, thank-you for posting it!
Condolences on your loss.
Helen Roberts
So dang cute, Lucy! Wonderful addition to my boxes. Thank you so much for sharing.
Lucy
Thank you, Helen. I am so glad you like it.