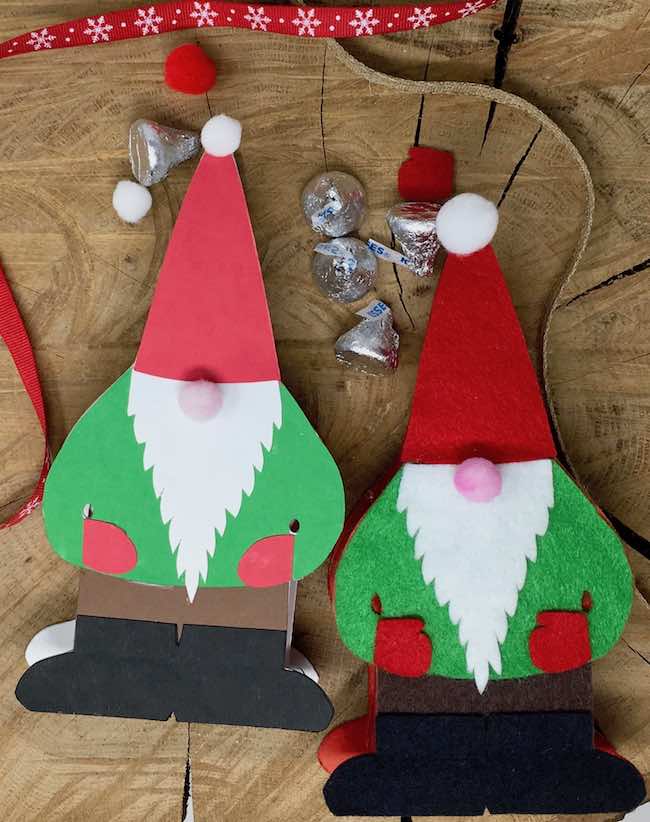
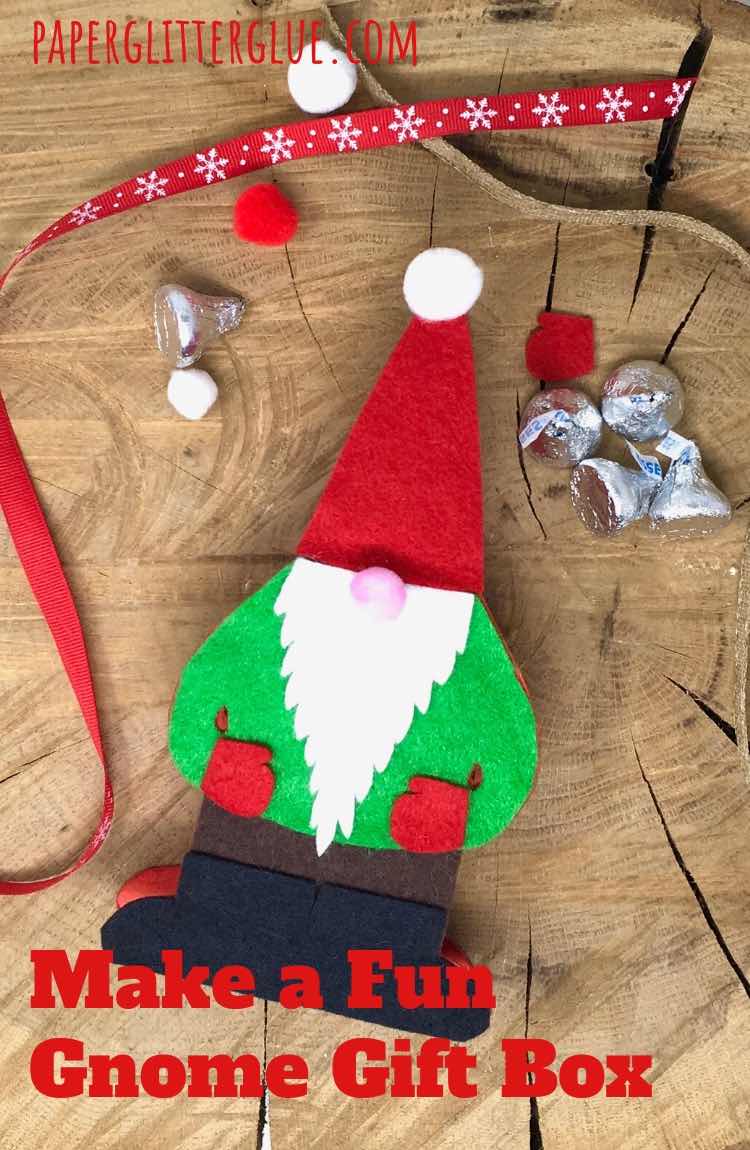
Want to make a fun mini Gnome Gift Box? Here's a free pattern that will let you make this cute little gift box with just a few materials - cardboard, card stock, and glue.
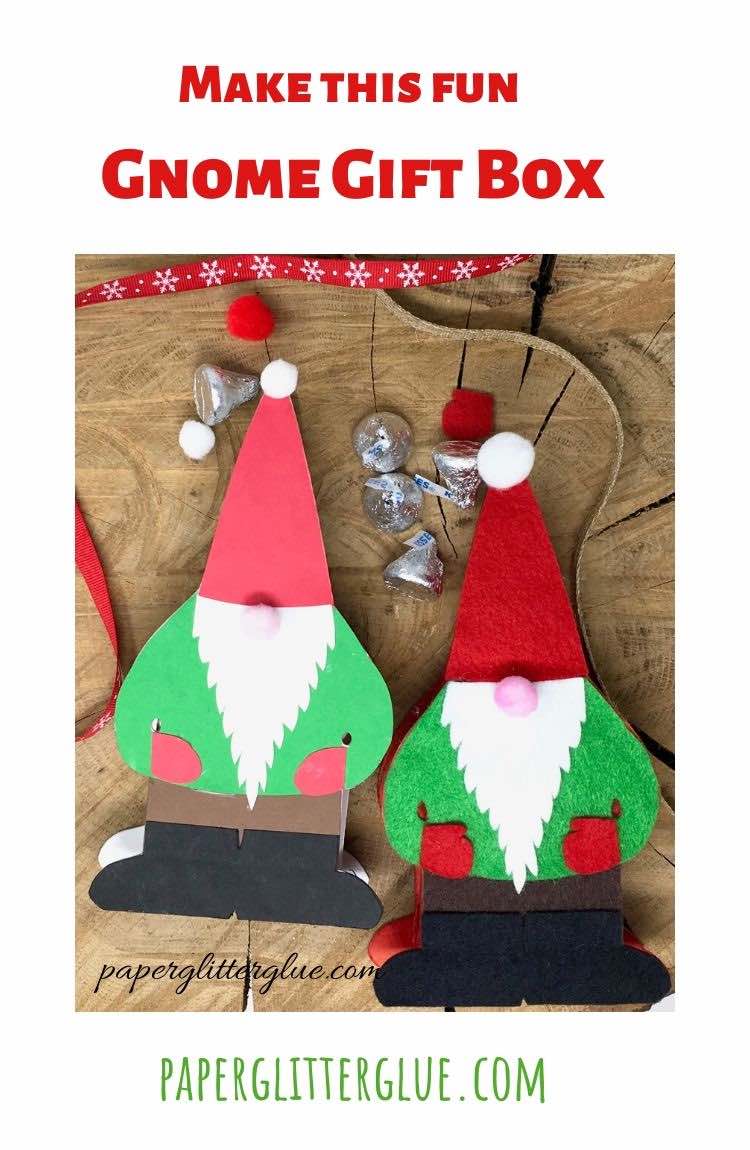
Make this fun Gnome gift box with this free pattern. This little box would make a great treat box, hostess gift, a fun gift box for a teacher or as party favors for the Christmas season. The design is large enough for a gift card to fit.
I've also made a video to help you visualize how to make the Gnome gift box. The YouTube video is below.
I'm making this Gnome Gift Box as a part of the Gnome Craft Party. Five other blogging buddies all made great gnome projects that are perfect for this holiday season.
This post contains some affiliate links for your convenience. Click here to read my full disclosure policy.
Materials for the DIY Gnome Gift Box
- Gnome Gift Box Pattern - Design No. 61 - from PaperGlitterGlue library
- Cardboard for the main body of the Gnome gift box
- Various colors of card stock or felt for the Gnome clothes
- Glue - these are my favorites - Aleene's Fast Grab or Quick Dry Tacky Glue
- Paint if you want to paint the box itself
- 0.5 inch pom poms
- Velcro fasteners
- Optional - small cardboard jewelry box
Directions to make the Miniature Gnome Gift Box
- Download pattern - Design No. 61 - in the October 2019 section of the library from the Paper Glitter Glue library
- Cut out pattern - by hand or with your automatic cutting machine like a Cricut Maker
- Glue two gnome bases pieces together to make it stronger so you have 2 sets of doubled up gnome pieces
- Score the score lines
- Fold the box pieces along the score lines
- Glue the box pieces to the bottom gnome base
- Paint, if desired
- Glue the velcro fasteners to the box flap
- Glue the clothing to the top gnome piece
- Adhere the top gnome to the top of the box
- Glue on the pom poms on the nose and the hat
- Variation to make the gift box
Related links for the Gnome Craft Party:
- DIY Pop Up Gnome Card- a really cool interactive Gnome holiday card
- Gnome SVG Bundle - cute gnome SVG files which you could use on a mug or t-shirt
- Easy Christmas Gnome T-shirt - fun "Just hanging with my Gnomie" t-shirt
- Gnome Coffee Cozy - adorable Gnome coffee cozy
- Gnome Refrigerator Magnets - Gnome refrigerator magnets perfect for the holiday season
Now let's go into more detail on how to make your little Gnome treat box for the Gnome-lovers in your life.
I made a short video on how to make the Gnome gift box for your convenience.
First download the pattern (Design No. 60) from the Paper Glitter Glue library
If you have already subscribed to my newsletter and have the password, just click to enter the password page, then enter the password which will take you to the full library. The patterns are listed chronologically with the most recent pattern first. The Gnome gift box is Design No. 60 in the October 2019 section of the library.
If you would like the password to the library, just subscribe to the newsletter below and you will get the password immediately and with every newsletter.
Cut out the pattern
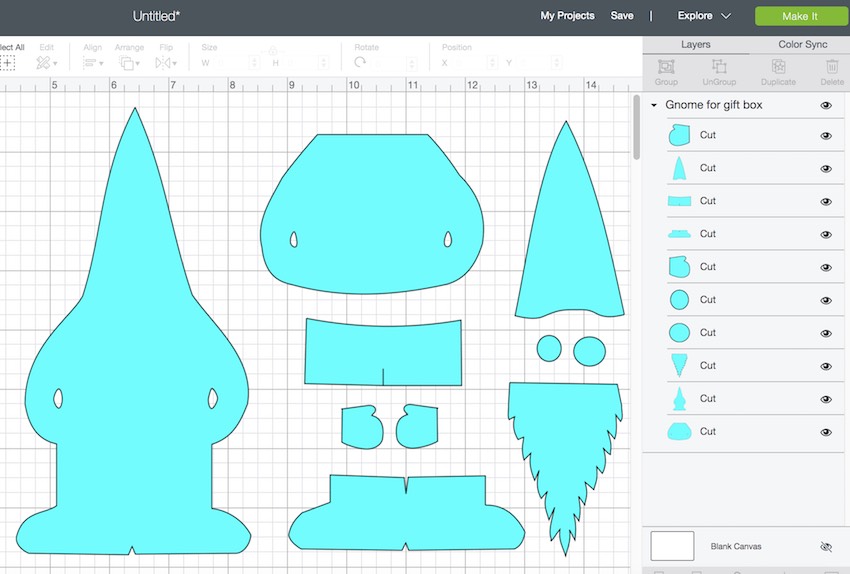
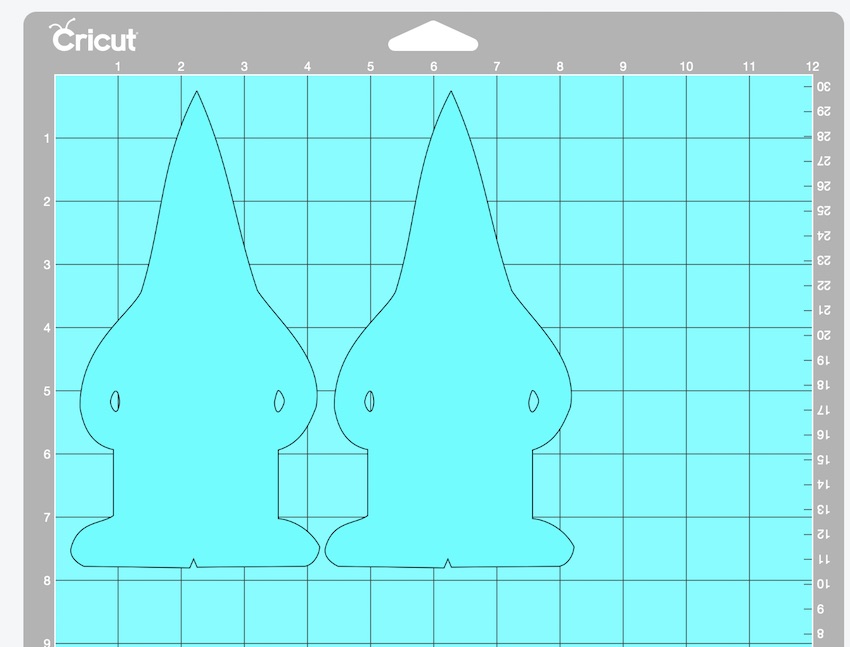
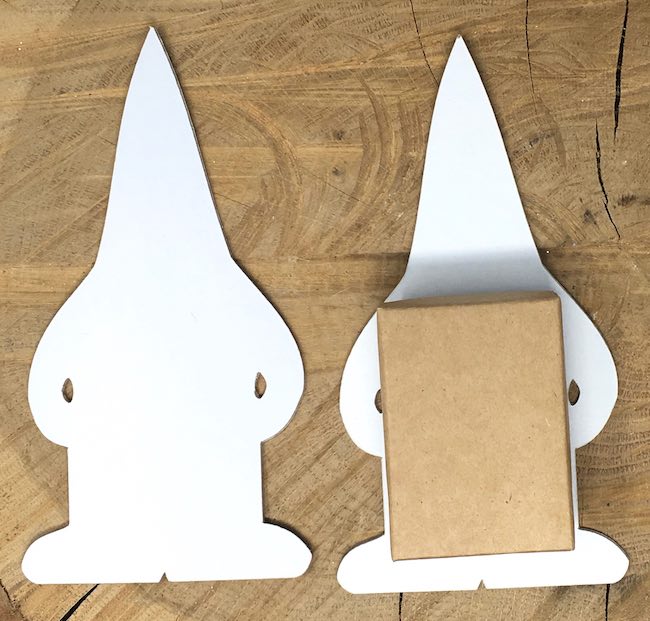
This pattern is pretty easy to cut out by hand, but obviously easier to cut out with an automatic cutting machine. Below are the main pieces for the body of the gnome.
The two different circles are for the nose and the pom pom on the hat if you don't have any little pom poms.
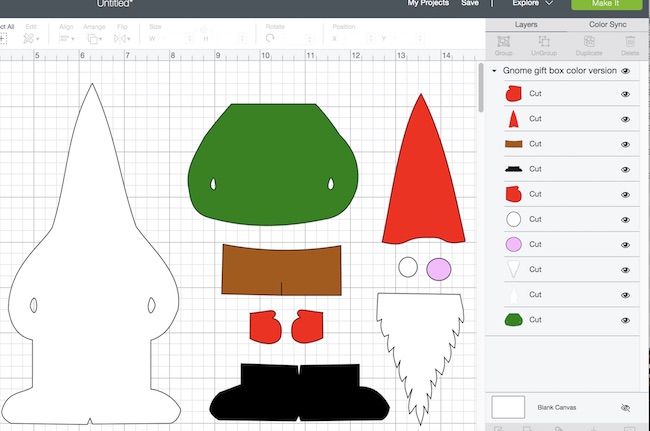
And here is the colored version of the gnome.
First I cut out 4 pieces of the main body for the gnome. That's because I like the gift box to be very sturdy so I glue 2 pieces together to make the body of the gift box stronger. Since my cardboard is 8.5 inches x 11 inches, I cut this out twice to make 4 gnome body pieces.
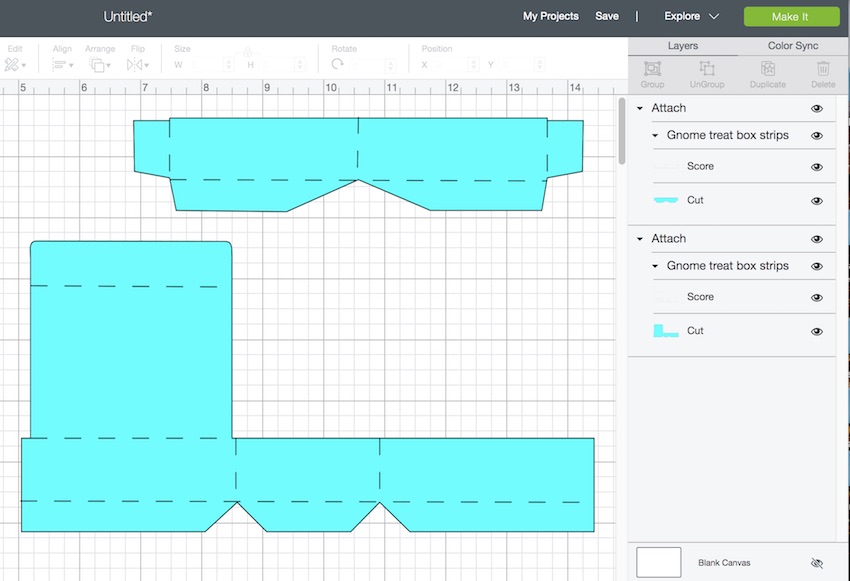
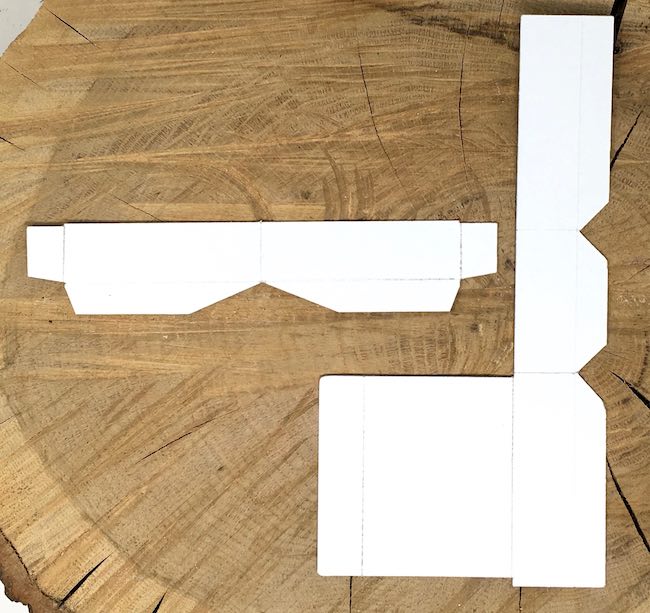
And these parts make the gift box part of the project. Be sure to change the score lines to score under the linetype section in Cricut's Design Space and attach to the piece.
Next Cut out the Gnome Pattern
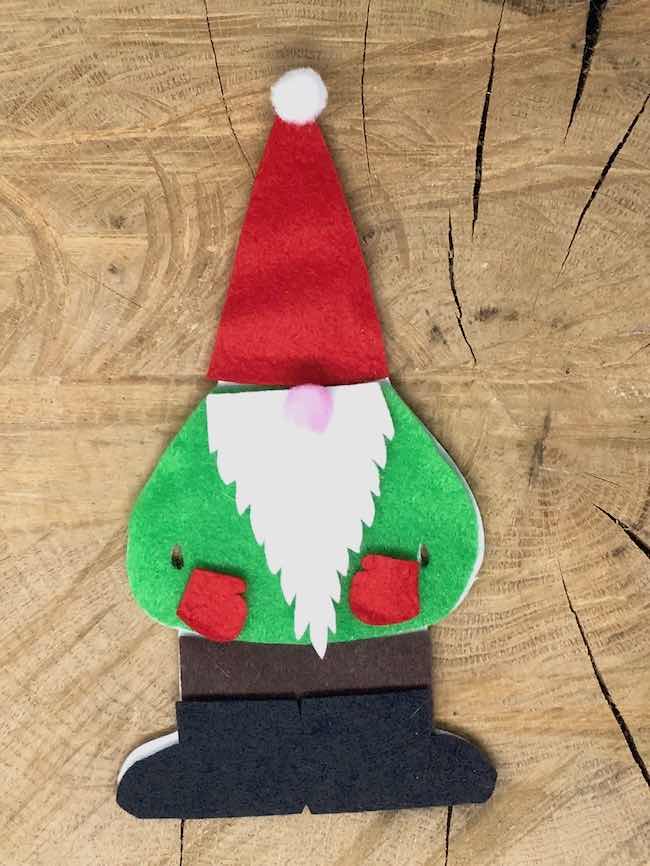
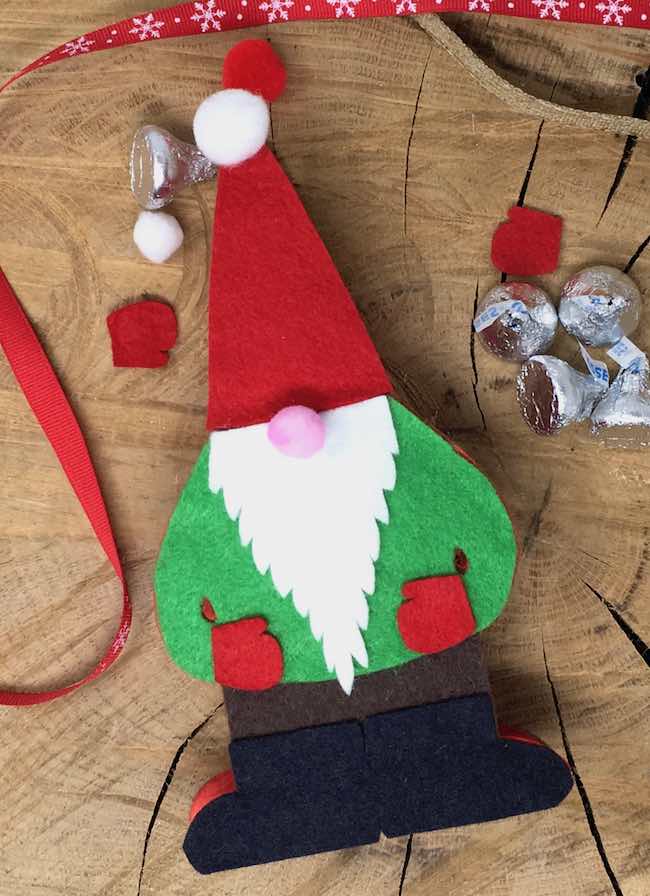
And this photo shows you how the gnomes clothing looks when made of felt.
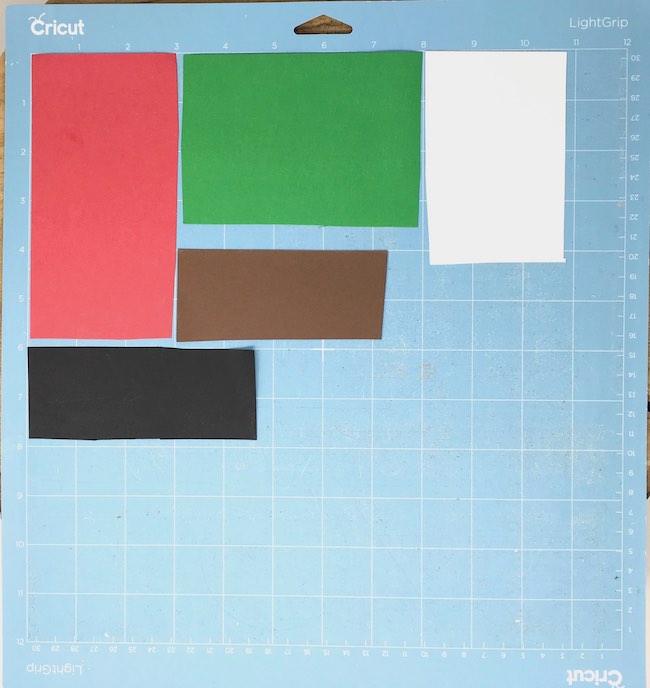
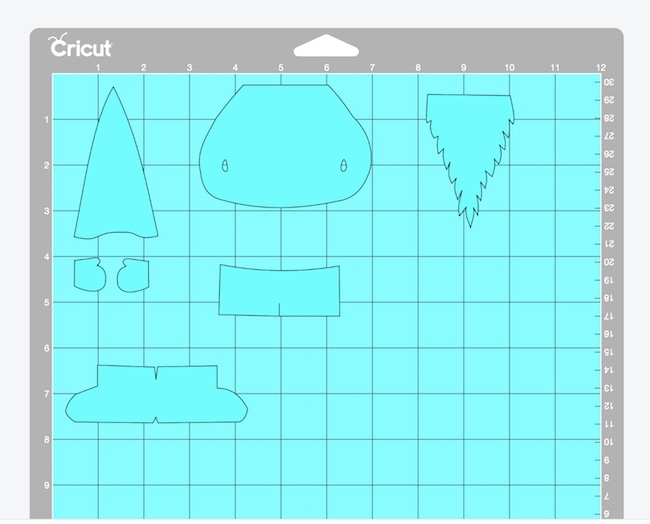
In addition, this is how I cut out the various pieces of clothing on one Cricut mat. I measure the approximate size of each piece and cut out card stock or felt squares larger than the actual piece. Then arranged them so I could easily estimate where to move the piece on the mat before cutting.
And this is how I arranged it on the mat in Design Space so I could cut each piece in the appropriate color. Since the red cardstock is from 0-3 inches down to 6 inches, I moved the hat and mittens to fit in that space. The black for the boots is 6 inches down and about 4 inches wide so I moved the boot pattern to match where that card stock is. You get the idea.
If you are making lots of gnomes, just do one color at a time so you can cut out all the hats, then the boots, etc.
If you are cutting by hand, this pattern is really pretty easy. Just simplify the beard a bit so you don't have to make a lot of jaggedy cuts.
Cutting felt with Cricut Maker
Really I thought this was going to be much more difficult than it was. In fact, it was downright easy. I used a Cricut fabric mat, acrylic felt and a rotary blade with Cricut Maker. It cut through the felt like butter. I was very pleased. True, my brand new fabric mat is covered with all these felt fibers, but I'll save it for when I cut out more felt which I will definitely be doing in the future.
Next glue 2 pieces of the gnome body together to make it stronger
You'll find that this step makes your little gnome so much more sturdy. And your little gift box will last so much longer.
Now score the score lines to the box portion of the gift box
My Cricut Explore Air 2 does a beautiful job of cutting out cardboard pieces. But what it is as not wonderful at is scoring. It does score, but just not deep enough to make good fold lines. So I always use my metal-edged ruler and the back of my craft knife to make the score lines sharper and more foldable.
Oh, and the only score lines in this project are in the box portion. No score lines on the gnome itself.
In the photo above you can see that I need to improve some of the gift box score lines.
Fold the box pieces along the score lines
Now fold along the score lines. Make sure you have sharp creases so the box has 90 degree corners.
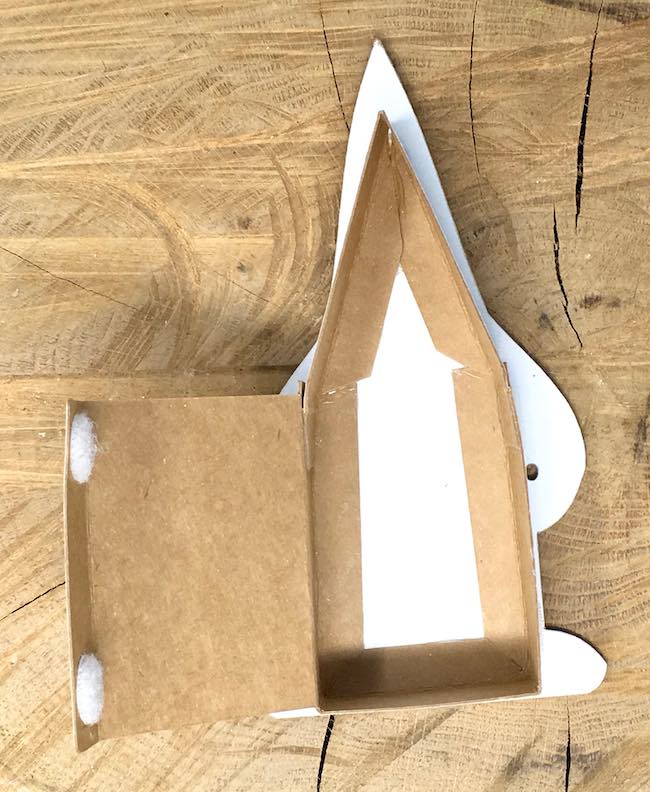
Glue the box pieces to the bottom gnome base
First mark where the box goes. It sits just above a tiny inverted V between the boots. And it goes just inside the oval for the crook of the arm. So draw two pencils lines using these marks. Below see how the box fits next to the arm hole.
I think it is important to use a strong glue like Aleene's Fast Grab because it is very thick and really does adhere well. But you can use any other PVA (white glue), just wait a few minutes to let your glue get good and tacky before you try to stick the cardboard pieces together.
If desired, paint the gift box
For one of the gnome treat boxes, I painted the box and the bottom piece red. Not sure if I like it or not.
Glue the velcro fasteners to the box flap
I figure these little velcro fasteners are the best way to close the little box. These little fasteners have a sticky back, but I like to reinforce that with the Fast Grab glue - just to make sure they will stick. First place the 2 bottom side fasteners and glue them in place. Let dry. Once those pieces are dry, figure out where the opposing hook and look pieces go and glue them in place. Let dry before you try to stick them together.
Glue the clothing to the top gnome piece
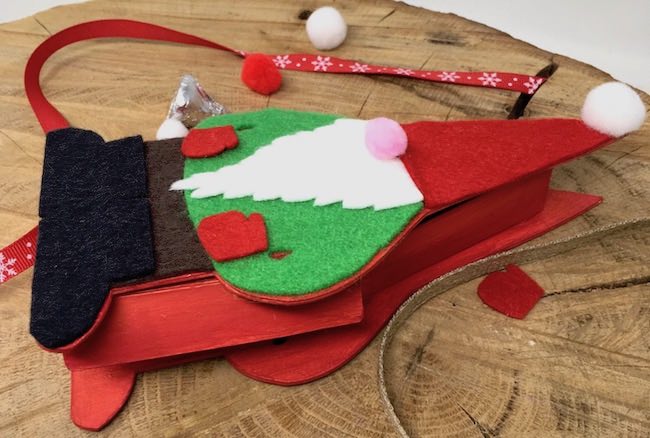
Finally you get to dress your little gnome. I glue the pieces on in this order - first the pants, then the sweater, followed by the boots, beard and finally the hat and mittens. The pants are under the boots and the sweater. And the hat sits on top of the beard and the weather.
Adhere the top gnome to the top of the box
I found it is easier to glue the dressed gnome piece to the box if you don't glue the pom poms on until it is dry. That way you can apply pressure to the box so the top dressed gnome adheres better.
For the final touch, glue on the pom poms
To make your gnome's nose, dab some pink blush or some ink on the pom pom to give it a little color. Now glue the nose just below the hat on top of the beard. Then glue another pom pom on the top of the hat.
Easy variation to make the gift box
There is an easier way to make the gift box, just buy a small jewelry box and glue box the gnome pieces to both sides of the box. The jewelry box that fits is too small to hold a gift card though. That's the main downside to it.
So there you have it, your very own cute little Gnome Gift Box for a hostess gift, party favor, or as a gift card holder for this winter holiday season.
Here are other links to really fun gift boxes and baskets including my mini llama pinata with a secret compartment for treats:
- Valentine gift boxes - DIY Valentine Pinata Candy Box, Easy DIY Heart-Shaped Candy Boxes
- Shamrock Candy Box
- Easy Peat Pot Easter Baskets to Make
- Valentine Basket
- and of course, my favorite - the Mini Llama Pinata which you can easily decorate for Christmas
And the Gnome Gift Box is first of the 15 Days of Holiday Crafts. Here are links to the others:
- Red Roof Holiday Cottage
- Merry ChrisMoose Gift Box – DIY Mini Holiday Piñata
- Mini Paper Christmas House with Barn Shaped Gable (the Green Gable house)
- Gingerbread Paper House – made with Gingerbread Paint
- DIY Gnome Gift Box
- Scotty Dog Gift Box
- DIY Paper Wallet for Holiday Gift-Giving
- Paper Gingerbread Ornaments – Scented Gingerbread Men
- Happy Hollydeer Piñata Candy Box
- How to Make a Paper House Ornament for the Holidays
Lucy
P.S. Be sure to pin to your favorite Pinterest board. And if you want to see other projects or ask questions, please join me at the Paper Glitter Glue private Facebook group. It is a friendly group where you can ask questions and find lots of crafty inspiration.


Shirl Lundstrom
Just finished him up! Adorable. I am keeping this one for myself. It is the perfect box to keep with my planner supplies and he is holding Gnome stickers for the holiday season. I love that he works equally as well standing up! So cute. Thank you.
Lucy
I never thought of standing up the little gnome - what a happy accident. I am so glad you like the gnome gift box.
Thank you so much. Lucy
ann hunting
I love this gnome box. Was trying to pin it but keep getting this message when I use one of your pin buttons "Sorry, pinning is not allowed from this domain. Please contact the site operator if you have any questions."
Lucy
Ann, thank you for telling me about the Pinterest issue. I was able to pin from my blog. You can go to my Paper Glitter Glue Pinterest board to pin it .
IRENE VAN HEERDEN
THANK YOU SO MUCH LUCY. I WILL MAKE IT FOR SURE
Lucy
Thank you, Irene. I am so glad you like the little Gnome box.
Anthony James
Looking forward to giving this a go (for my Gnome Themed Christmas) 👍
Lucy
I am so glad you like it. Thank you.
Rose (Mickey) Dinges
Lucy, you can remove the felt fuzz by scrbbing your mat until it’s good and foamy with Dawn dish soap then scrape foam and fuzz off with a hard spatula . Rinse. If there is any fuzz remaining just repeat. Rinse thoroughly and let it air dry. It’ll still be tacky through about 4 cleanings. After that you may need to refresh the stickiness with a repositionable spray adhesive- mask your mat and use in a well ventilated area. I’m a cheapskate and hate buying new mats all the time. Use it up, wear it out, make it do or do without 😁
Lucy
I agree with you. I dislike buying new mats.
I've never added adhesive to my mats yet. Most of what I cut is cardboard so I tape it down. It doesn't move around like thinner materials do.
Thank you so much for your advice.