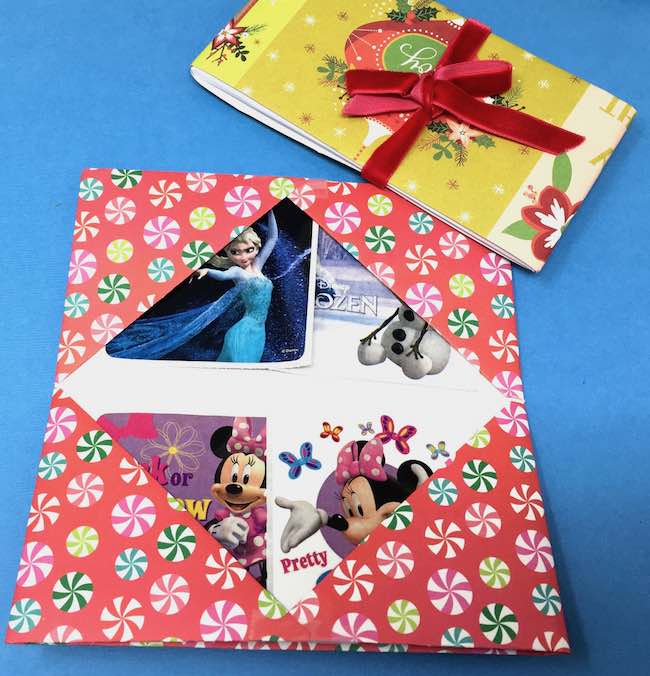
Here's a great way to make a cute paper wallets for gift cards or money.
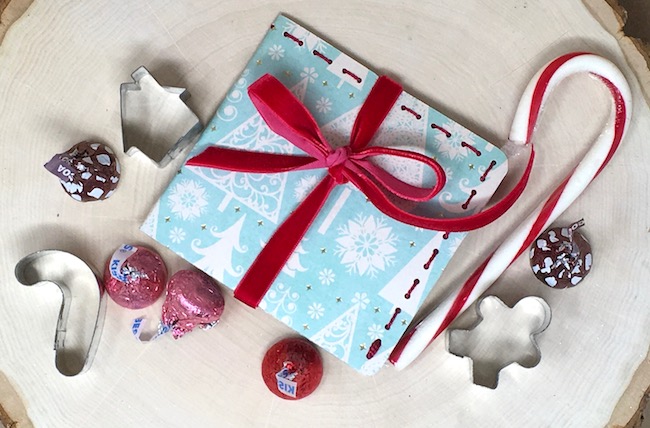
Here are two simple patterns for making Gift Card DIY paper wallets that you can make quickly. The first one is an origami wallet with no cutting required. For the second version I used my Cricut to cut it out, but you could easily cut it out by hand. And you can use all sorts of cute papers to personalize the paper wallet for your gift recipient. The wallet is Design No. 67 in the free Paper Glitter Glue library.
Just subscribe with the form below and I will send you the password to the library right away. And I will never send you any spam - only my newsletter usually once a week.
Also I've included an instructional YouTube video on making the paper wallets if you learn better that way.
So this is the another project of the 15 Days of Holiday Craft series. Did you see the Red Roof Holiday Cottage - that's the first Christmas house in the series? Here's the project list:
- Red Roof Holiday Cottage
- Merry ChrisMoose Gift Box – DIY Mini Holiday Piñata
- Mini Paper Christmas House with Barn Shaped Gable (the Green Gable house)
- Gingerbread Paper House – made with Gingerbread Paint
- DIY Gnome Gift Box
- Scotty Dog Gift Box
- DIY Paper Wallet for Holiday Gift-Giving
- Paper Gingerbread Ornaments – Scented Gingerbread Men
- Happy Hollydeer Piñata Candy Box
- How to Make a Paper House Ornament for the Holidays
- Easy Gingerbread House Paper Ornament
- DIY Display Gift Box for the Paper House Ornament
- Pull String Piñata - Miniature Firecracker Piñata
- DIY Bird Ornaments - Cardinal, Goldfinch, and Bluebird (counts as 2 projects)
Here's how you make each paper wallet.
This post contains some affiliate links for your convenience. Click here to read my full disclosure policy.
Materials to make a Gift Card Paper Wallet
- Pattern - Design No. 67 - from the Paper Glitter Glue Library
- Colorful 12" x 12" scrapbook paper
- Glue (this is the glue I used for this project)
- Clear tape
Directions for to make the Simple Origami Wallet
- Fold the 12 inch scrapbook paper in half then crease the paper
- Next fold each of the sides just to the middle fold
- Fold each corner down making a folded triangle at the top of each corner
- Fold both flaps to the middle
- Turn you paper over so the folded flaps are underneath
- Pick up the long end of the paper and fold it to the middle of the paper to show the V-shape from the corners that are folded down
- Fold and crease the paper so that the tip of the V-shows
- Then fold the other side the same way, but fold it so that the edges can tuck in
- Reinforce with tape
Directions to make the DIY Gift Card Paper Wallet
- Download the DIY Paper Wallet pattern - Design No. 67 - from the Paper Glitter Glue Library
- Cut out the pattern pieces - I used my Cricut Explore Air 2
- Glue the outside wallet sides together
- Fold along score lines for the longer money insert piece
- Glue down the top fold
- Fold the score lines on the credit card insert
- Glue down the top fold
- Adhere to the money insert
- Fold the score lines on the triangle insert
- Glue down the long fold
- Adhere to the money insert
- Glue the money insert to the body of the wallet
- Let dry then fold
- Fill with notes, money and/or gift cards
Here's the YouTube instructional video on making these Gift Card Paper Wallets.
How to Make the Simple Origami Wallet for Gift Giving
Now here are more detailed instructions and photos to help you understand how to make the wallet. Let's start with the origami wallet. You don't need a pattern for this paper wallet. It's just folded paper. And it's fast and easy.
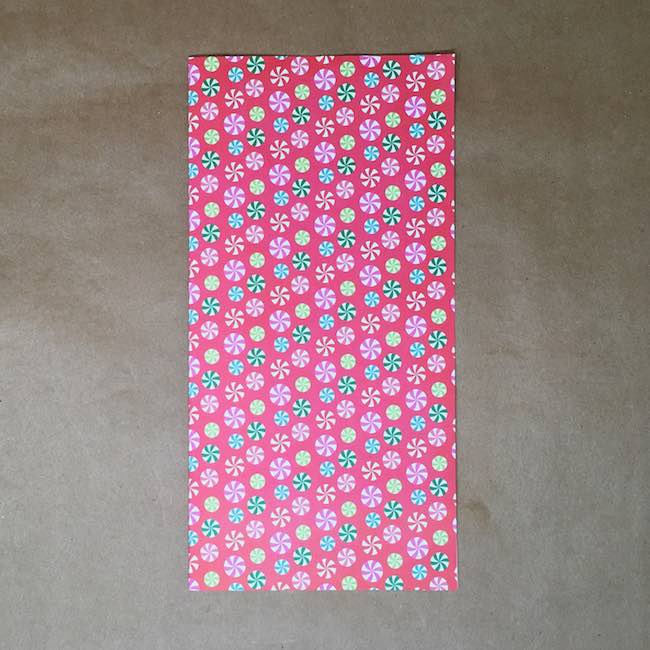
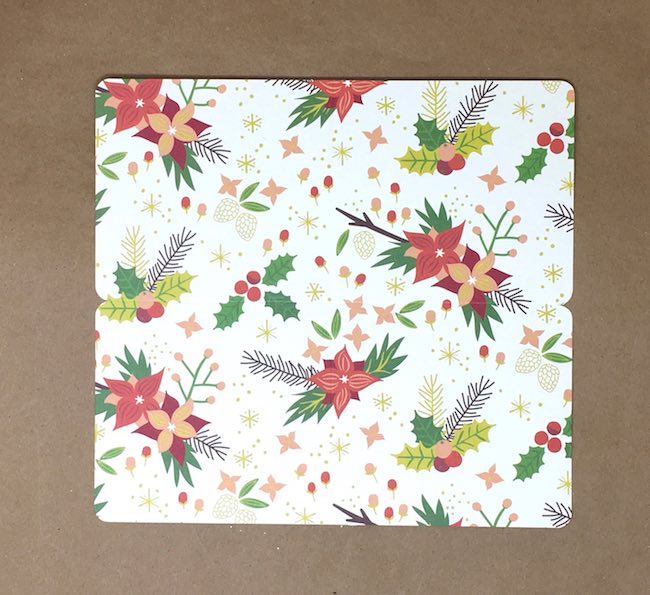
First start with a 12 x 12 inch piece of scrapbook paper and fold in half.
This makes a good-sized wallet. Fold the 12 inch scrapbook paper in half and crease well.
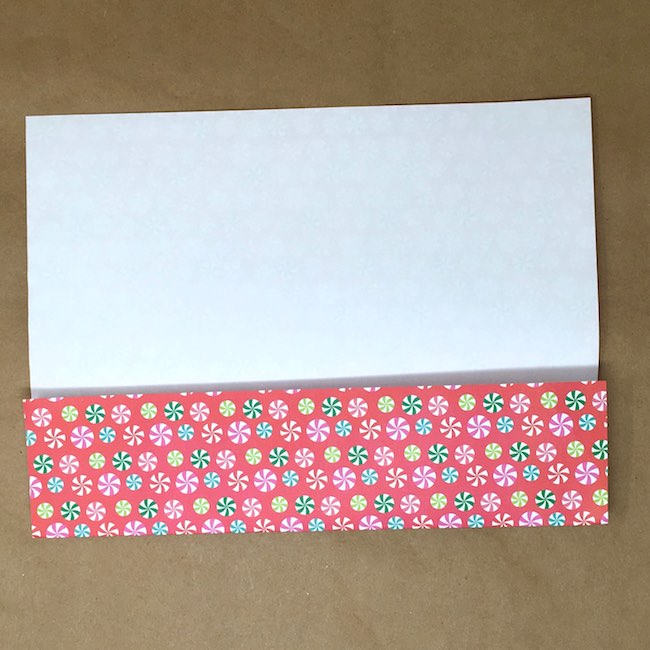
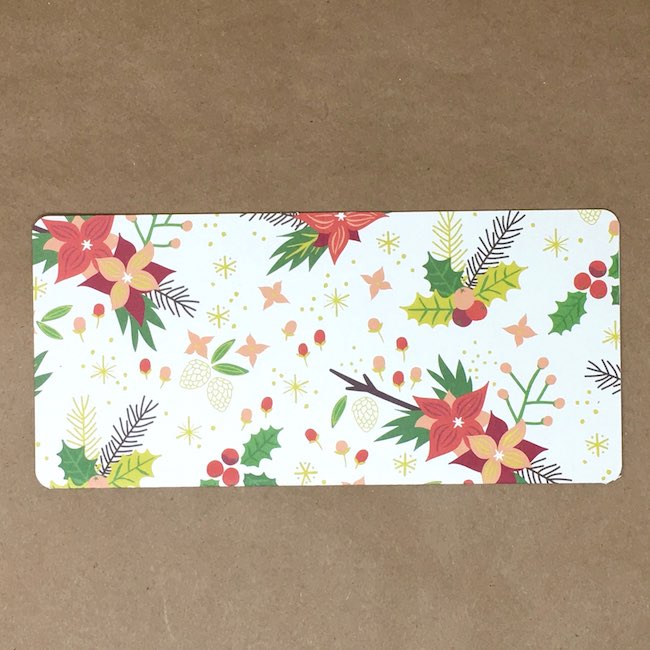
Next fold each of the sides just to the middle fold
Next fold each of the sides just to the middle fold and crease.
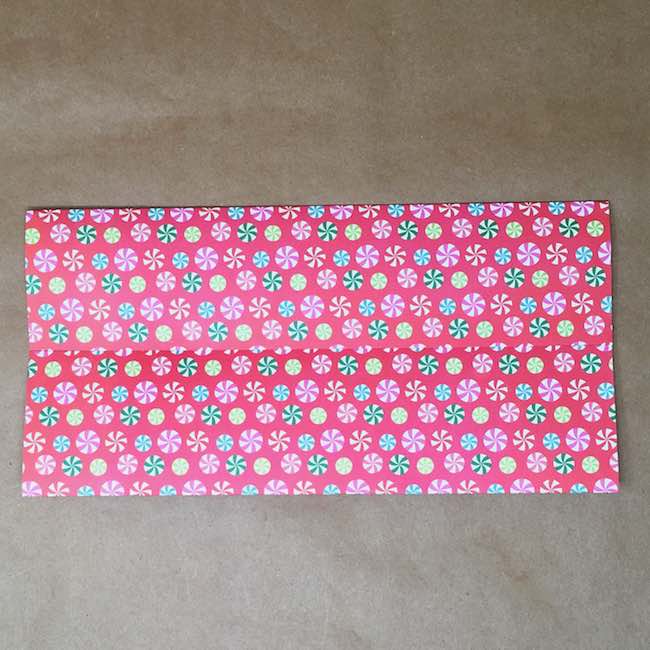
Fold each corner down making a folded triangle at the top of each corner
Now fold in each corner of the paper to the side fold, not the middle fold.
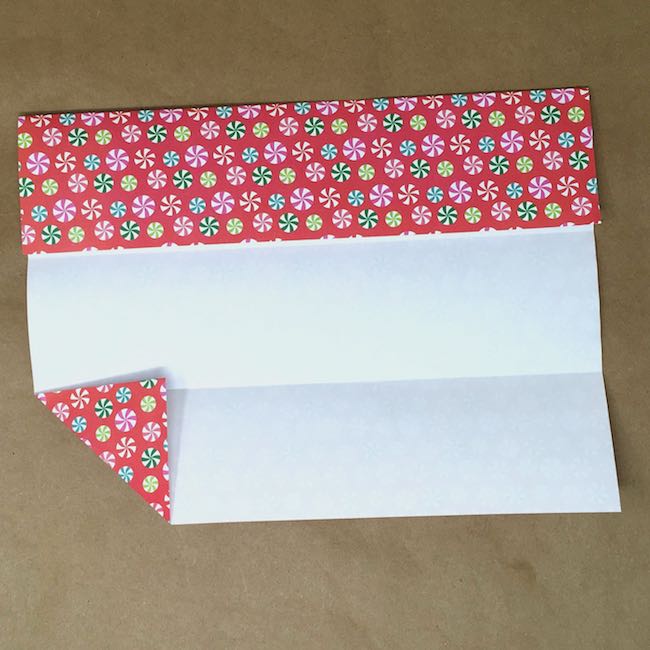
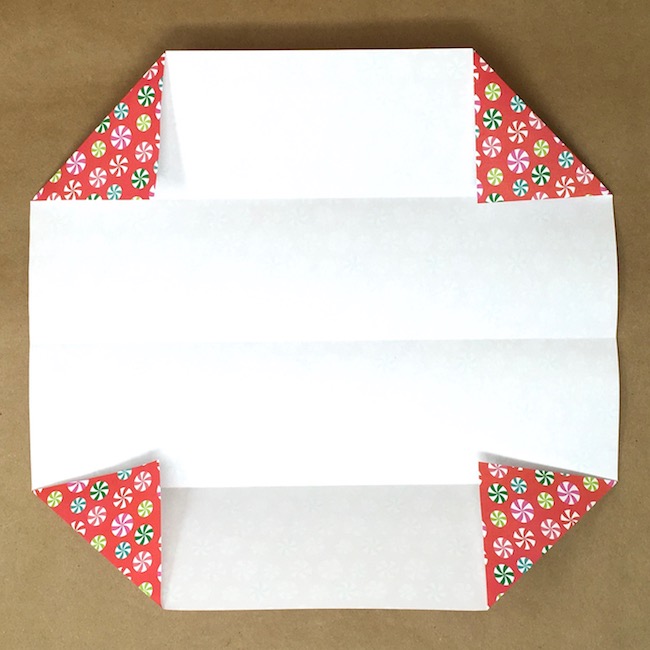
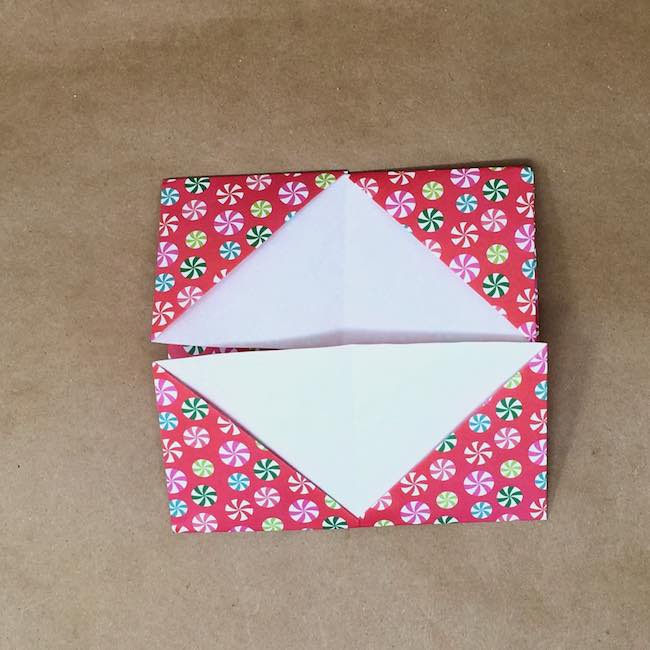
Fold both flaps to the middle
After you have folded all the corners down, the fold the flaps to the middle fold line. See the V-shape that the folded corners make? You will use that as a marker in the next step.
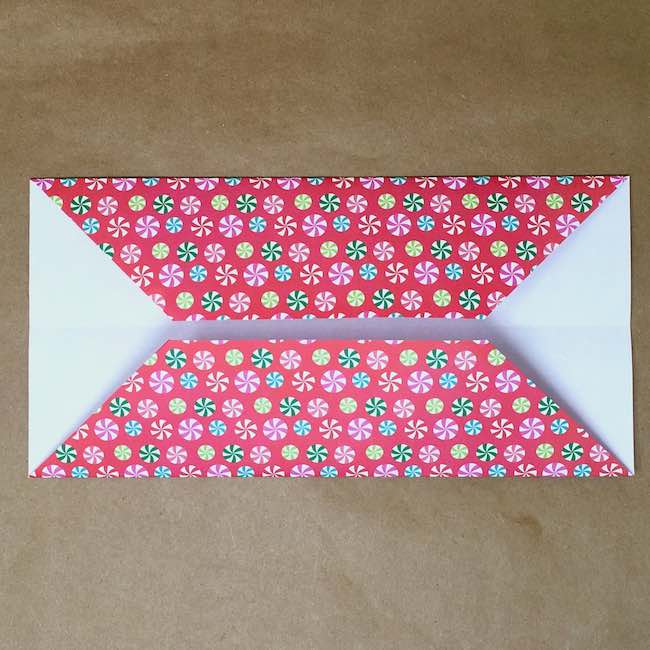
Turn you paper over so the folded flaps are underneath
So turn the paper over so the folded flaps are underneath.
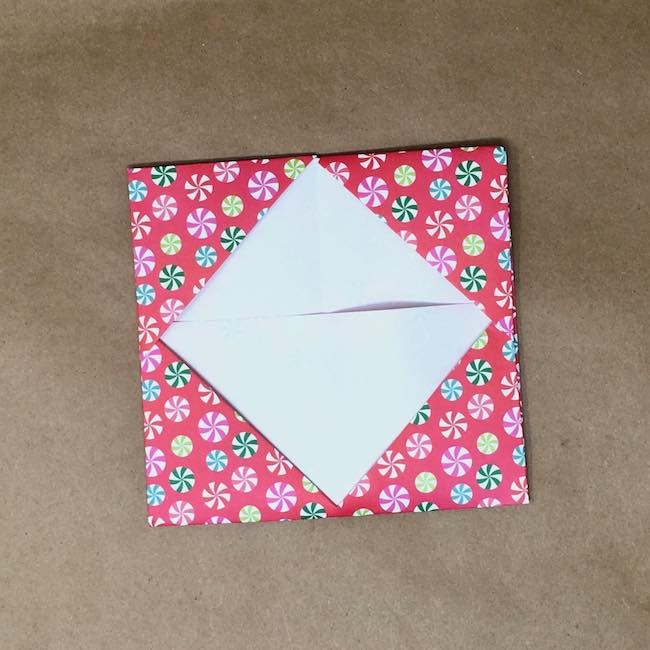
Pick up the long end of the paper and fold it to the middle of the paper to show the V-shape from the corners that are folded down
Pick up one end of the paper and bring it up to fold to the middle of the paper. You will know it's the middle when you see a V-shape from the folded corners.
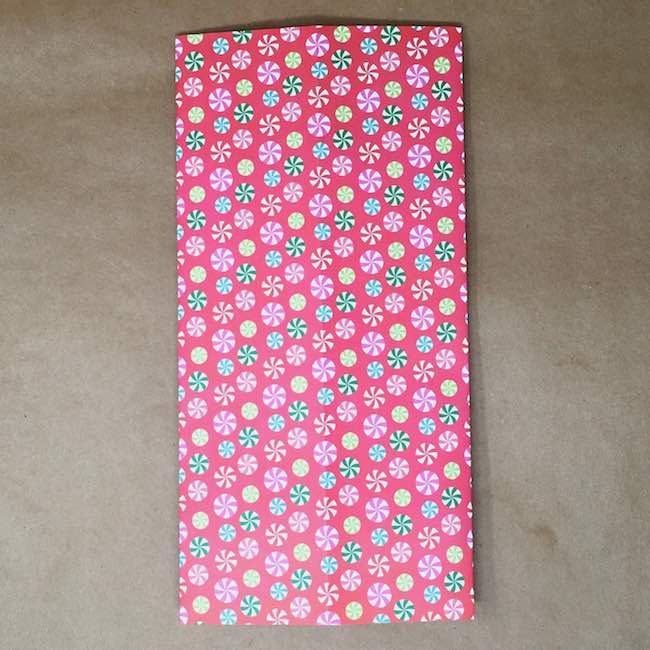
Fold and crease the paper so that the tip of the V is visible
Now fold and crease the paper well when you have the bottom of the V-shape in place.
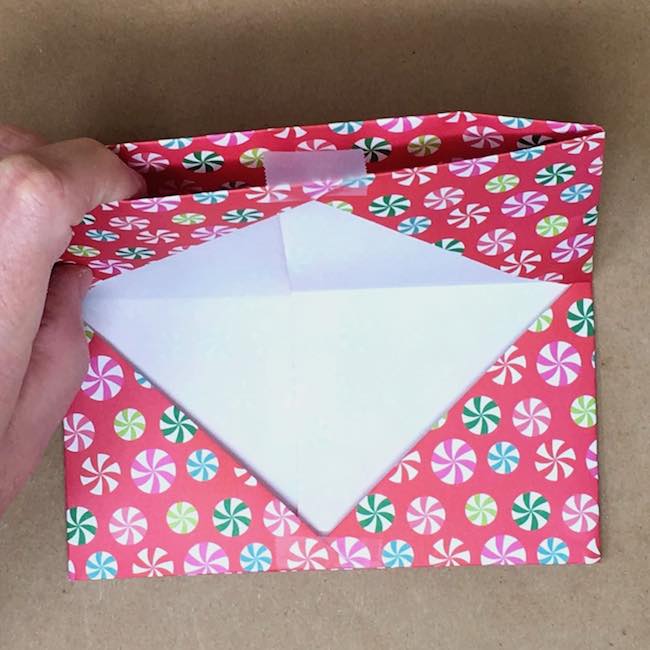
Then fold the other side the same way, but fold it so that the edges can tuck in
Do the same thing with the other side except that you may have to bring it up a little more to make the edges tuck in on the side.
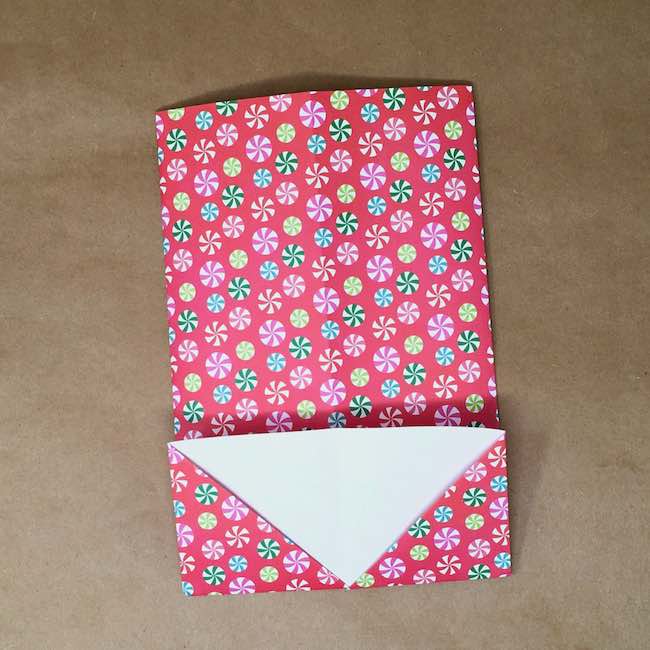
Reinforce with tape
Next you have to use a little tape to keep the wallet together. That's because people can't help but unfold it and then they can't seem to get it back in place. This is especially true of kids. So I put a small piece of tape on the paper overlap in the middle and 2 more pieces on each side where a wallet pocket is formed.
Now Let's Make the DIY Gift Card Wallet
Download the DIY Paper Wallet pattern pattern from the Paper Glitter Glue Library - Design No. 67
First download the pattern from the Paper Glitter Glue library. Look for Design No. 67 in the library. The pattern is in 3 formats - SVG, PDF, and DXF. Choose whichever one works better for you. I use the SVG pattern with my Cricut cutting machine.
So to get the pattern just type in the password and you have access to all of my patterns and files and tutorials. If you don't have the password, just subscribe to my newsletter with the form below and I will send you the password right away.
You can subscribe with the form below.
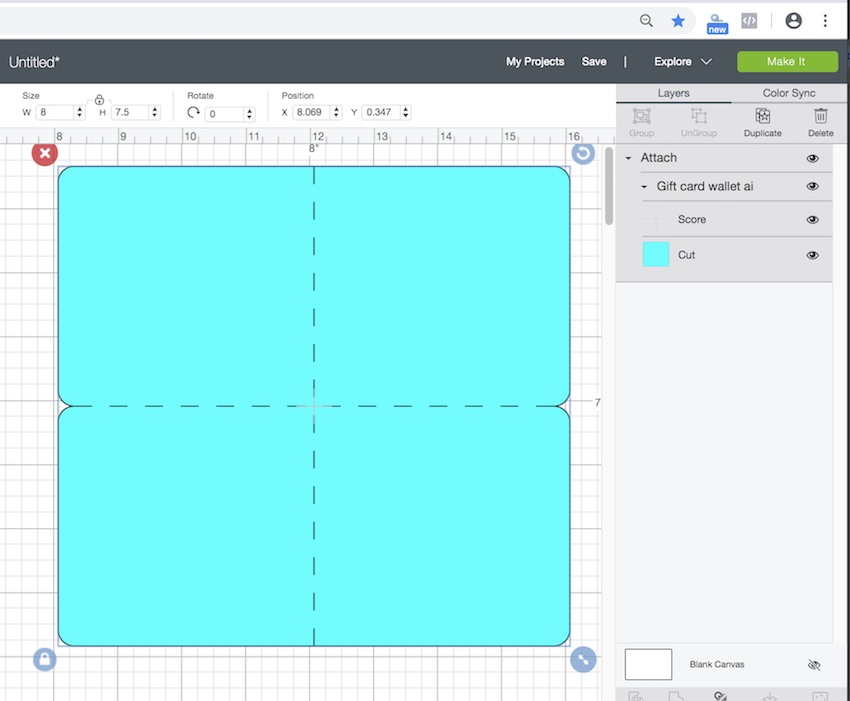
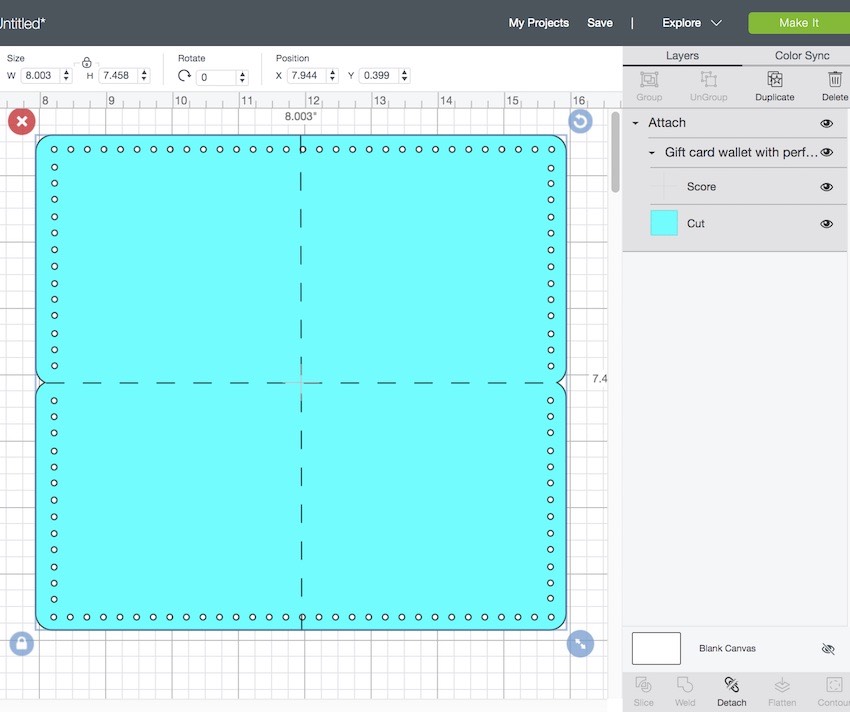
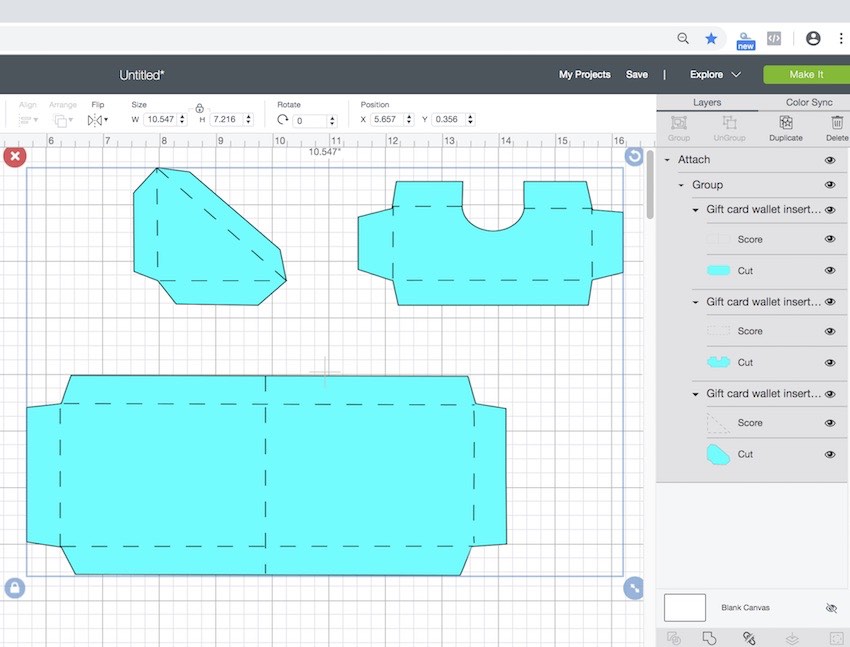
And here is how the pattern looks in Cricut's Design Space. You have to be sure to designate the score lines and attach them so the machine will cut or score the lines properly.
Below is the main body of the wallet in Design Space. This one does not have any perforations.
Next is the wallet with the perforations around the edge.
And here are how the wallet insert pieces look in Design Space. Please note that the set of score lines for the triangle looks like a solid shape until you change it to the score lines.
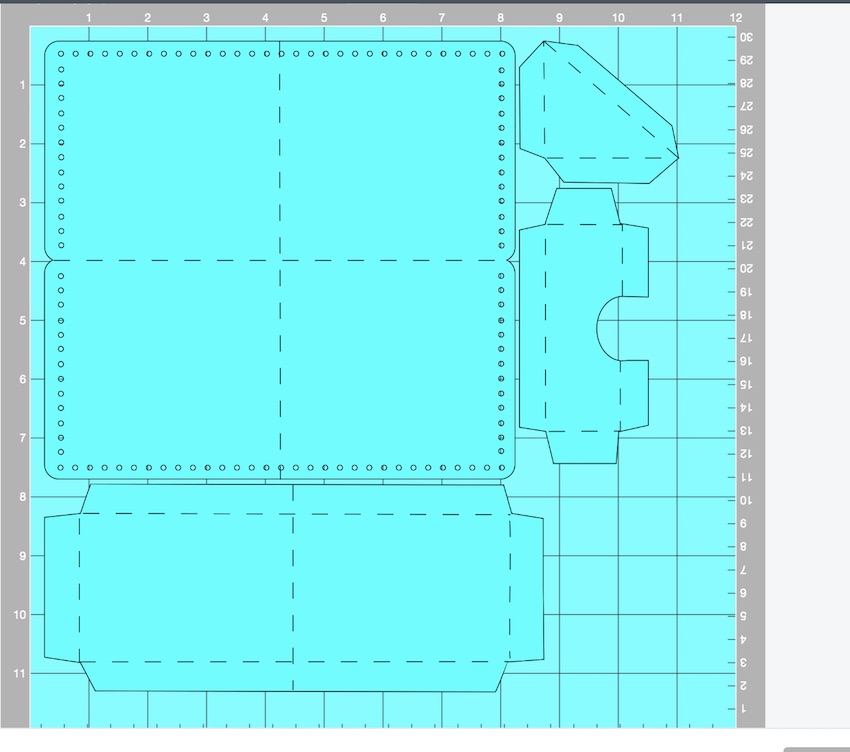
Fortunately all the pieces for one wallet fit on one Cricut mat and looks like this:
Cut out the pattern pieces
Now cut out the pattern pieces. If you are making the one with the perforations, know that it takes a while to cut out all the tiny holes. Just a little warning there.
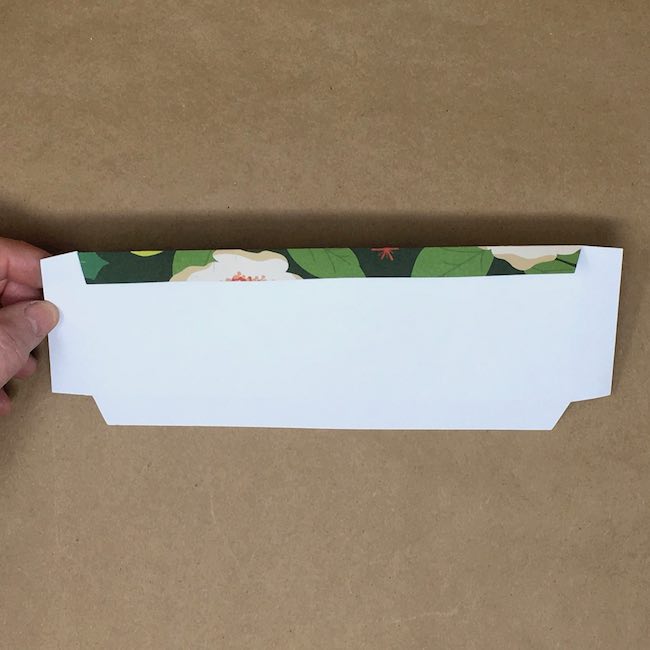
Glue the outside wallet sides together
Next glue the main body of the wallet together. It's designed this way to be a little stronger and to have pattern on both sides of the paper. I used a thin but quick drying glue called Art Glitter Glue. It has a nice tiny tip and spreads easily and dries fast. But really any white glue would work. I just wouldn't put on a thick layer because it will make the paper lumpy.
Fold along score lines for the longer money insert piece
You really can't see it in this photo but there is a score line in the middle of the money insert strip. When you glue the other two parts on make sure that they don't interfere with that fold line.
Glue down the top fold on the long piece of the money compartment
But don't glue it to the main part of the wallet yet. Next make the gift card insert.
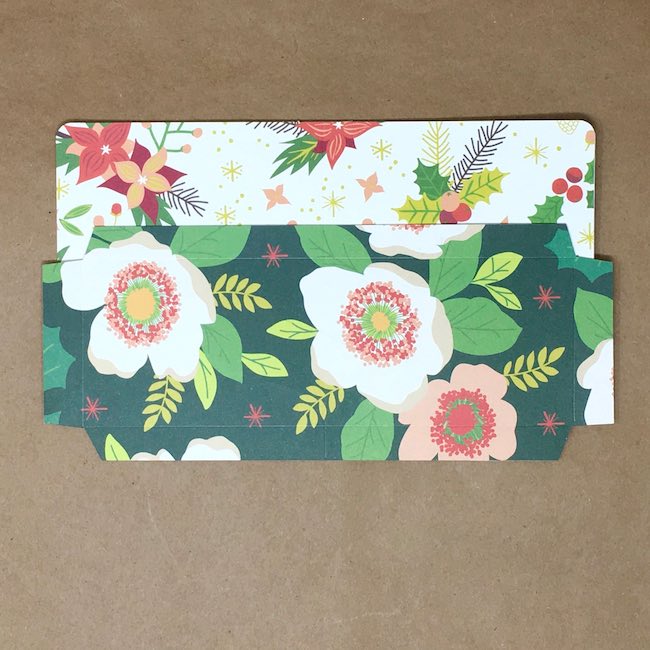
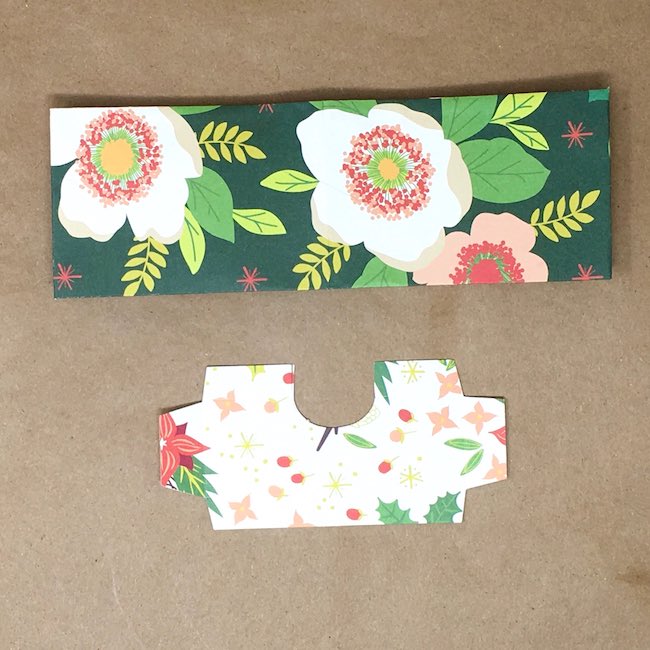
Fold the score lines on the gift card insert
Here's how the gift card insert looks before you fold it. It's got a cut out to make it easier to remove the gift card.
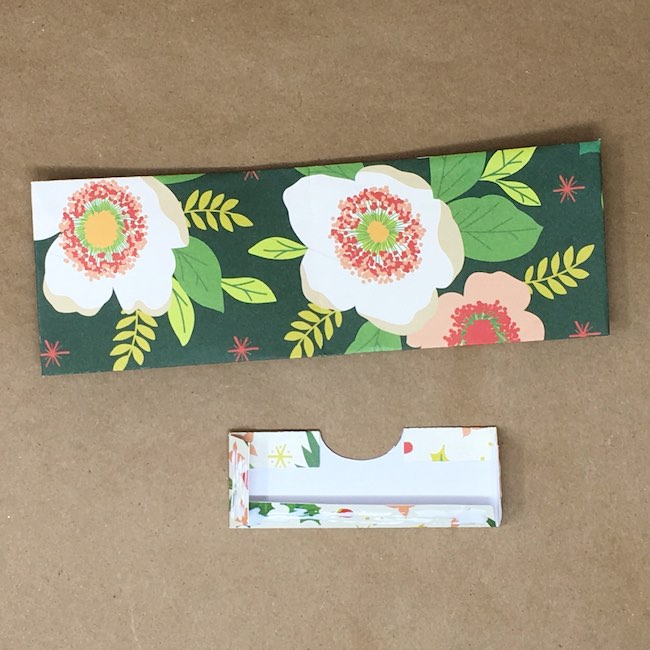
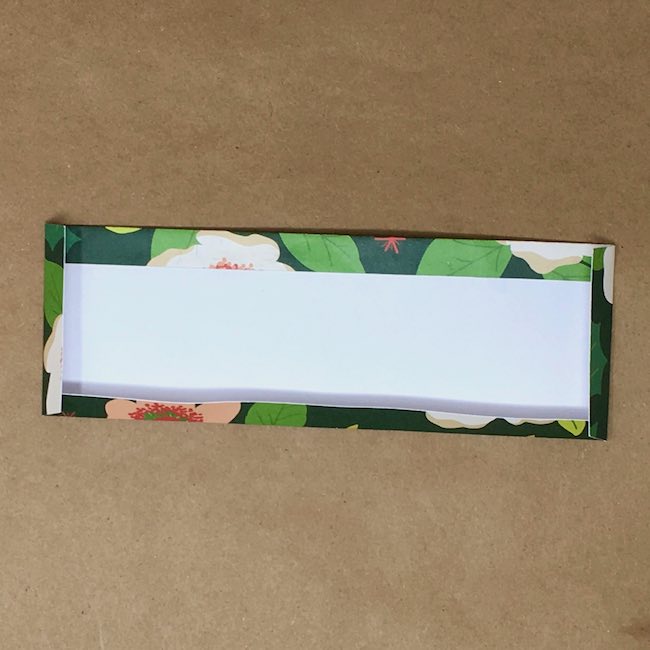
Glue down the top fold
First glue down the flaps at the top of the gift card insert.
Now adhere the gift card insert to the longer strip
Next apply glue to the flaps of the gift card insert and apply pressure to adhere it firmly to the longer strip. Be sure to arrange it so it doesn't interfere with the fold line in the middle of the longer strip. There is a score line there as well.
Fold the score lines on the triangle insert
Next fold along the score lines on the triangle insert.
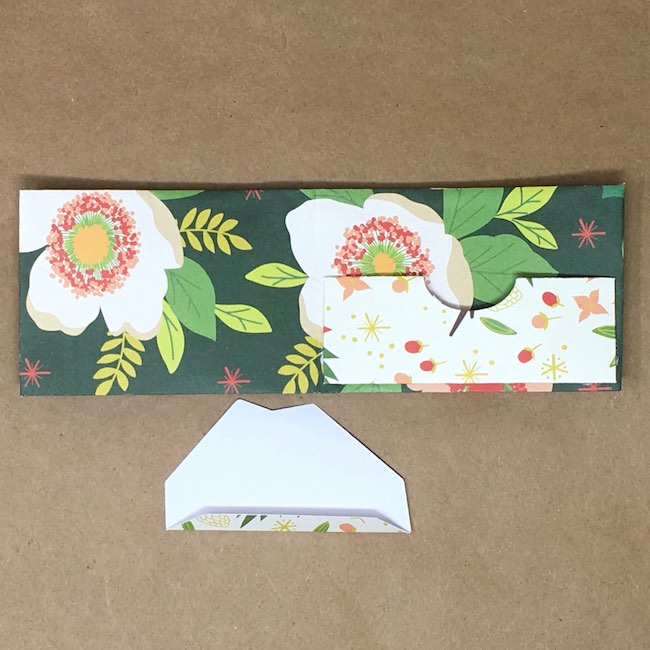
Glue the long fold on the triangle insert
Next glue the long fold on the triangle insert. Doing this just gives more support and makes it less likely to tear easily. Fold the other flaps back.
Adhere to the money insert
Just like you did with the gift card insert, glue the flaps to the money flap and press firmly. You can check to make sure that the flaps aren't glued shut by testing with an old credit card.
Glue the money insert to the body of the wallet
Now that the 2 pockets are glued to the money flap, glue it in place. Make sure to line up the fold lines in the middle of both pieces.
Let dry, then fold
Let the glue dry before you fold it because things slip if you fold them before the glue is dry.
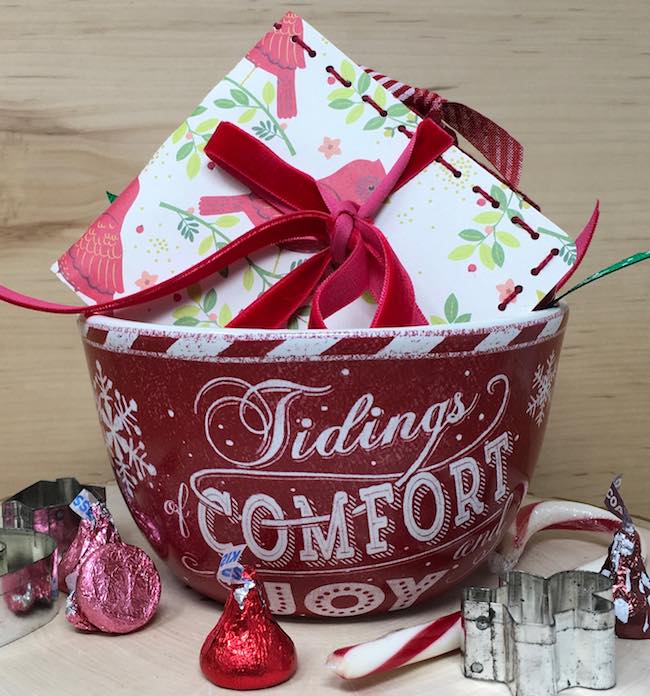
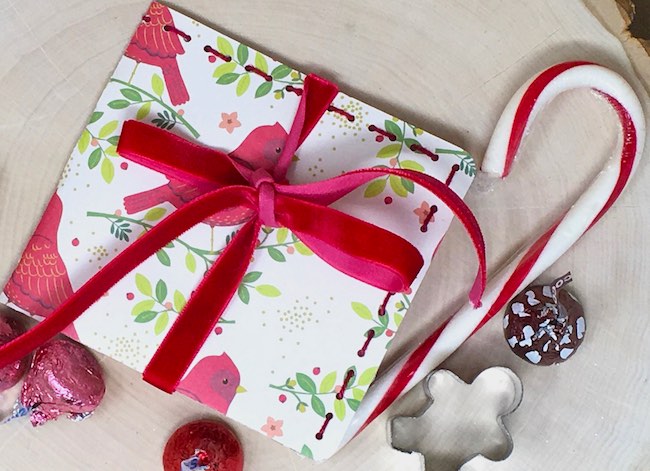
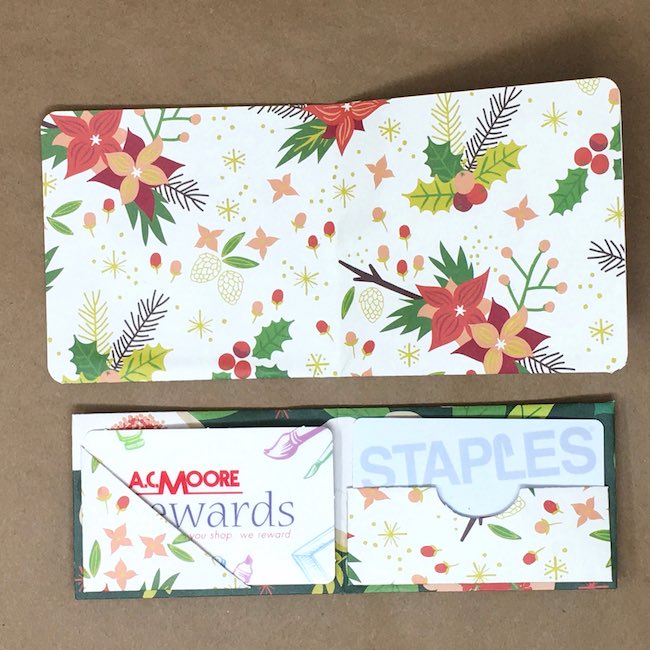
Fill your gift card paper wallet with notes, money and gift cards
And finally fill your little paper wallet with a note or a gift card or money for your loved one.
And that is how you make your DIY paper wallet.
If you have any questions about how to make the little paper wallets, let me know.
I hope you are able to enjoy making some creative projects this week.
Lucy
Leave a Reply