Make a Display Gift Box for Your Holiday Paper House Ornament
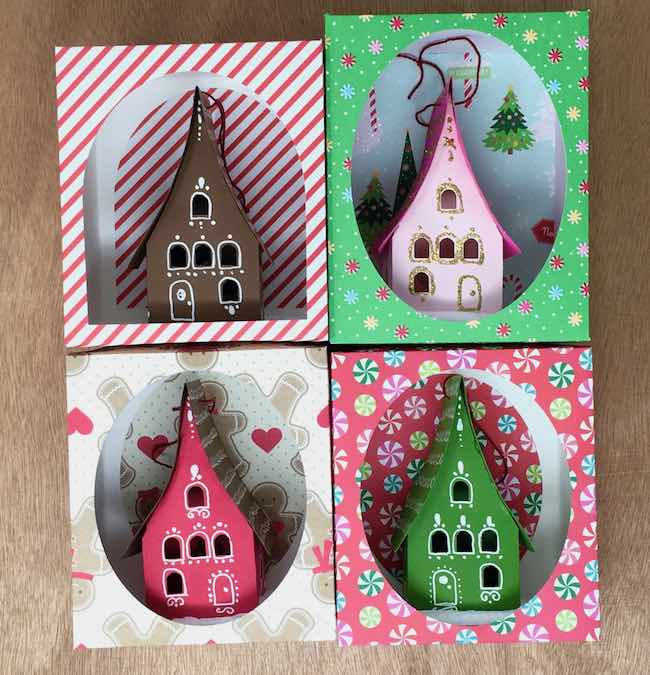
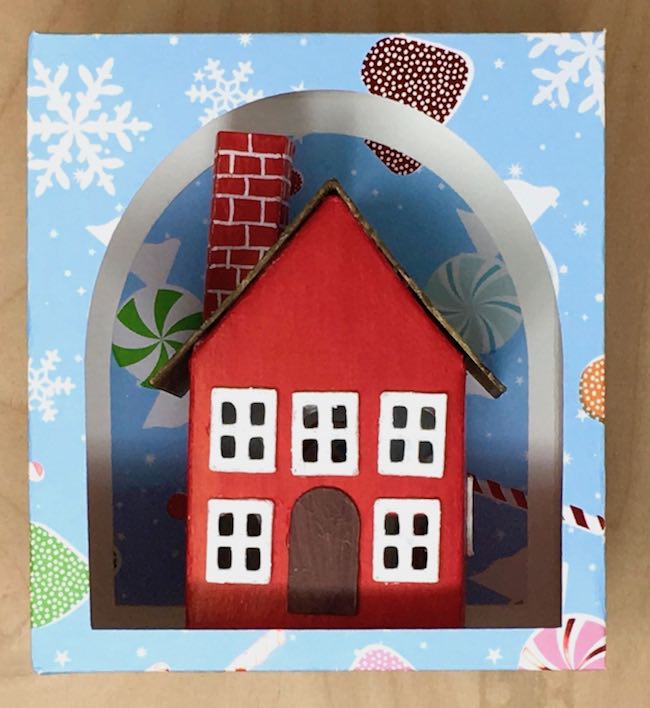
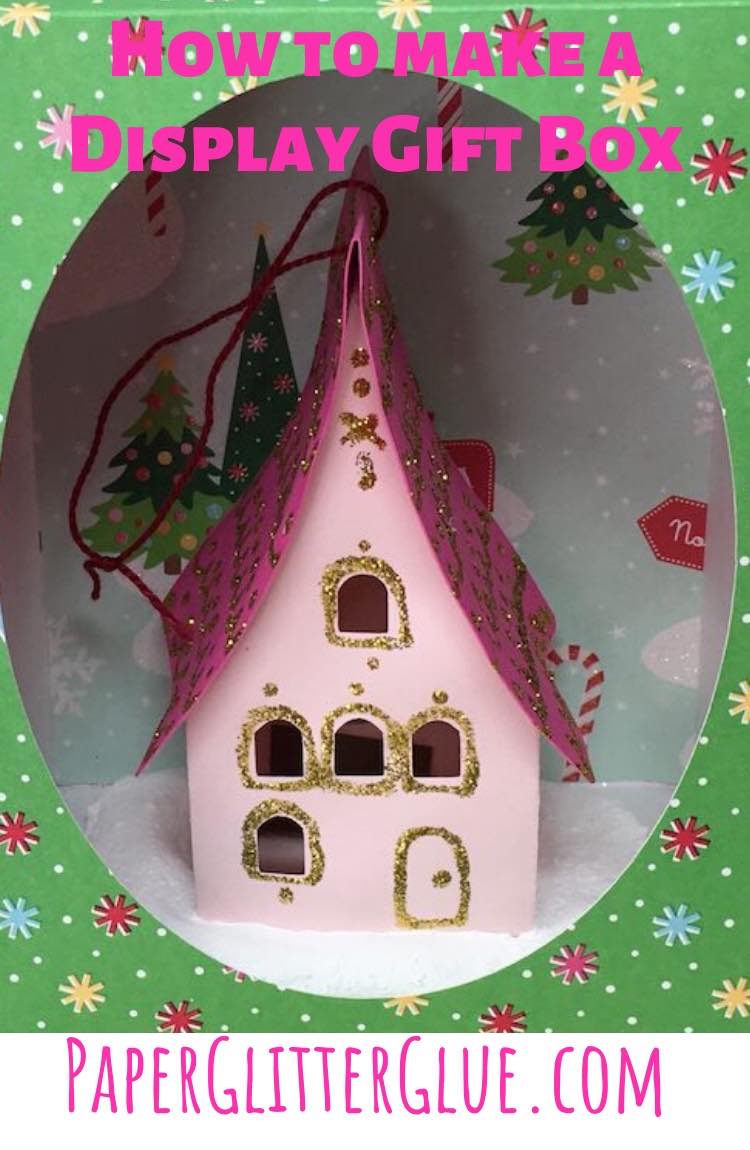
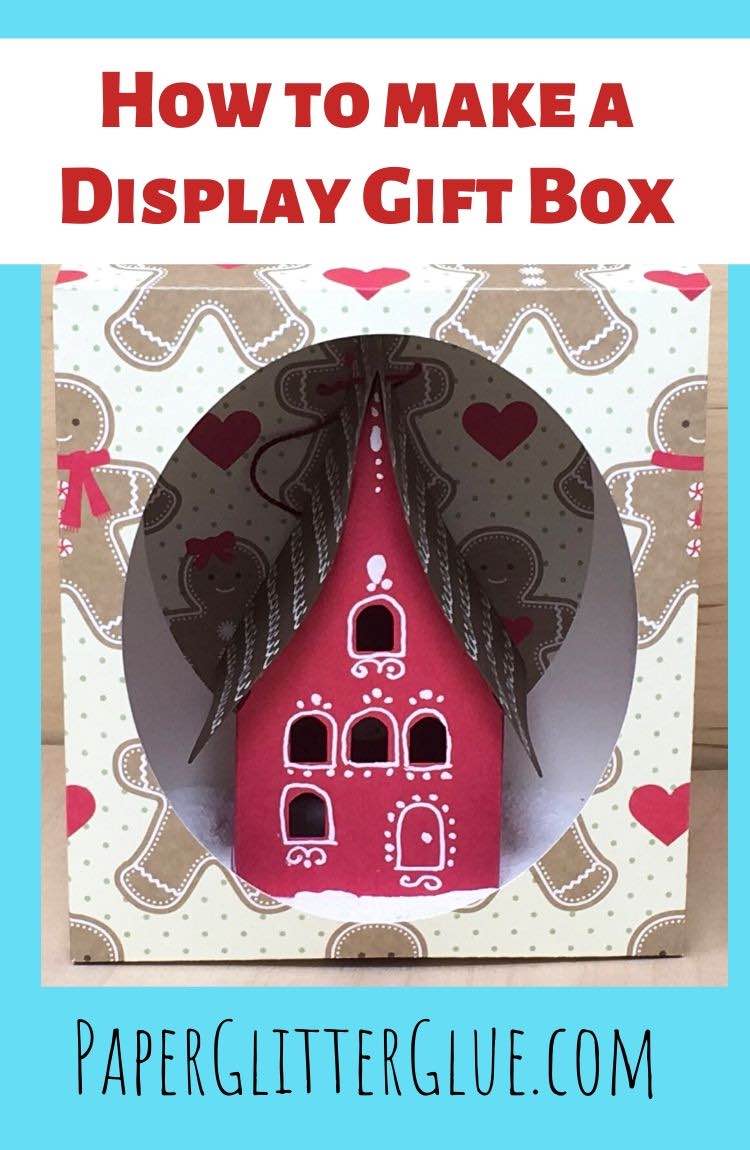
The display gift box is a great way to display your Holiday Paper House Ornament. You could even use it as a small shadowbox. This display gift box is an easy project made to fit the little Holiday House ornament perfectly. Two other paper houses in the Paper Glitter Glue library that fit nicely inside this display gift box are the Easy Paper House and the Miniature Irish Cottage.
This post contains some affiliate links for your convenience. Click here to read my full disclosure policy.
Here's how to make it:
Materials to make the Display Gift Box for a Miniature Paper House
- 12' x 12" Card stock or Scrapbook paper - this is similar to what I used
- Heavy paper for the bottom piece - I used this paper
- Glue - nothing fancy here
- A way to cut the pattern out - I used my Cricut
Note about the paper used for this project
Just a word about the supplies for this project. I made a number of little boxes. Some versions I made with regular card stock - 65# weight. Some I made with thin scrapbook paper that was the weight of regular paper. And then at a craft store I found a sturdy paper used for painting with acrylics. That's what I ended up using for the base of the gift box. All of them work, but the heavy duty paper worked best.
I didn't use cardboard because I don't have any 12" x 12" cardboard. Probably I could have cut up some poster board, but I didn't think of it until now. In any case, try to use at least 65# card stock for the bottom piece of the gift box, but if you can get some heavier paper that would be good.
You can see the differences in the papers in the video I made this project.
Outline of how to make the Display Gift Box:
- Get the free pattern - Design No. 71 - from the Paper Glitter Glue library
- Cut out the display gift box pattern
- Glue the box pattern pieces together
- Apply painter's tape to the bottom of the paper house to be displayed
- Place your Holiday Paper House or other design in the display gift box
That's it. It's a simple paper craft. But I go into more detail below and in the video.
This is one more paper craft in the 15 Days of Holiday Crafts series. Number 12 if I have counted correctly. Below are links to the other projects in the Holiday Craft series:
- Red Roof Holiday Cottage
- Merry ChrisMoose Gift Box – DIY Mini Holiday Piñata
- Mini Paper Christmas House with Barn Shaped Gable (the Green Gable house)
- Gingerbread Paper House – made with Gingerbread Paint
- DIY Gnome Gift Box
- Scotty Dog Gift Box
- DIY Paper Wallet for Holiday Gift-Giving
- Paper Gingerbread Ornaments – Scented Gingerbread Men
- Happy Hollydeer Piñata Candy Box
- How to Make a Paper House Ornament for the Holidays
- Easy Gingerbread House Paper Ornament
- DIY Display Gift Box for the Paper House Ornament
- Pull String Piñata - Miniature Firecracker Piñata
- DIY Bird Ornaments - Cardinal, Goldfinch, and Bluebird (counts as 2 projects)
First Download the pattern - Design No. 71 - from the Paper Glitter Glue Library
I've written this pattern in 3 different formats:
- SVG for those with automatic cutting machines that use the Scalable Vector Graphics format
- PDF or the portable document format if you would like to print the pattern and cut it out. Please note that this is designed for a 12 x 12 sheet of paper so it's a little bit harder to print.
- DXF for those machines that use the Drawing Exchange Format based on CAD programs.
So to download from the Paper Glitter Glue library, just click to the library page. There's a big bold blue section in the middle of the page where you click to get to the page where you type in the password. Then just type in the password and you have access to all of my free patterns. The most recent file is listed at the top.
And how to do you get the password if you don't have it? Well, that is easy. Just subscribe with to my free crafty newsletter and you will get the password right away. The subscription form is below. I send out a newsletter about every 1-2 weeks usually when I have a new project or some news to share with you.
Now cut out the pattern
For this project I used my Cricut cutting machine to help speed up the process. Next I'll show you how the project looks in the Cricut Design Space software so you can tell where the score lines are.
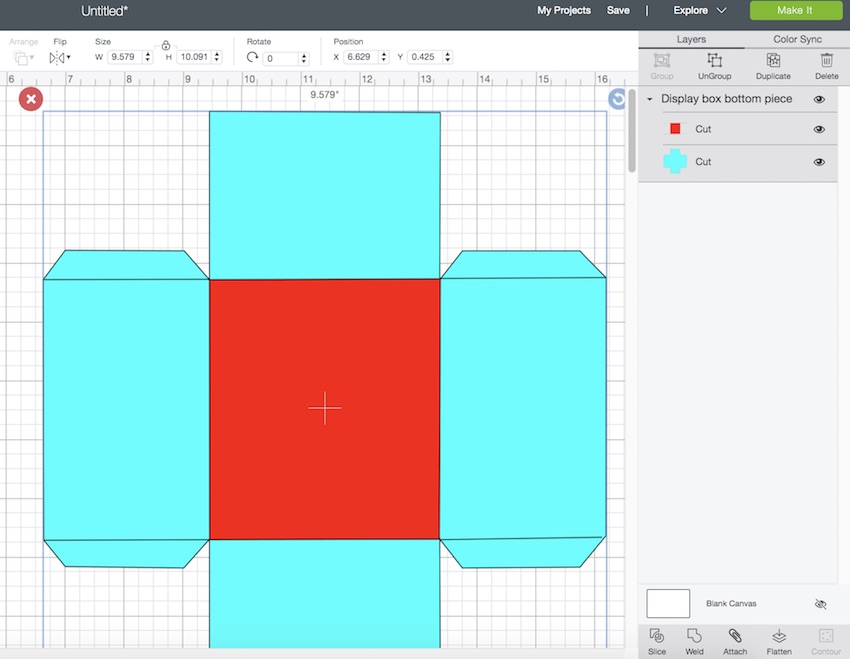
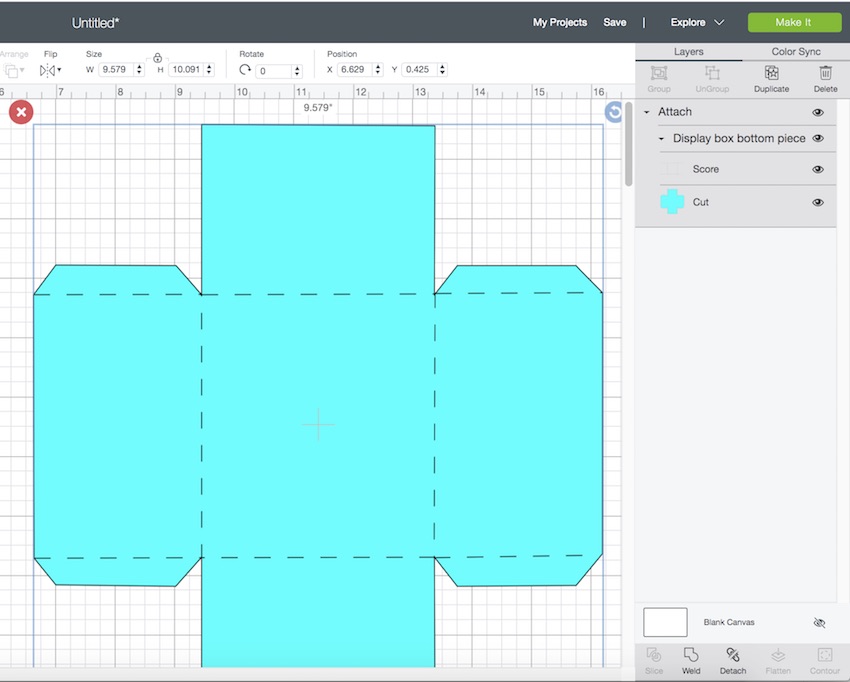
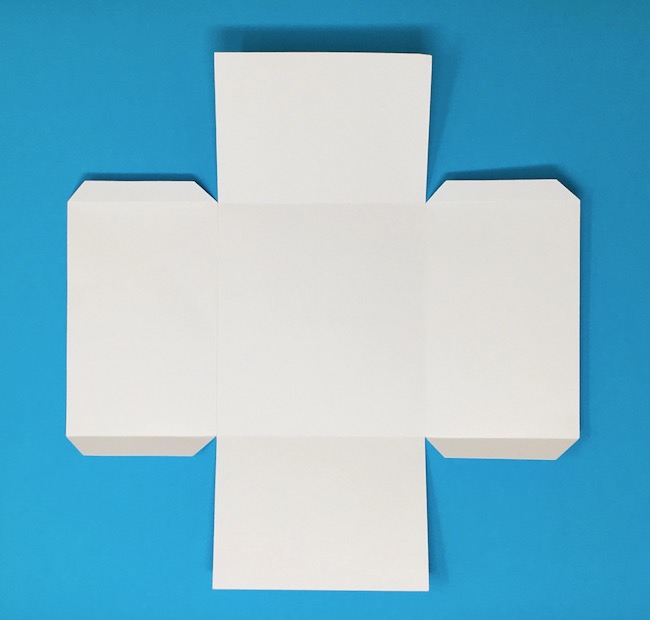
Here's how the pattern for the bottom piece looks in Design Space before the red area is marked as an area for scoring.
And here is how it looks after marking the red area to be scored. Always be sure to attach the score lines.
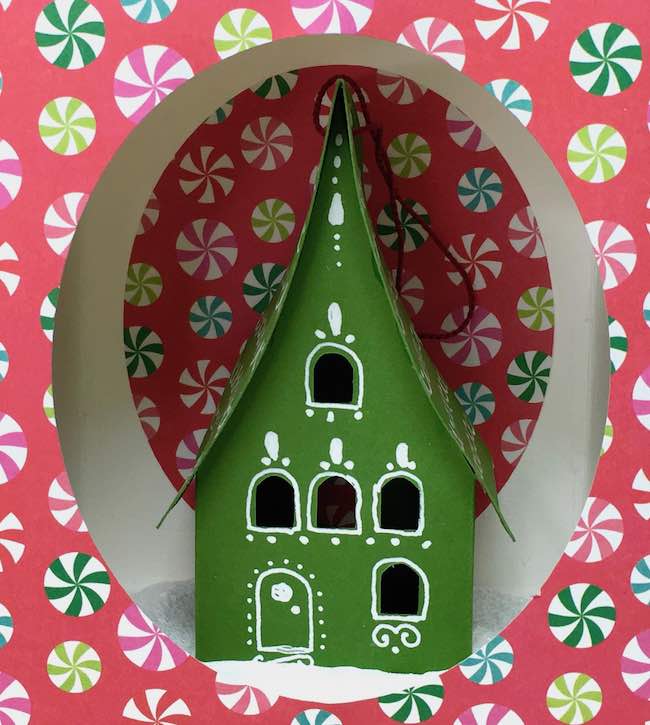
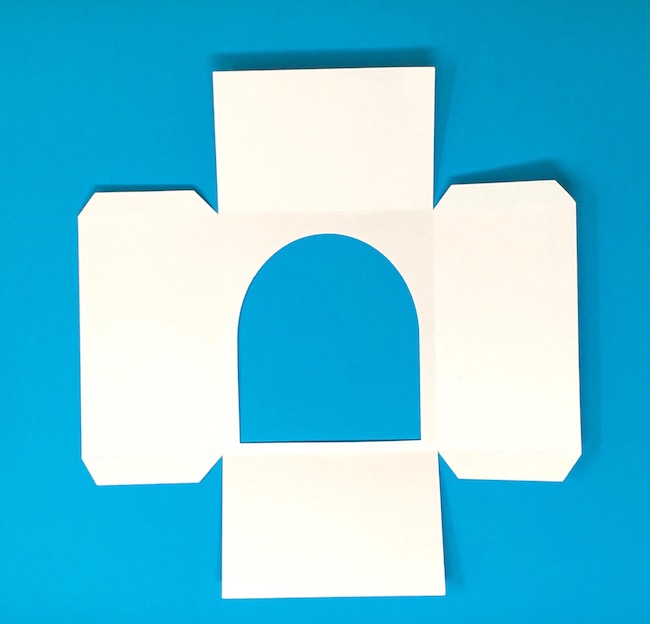
Next, there are two different versions for the top piece of the box. One has an arched opening and the other has an oval opening.
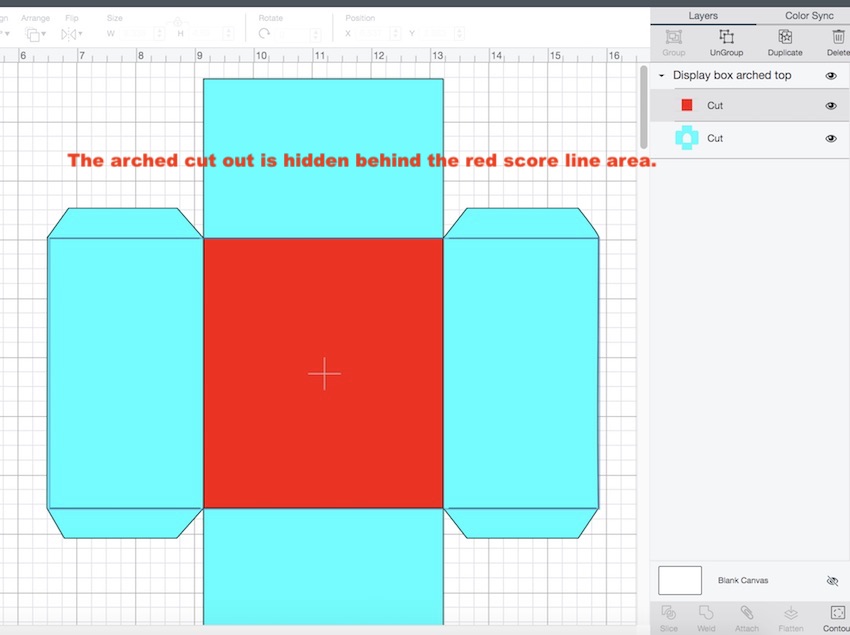
First, the arched version of the gift box. When it is first uploaded to Cricut's Design Space, it looks just like the bottom piece. The red scored area obscures the front arch. After you change it to score, the arch becomes visible.
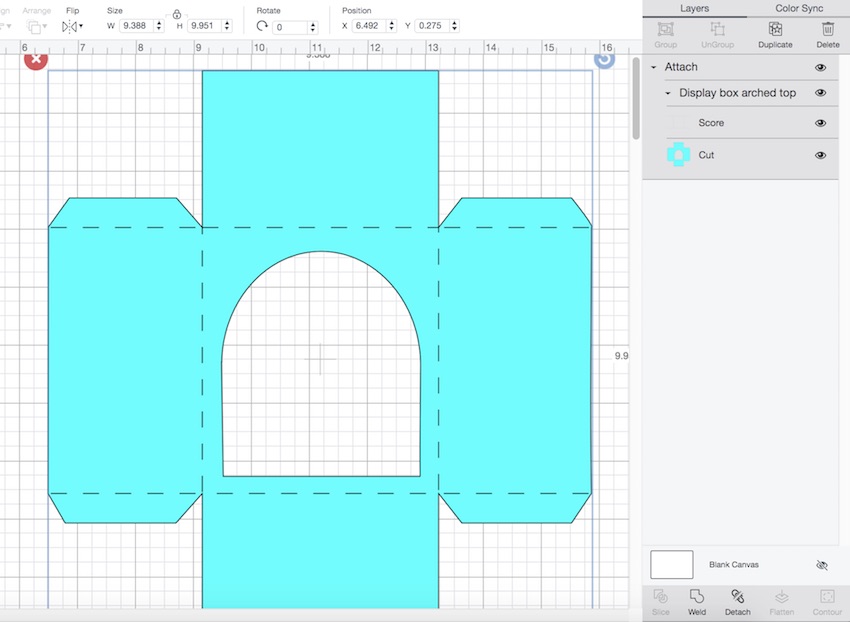
So once you change the red area to score, the pattern looks like this. Again be sure to attach the score lines.
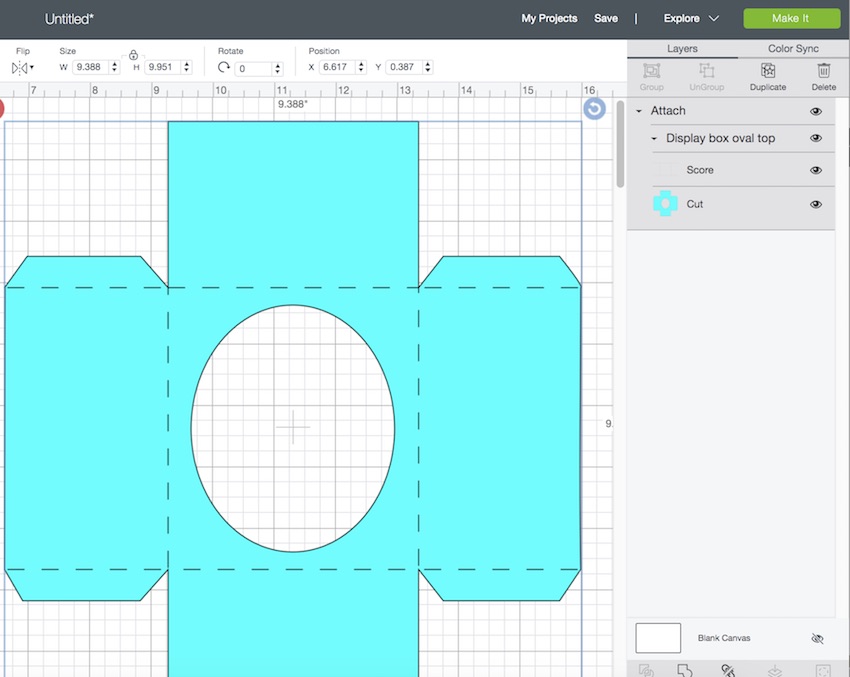
And finally here is the oval top piece in Design Space with the score lines already marked.
I think I like the oval version better. What do you think?
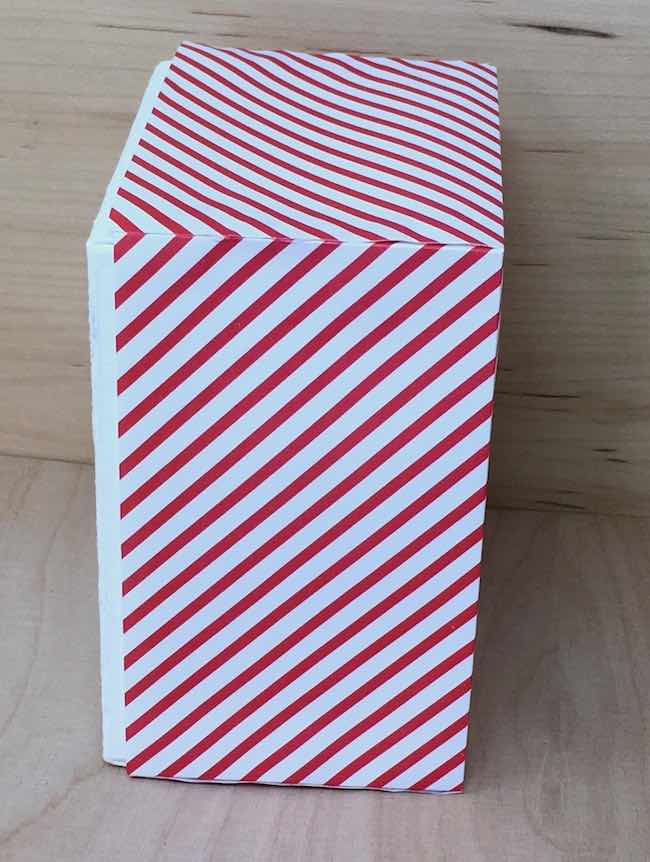
Now fold along the score lines and glue the tabs to the box sides.
All the score lines are marked when you cut it out with an automatic cutting machine like a Cricut. That is one of the nicest features about the cutting machines.
Here's how the bottom piece looks with the score lines folded.
Just use a regular glue. Nothing fancy needed here because we're using card stock or scrapbook paper, not cardboard and we don't need heavy duty holding power.
You may notice that the bottom piece is taller (or has more depth) than the top piece. That is to make it easier to take the top off. When the pieces are the same size, it is difficult to separate the two.
Oh, and I used the cut out paper from the top of the box and glued it to the back of the bottom just to provide some background for the little house. This is an optional step.
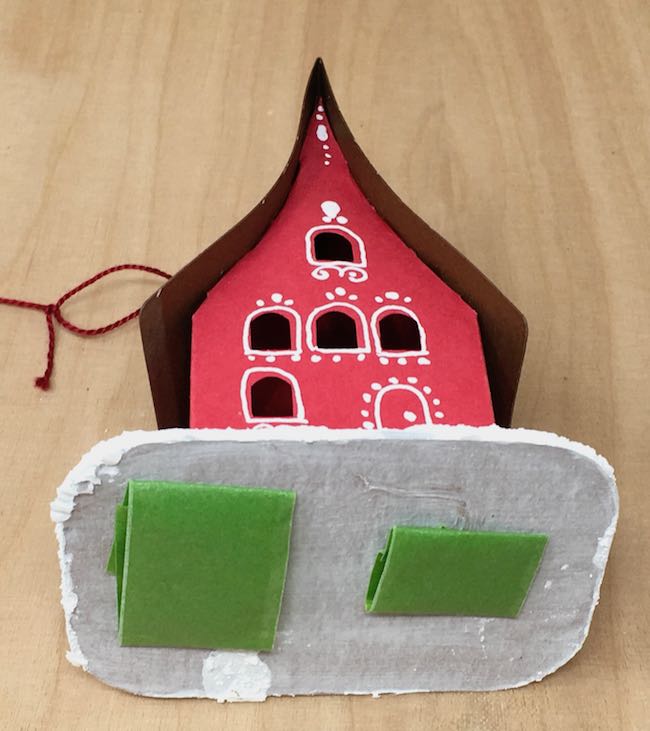
Next apply some painter's tape to the bottom of the little house ornament
Since I want to be able to remove the little paper house ornament, I just applied some painter's tape to the bottom of the house to hold it in place temporarily. If you want the house to permanently reside in the display box, then glue it in place.
And that's it. Really, it's a simple project that shows off the little paper house so well and makes it a very special gift.
If you have any questions, just let me know at [email protected].
Lucy



Linda Cox
Thankyou Lucy! Happiest of New Years ❤️