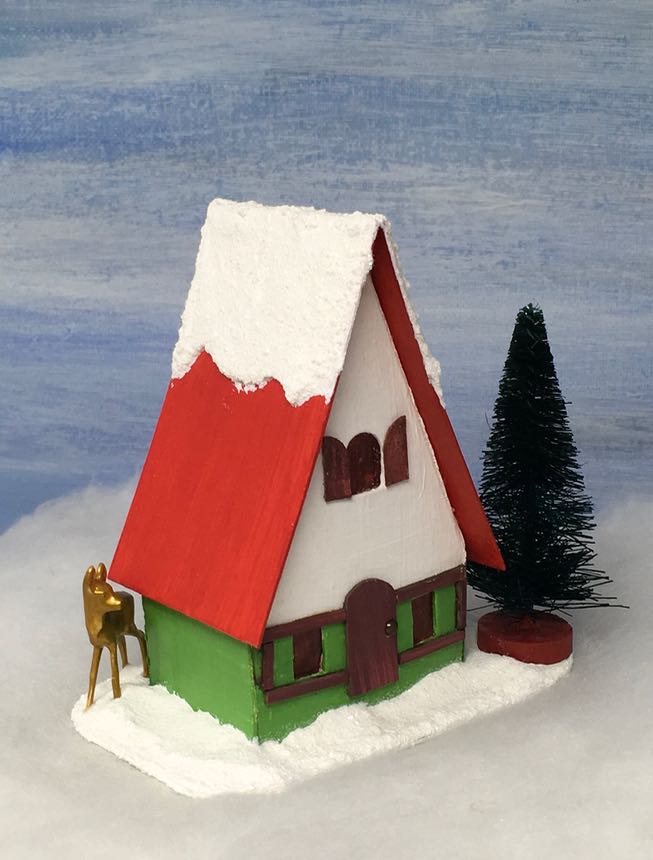
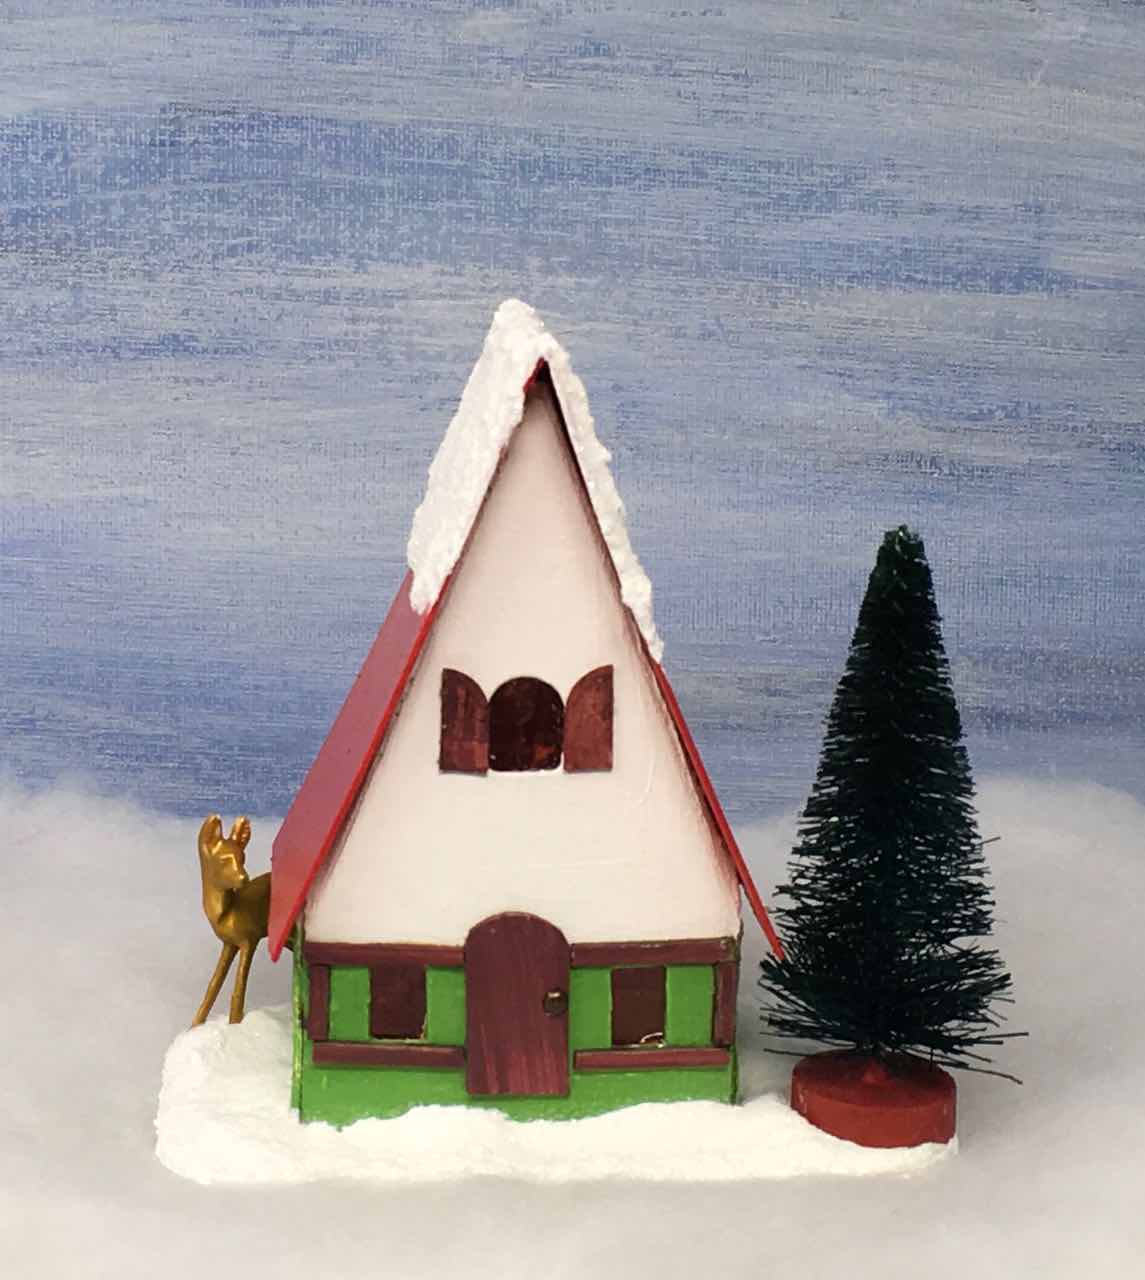
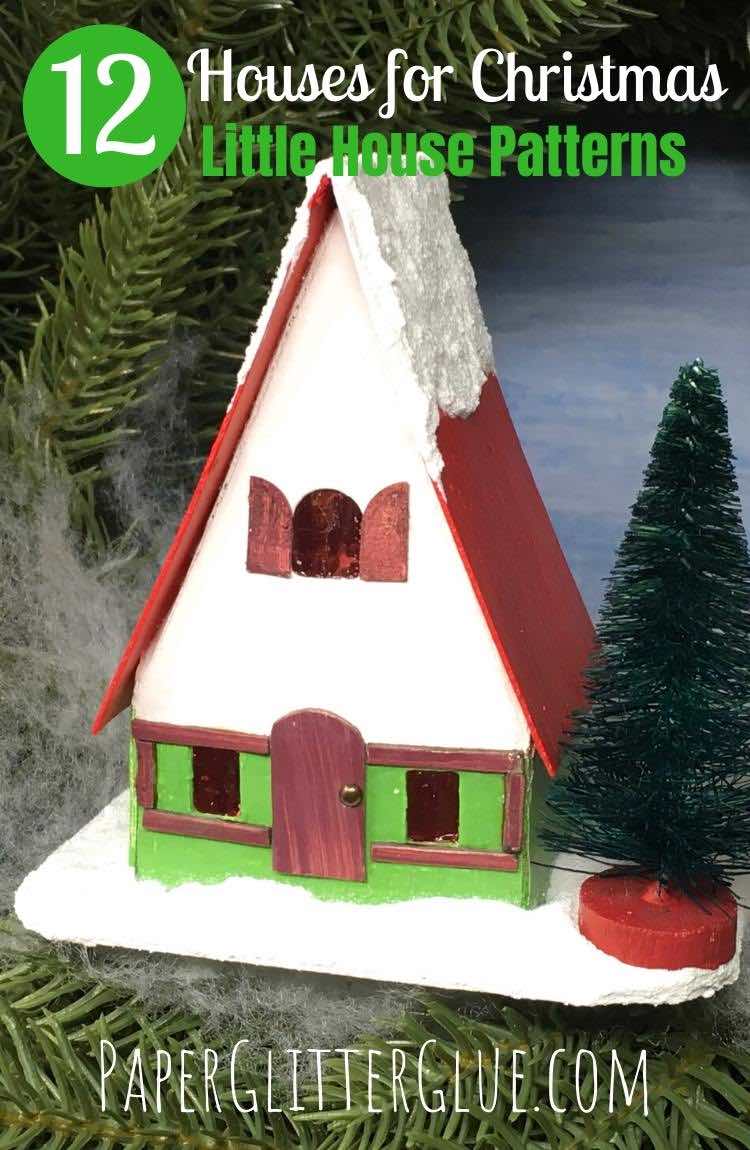
This house was inspired by a photo of a vintage Putz house on eBay sent to me by one of my Putz-maker friends on the Cardboard Christmas Forum. It's the 9th house in the 12 Houses for Christmas series.
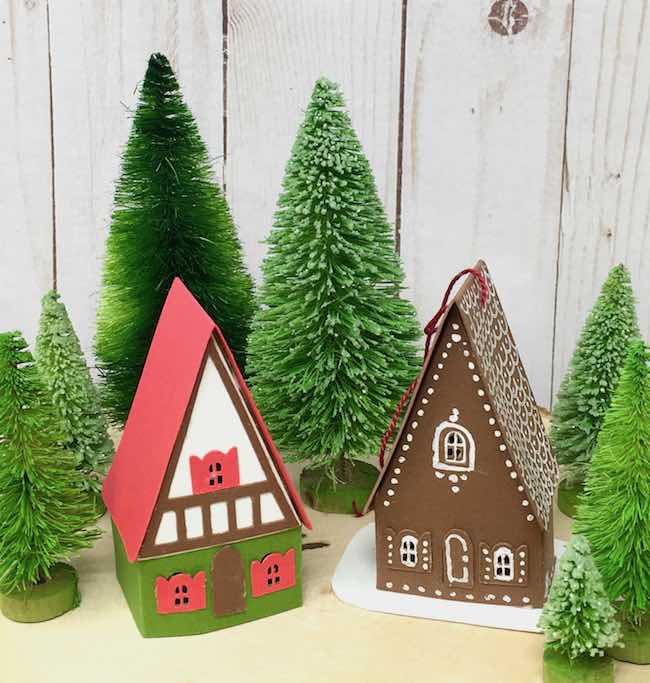
In addition, I've made a tiny paper Swiss Chalet for you. You can easily make it out of card stock if you are in hurry.
Here are the links to all the other little houses in this series you can make:
- 12 Houses for Christmas Challenge
- Christmas Putz House No. 1
- Christmas Putz House No. 2 – Log Cabin Putz House
- Christmas Putz House No. 3 – Twin Gable Front Putz House
- Christmas Putz House No. 4
- Christmas Putz House No. 5 – Little Church with Side Steeple
- Christmas Putz House No. 6 – Frosty Barn
- Christmas Putz House No. 7 – Round Arch House
- Christmas Putz House No. 8 - Happy Holiday House
- Christmas Putz House No. 9 - Swiss Chalet
- Christmas Putz House No. 10 - Snowy Church
- Christmas Putz House No. 11 - Winter Cottage
- Christmas Putz House No. 12 - Split Level House
- Winter Village Wreath - where all the little houses reside now
Get the Free Pattern from the Paper Glitter Glue library
You can find the PDF pattern on the Paper Glitter Glue library. Just subscribe to my newsletter on the form below and you will get the password right away. To enter the library, click on the library link above and then click on the "ENTER THE LIBRARY" link on that page. The library will open up when you add the password. There you will find all my free patterns and tutorials.
This post contains some affiliate links for your convenience. Click here to read my full disclosure policy.
What do you need to make the Swiss Chalet?
Not much really. Here are the materials that I used:
- Swiss Chalet free pattern from the library - Design No. 36
- Cutting mat
- Cutting tools - Xacto or craft knife (I like this ergonomic version), scissors
- Metal edge ruler
- Cardboard
- Glue - my favorites: Aleene's Fast Grab and Glossy Accents
- Tracing paper
- Stylus for tracing
- Painter's tape
- Paints that I used on this little house:
- Gesso
- Ranger Distress Paints:
- Clear acetate for the windows
- Alcohol ink to stain the windows
- Christmas embellishments
- Idea-ology Decorative Deer or other tiny deer
- Idea-ology Woodland Tree lot or other bottlebrush trees
- Ranger Clear Rock Candy Glitter - a non-plastic glitter, I love it
- Snow-Tex
Now let's get started making the Swiss Chalet Christmas Putz house
First download and print your pattern - Design No. 36.
I try to make these patterns as simple as possible to cut out by hand. Actually, this pattern is about as easy as it gets. And it's a nice size that fits easily on an 8.5 x 11 inch piece of cardboard.
But now there is an SVG version in the library if you want to make your little house with your automatic cutting machine like a Cricut.
Next trace the pattern onto your cardboard.
For this step I use tracing paper and tape the pattern to my cardboard with the tracing paper in between. But what can go wrong at this step? If you put the tracing paper so that it traces on the back of your pattern - that's what can go wrong. Then you will feel kind of silly. I've done that before. You also can use a stylus or an old pen and trace firmly over the pattern onto cardboard and it leaves a pretty decent impression. That works too.
After you've transferred the pattern to your cardboard, cut it out.
Mostly I try to remember to score the fold lines first before I cut the house out. To score, I use the back of the craft knife to make a fairly sharp line without cutting through the cardboard. Then I cut out the house with my metal ruler and a craft knife.
Now I cut out windows and doors where I plan to have light shining through.
If I glue a solid piece of cardboard on the front like I did in the this little house, I don't usually cut out a door piece. If I want to put a vintage door glued to the back of the house, then obviously I do cut out a door. Again, the goal is simplicity on these little houses so you can get them done before Christmas.
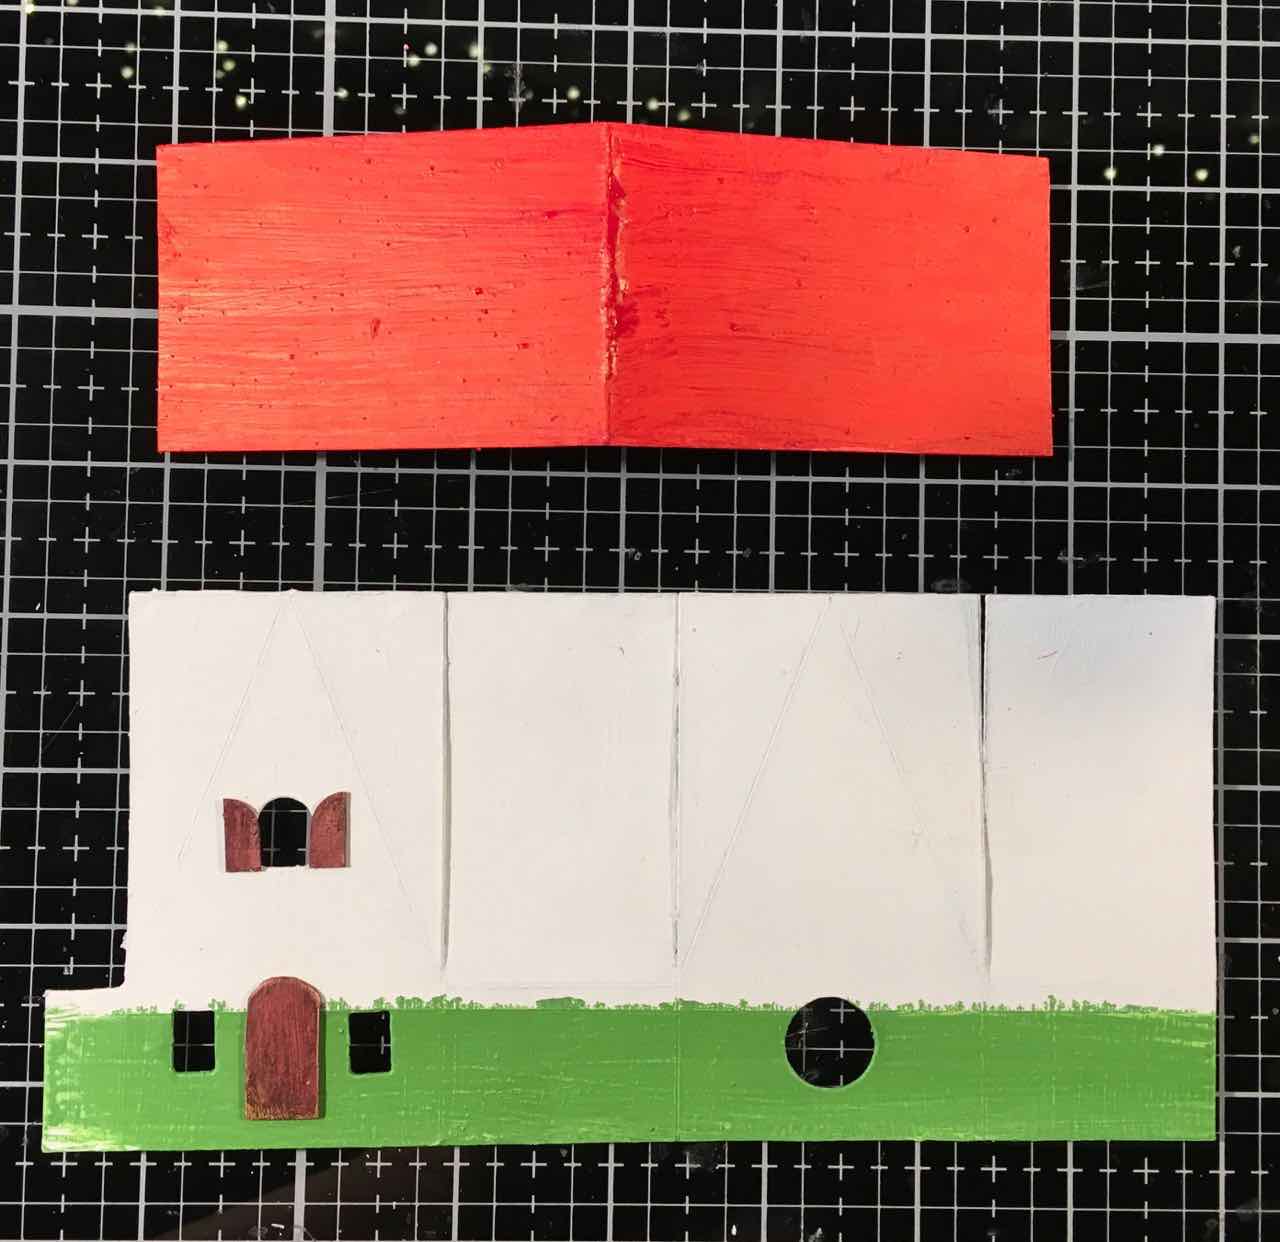
Next paint the little house.
I like to do it at this stage because I just paint neater when the house is flat. Other people paint when the house is assembled, but I mess up the paint if I do that. I also glued the door on and added shutters around the top window and a little "wood" trim around the lower windows at this step. Also the paint leaked under my painter's tape, but fortunately on this house, I'm adding trim to cover it up so no worries here.
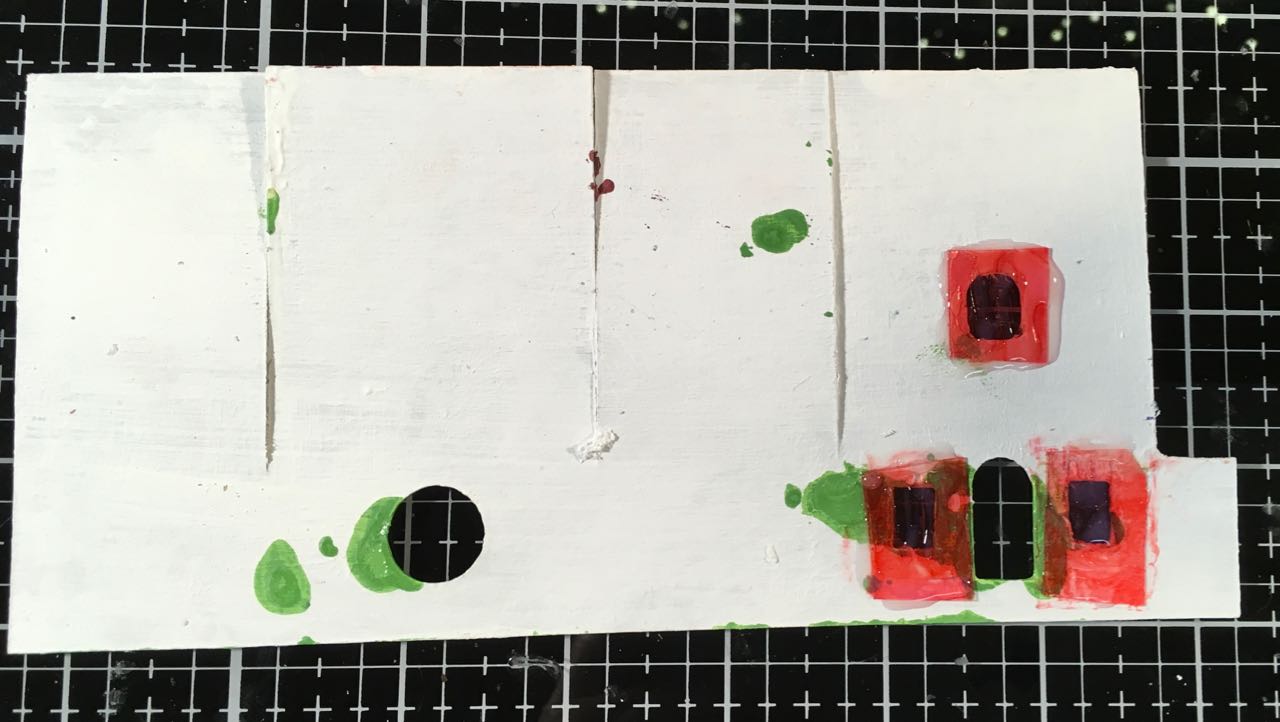
 Once the house is painted, glue windows to the back of the house.
I like to use leftover plastic packaging that I stain with a red alcohol ink to give a nice glow when the house is lit up. But you can even use a red Sharpie to color the plastic. Other options are paper or vellum or even wax paper for the windows.
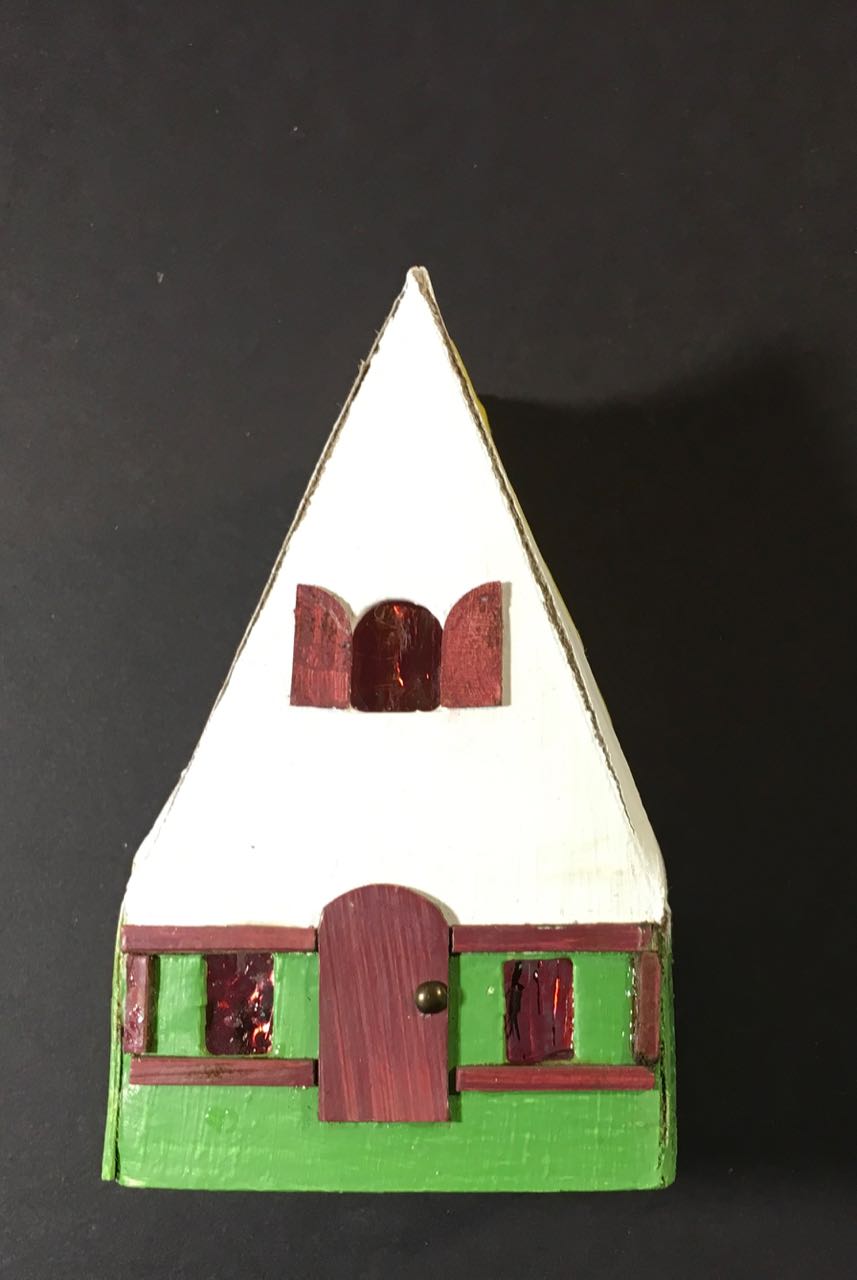
My next step is to assemble the house.
Here's where I noticed I made a mistake in the pattern. I always make the glue tab in the back so you don't see the glue seam on the front of the house. But I messed up on my initial pattern (not the first time I've done this) and put the glue tab next to the front piece of the house. However, the pattern in the library is correct. You won't have that problem. It's not a big deal, but you can see it on the little house. Fortunately, this house has a very short glue tab so it is much less noticeable than it would be on a larger house.
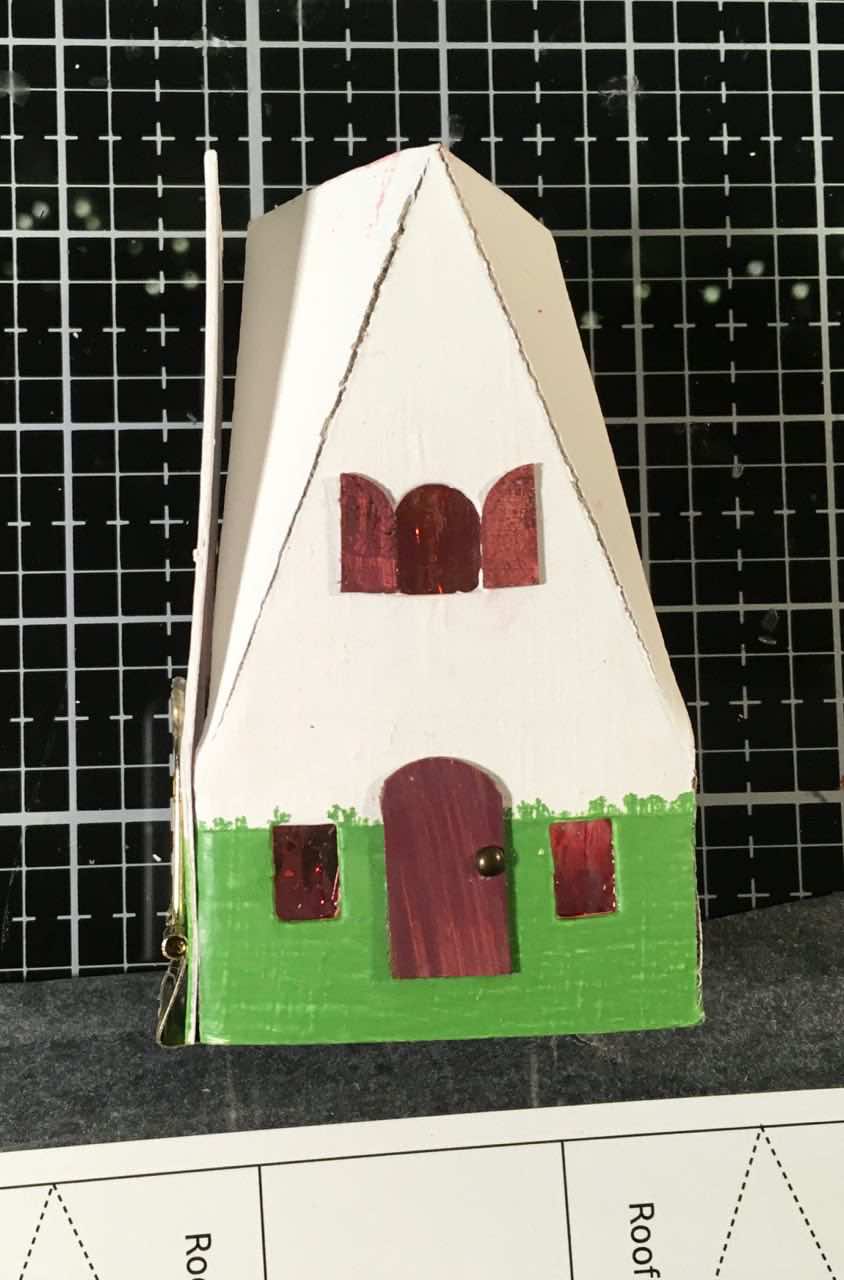
Whoops! I didn't notice that the glue tab faced the front until I started to glue it together
On the roof I trimmed the roof tabs a little bit to make sure they don't overlap. So the roof will lay down flat when you glue it to the body of the house. You can see I used my new favorite painter's tape to hold the roof tabs in place on the roof flaps while the glue dries.
After the house is assembled, glue the roof on.
Again this is about as easy a house as you can make so it's easy to adhere the roof to the house. Painter's tape holds it while the glue dries.
Now what?
The house is all together and the roof is on. So this step is where I glue the little house to the base. For these putz houses the base is just two small pieces of cardboard glued together then painted white. I round the corners a little bit so they can fit together a little easier. I think the largest house in the 12 Houses for Christmas series is 3 inches wide so the largest base is about 5 inches wide. This particular house is only 2 inches wide so the base is about 3.5 inches wide and 2.5 inches deep. That way the little house can tuck into a small space easily. If you have read any of the other posts, you know I am going to put these houses on a wreath so they need to be small.
Finally, we get DECORATE!
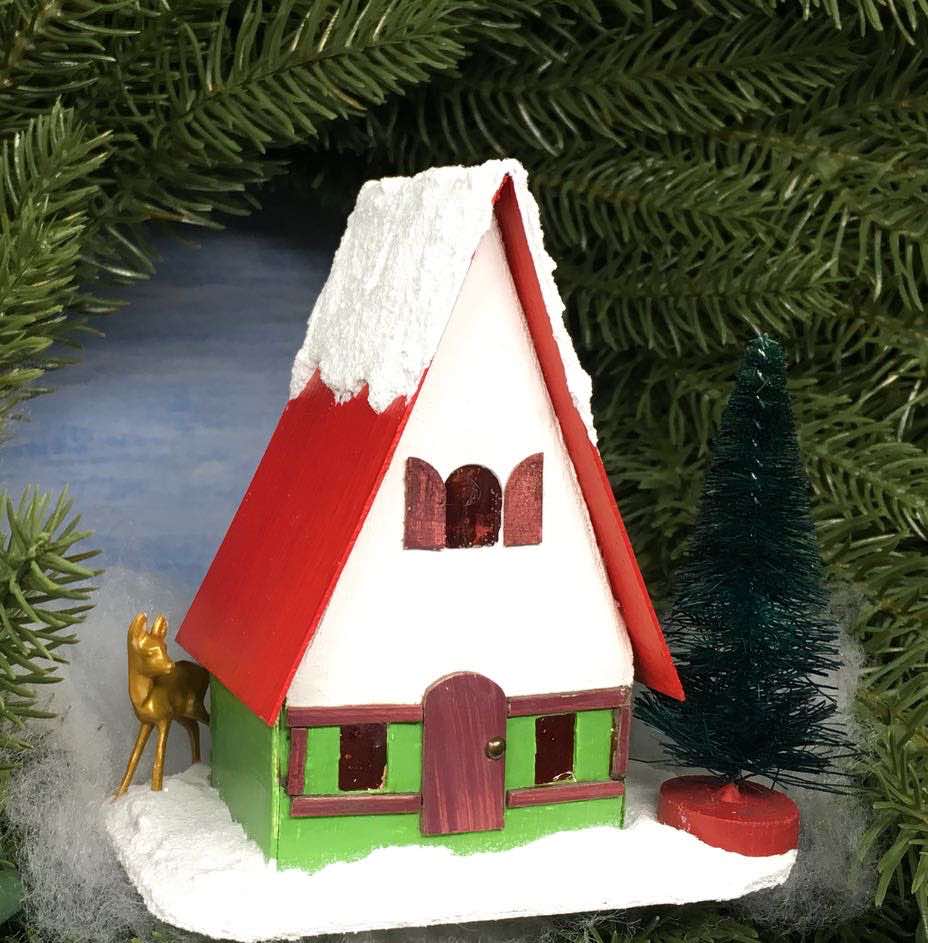
Here's where you can go wild with Christmasy exuberance. To decorate this little house, I first mixed Snow-Tex - a texture medium that mimics snow with gesso. It's pretty thick and gritty. I think it spreads better when mixed with a little paint. Then I apply it to the roof trying to make it look like a snow cap on the little Christmas house. Then I apply a thick layer to the cardboard base around the house and gently push towards the house. If I really try to paint it near the house, I inevitably get it all over the wall of the house. So now I just push my layer of snow towards the house until it touches the wall.
Adhere your Christmas embellishments.
Then to adhere my embellishments I apply glue to the bottom of the bottle brush tree and smush that into the snow. The same thing with the little deer - apply glue to the feet and smush it into the snow. The Snow-Tex might hold it well enough on its own, but I just don't want my embellishments to fall off so the glue is a little extra insurance.
While the Snow-Tex mixture is still wet, I gently sprinkle the entire piece with Rock Candy glitter. This is a Ranger product and is a great glitter. I love it.
And that's how you make the Swiss Chalet Miniature Christmas House
Well, that's how you make the Swiss Chalet Miniature Christmas House - Christmas Putz House No. 9 in the 12 Houses for Christmas series. I'll try to be a little more timely tomorrow in getting the pattern out. I'm planning on making another church. This one is more involved than the previous one, but still easy to make.
I hope to see you tomorrow.
Lucy
P.S. If you have any trouble with the patterns or accessing the patterns, let me know. I tried to make the library a little easier to use today. I hope that worked. Email me at [email protected] for any questions. I will be glad to help.


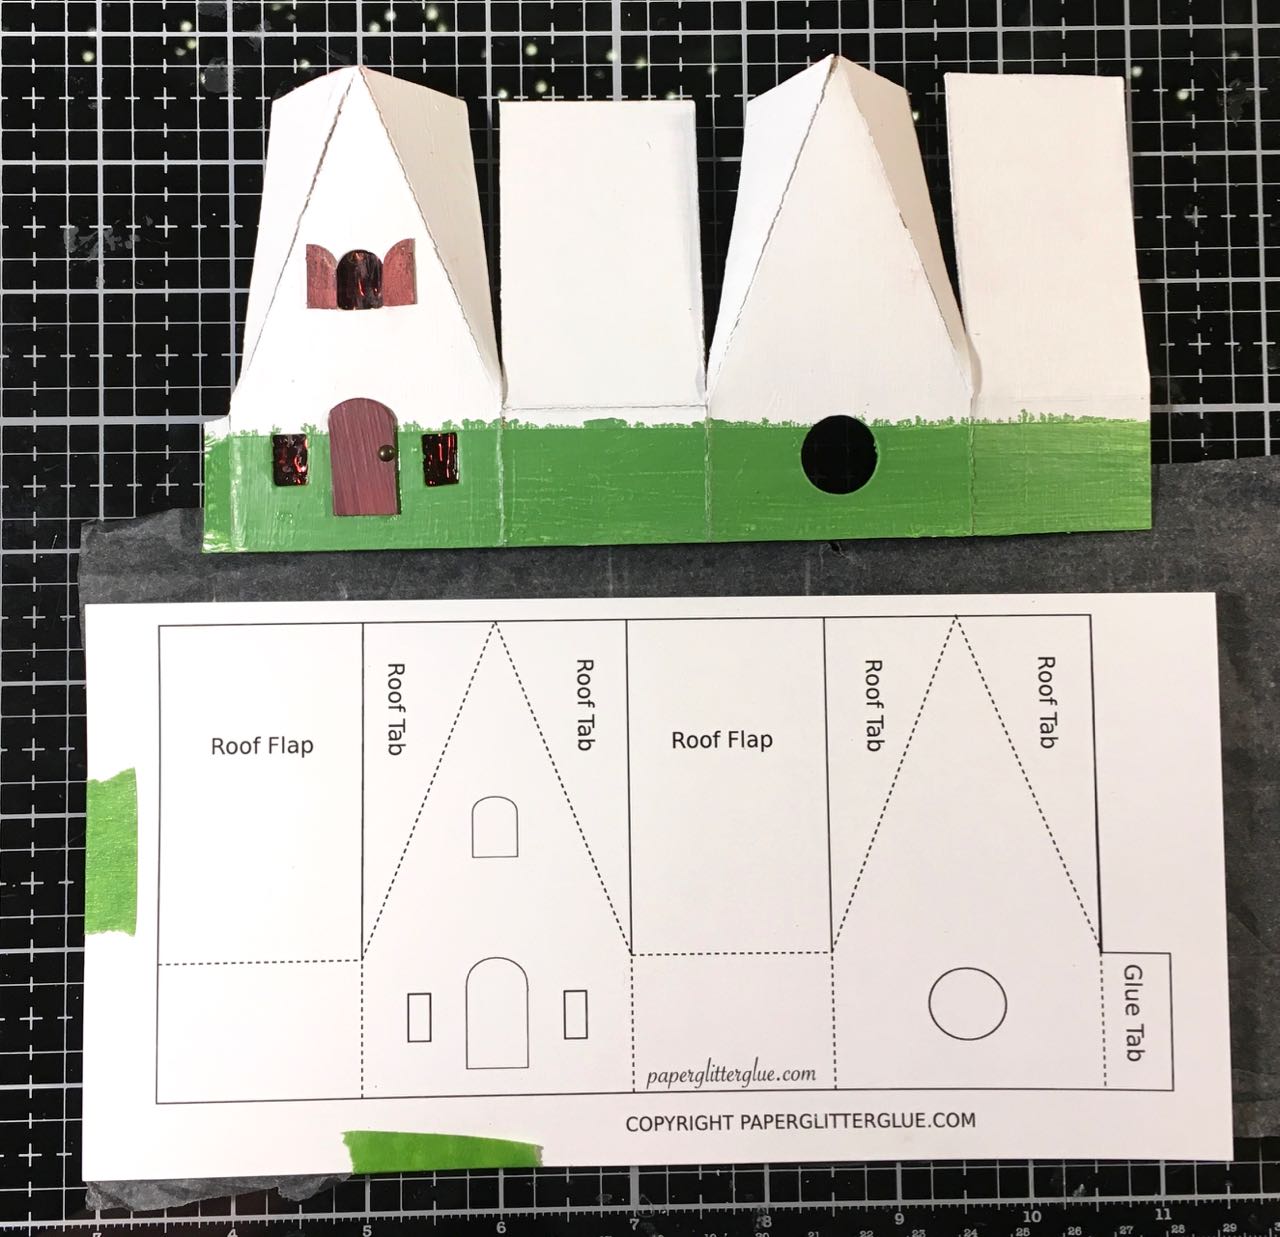
 Once the house is painted, glue windows to the back of the house.
Grammie
Lucy, thanks so much! I've been making glitter houses for the last several years. Each one is a particular theme in honor of an ancestor's nationality. Thinking ahead to next year, I thought it would be great to do a Swiss chalet. Thanks to google, I found you and your great plans and directions.
every good wish,
Beth
Lucy
I am so happy you found me. And thank you for your comment on the plans and directions. I always wonder if I put in too much detail in my directions, but I try to be honest about any challenges in making these paper crafts. Lucy
Michele Schreiber
My daughters and I have never made glitter/Putz houses. We tried a house making party this week which turned into part 2 and now part 3. They are starting to look like little houses and we are getting excited! Hope to finish and have some for Christmas and to send you some pics. Thx for your blog!
Lucy
Michele, your comment made me laugh - starting to look like houses! I am glad they are having a good time with the project. Please send some pictures to my email - I can post them on the paper glitter glue Facebook page or even a blog post if you like. Your daughters would probably think that was fun. In any case, I would love to see the photos. Thank you for commenting. Lucy [email protected]