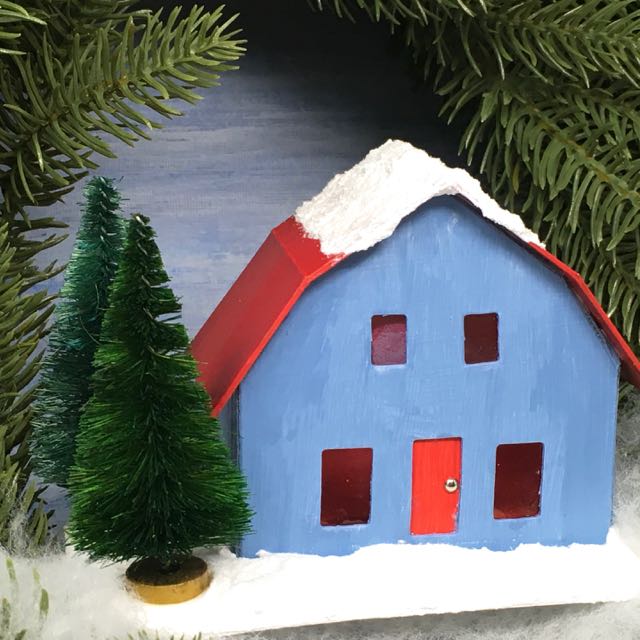
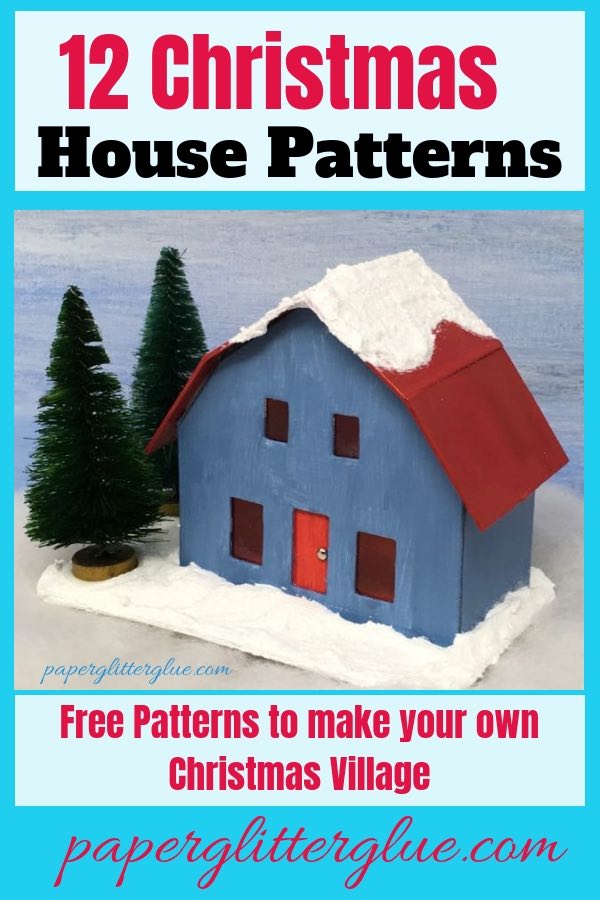
The Frosty Barn Christmas Putz house is perfect to make for your Christmas village.
The Frosty Barn is a little cardboard house decorated with snow and glitter and bottle brush trees for the 12 Houses of Christmas challenge. Vintage putz houses provided the inspiration for this little house. Surprisingly, the barn shape is a fairly common shape for a vintage glitter house. Download the free pattern from the Paper Glitter Glue Library.
Download the Pattern from the Paper Glitter Glue Library
You can find the Frosty Barn pattern as design no. 33 in the library.
And how do you download the pattern? Well, it's simple. Enter your name and email address below to immediately get the password and subscribe to the newsletter.
So how do we make the Frosty Barn Christmas Putz House No. 6?
First Gather Your Materials:
- Download your pattern from the library - Design No. 33
- Cardboard - poster board or cereal boxes
- Tracing paper
- Something to trace the pattern with. I use a stylus
- Gesso - to prime the cardboard surface so the paint will stick better
- Craft knife - I use one with an ergonomic handle
- Paint - I love the colors of Tim Holtz Distress paints
- Painter's tape - new favorite is FrogTape for delicate surfaces
- Binder Clips
- Aleene's Fast Grab Glue or other white glue
- Christmas decorations or embellishments for your little house
Here are the steps in Making the Frosty Barn:
- Print your Putz house pattern - Design No. 33
- Copy the pattern onto cardboard
- Score the fold lines and cut out
- Cut out windows and door
- Prime, paint the barn and the cardboard base
- Add the door and windows to the inside of the Frosty Barn
- Glue the barn together along the glue tabs
- Glue the barn roof to the house
- Once the barn is dry, glue it to the cardboard base
- Decorate your Frosty Barn
ADDITIONAL LINKS RELATED TO MAKING a Frosty Barn:
Here are the links to all the other little houses in this series you can make:
- 12 Houses for Christmas Challenge
- Christmas Putz House No. 1
- Christmas Putz House No. 2 – Log Cabin Putz House
- Christmas Putz House No. 3 – Twin Gable Front Putz House
- Christmas Putz House No. 4
- Christmas Putz House No. 5 – Little Church with Side Steeple
- Christmas Putz House No. 6 – Frosty Barn
- Christmas Putz House No. 7 – Round Arch House
- Christmas Putz House No. 8 - Happy Holiday House
- Christmas Putz House No. 9 - Swiss Chalet
- Christmas Putz House No. 10 - Snowy Church
- Christmas Putz House No. 11 - Winter Cottage
- Christmas Putz House No. 12 - Split Level House
- Winter Village Wreath - where all the little houses reside now
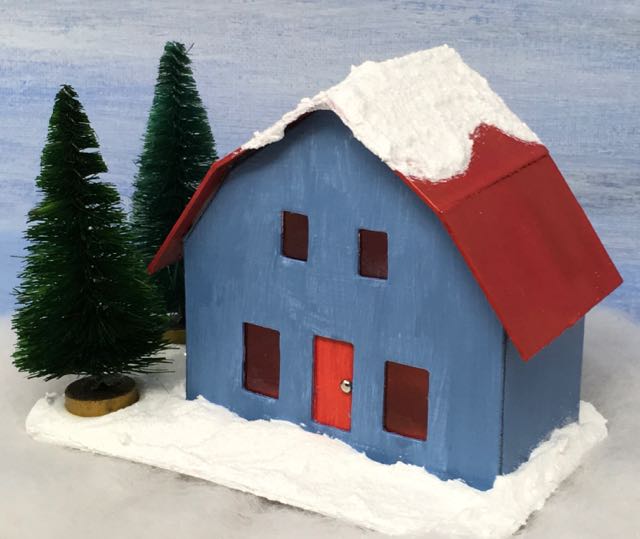
Red-roofed Frosty Barn putz house with two bottlebrush trees
On the last house I just plain forgot to take any photos of the process when I was making the house. I did much better with the Frosty Barn. Here are more details on making the Frosty Barn Christmas house.
Update September 2023 - There is now an SVG pattern for the Frosty Barn.
-
Print Your Pattern of the Frosty Barn Christmas Putz House No. 6
-
Copy the Frosty Barn pattern onto cardboard
Here's the pattern taped to the tracing paper and the cardboard.
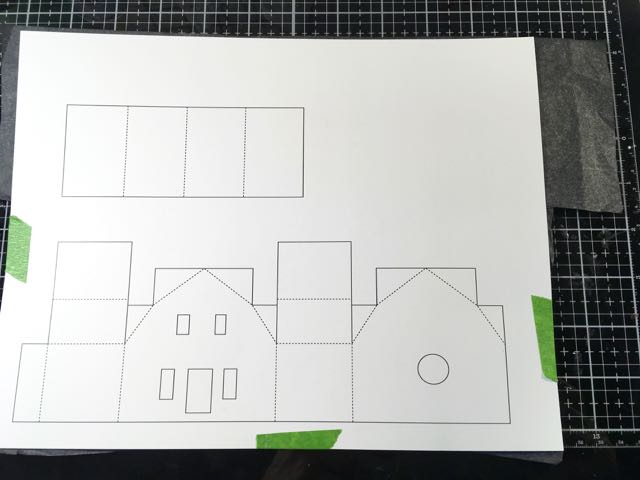
Tape the pattern to tracing paper and your cardboard. But do remember to have the tracing paper facing the cardboard.
-
Score the fold lines to your barn and cut out
Usually I score the fold lines with the back of my craft knife because it makes such a nice sharp fold line. Then I cut out the pattern after I have scored the fold lines. Often it is easier to cut the little pieces first because then you have more to hold onto during the cutting process.
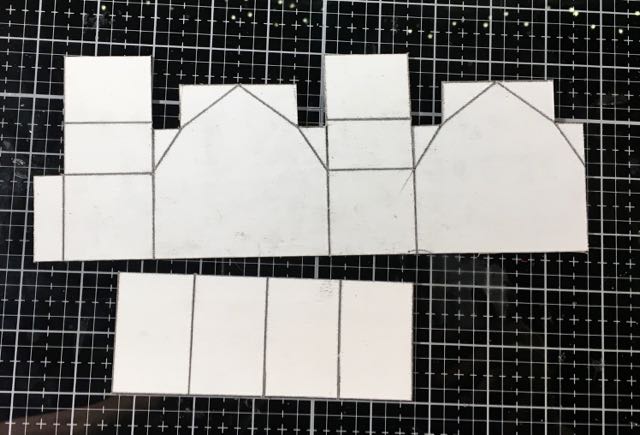
Cardboard pieces cut out and scored to make the Frosty Barn Christmas Putz house
Please note that the pattern looks a little funny because of the barn-type roof. In order to make the roof flaps work they had to be longer than the top of the roof.
-
Cut out windows and door to the Frosty Barn Christmas Putz House
For cutting out windows and doors I use these dies and an arbor press to make it easier. You can cut them by hand. It's just that I make a lot of houses so I use this shortcut outlined on this blog post for cutting out the doors and windows.
Also if you cut by hand, you don't have to put in as many windows. For example, you could move the door off center and have only one window on the lower level and one centered window above.
-
Prime, paint the little barn and its base
Prime the barn with gesso because it makes the paint stick so much better. It also covers up the tracing paper lines.
I prime and paint at this step because it is easier for me. But other people paint after the house already glued together. You can paint the corners better if you wait. What I do is touch up the corners after I have glued the house together, but before I glue the roof on.
Now here is where I had a color decision to make. Before I put the house together I planned on having a green roof. But you can see from the photos that it didn't work. So I repainted the roof (several times to cover up the green) to make it red. Much better.
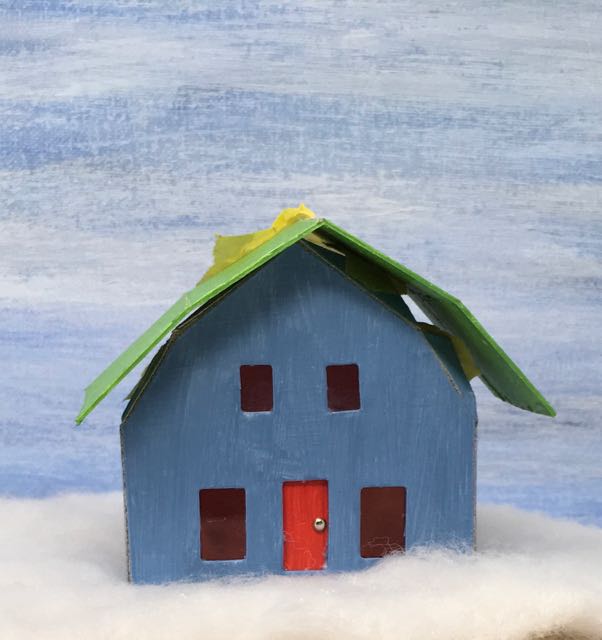
I put the green roof against the little barn and thought, "No way." It just doesn't work.
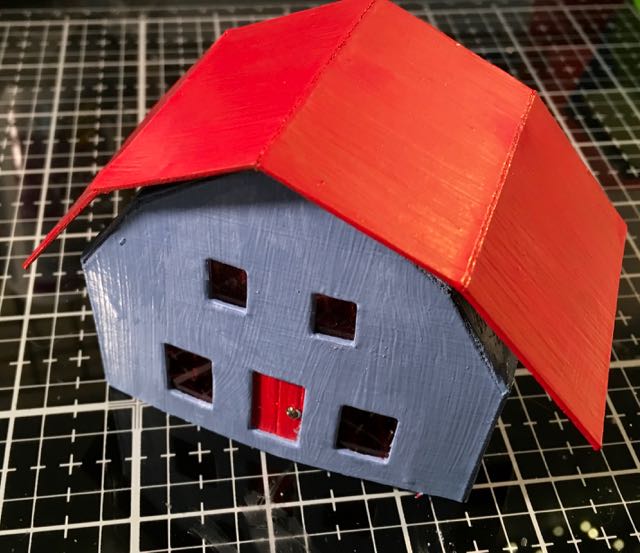
Ah, red. So much better don't you think?
-
Add the door and windows
Here is the main reason I paint first before gluing the house together. I find it easier to glue on windows and the door before I've glued the house all together. I can place them better when the house is flat. So if I have done the painting before adding the windows and doors, I am less likely to get paint on them.
Not only am I a messy painter, I am a messy gluer as well. In order to minimize glue balls everywhere I try to glue these on when the house is flat.
-
Glue your little barn together along the glue tabs on the side and roof
There is always one step that is a little challenging. This is it.
To glue the house together I use a number of techniques - painter's tape and binder clips most often. But sometimes there is no substitution for holding a piece in place by hand to make sure it is situated properly. On this little barn I had a heck of time trying to get the roof glue tabs to stick. You can see by how much tape I had to use to get them to adhere. And that was with my manually holding them down as well. It worked but it too some time.
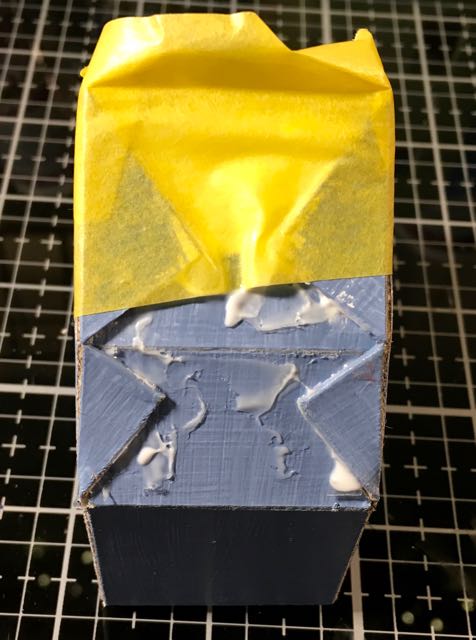
I used tape and my fingers to get the little roof tabs to lay down flat.
For you, the best way to do it is to glue one side at a time. That will be much easier.
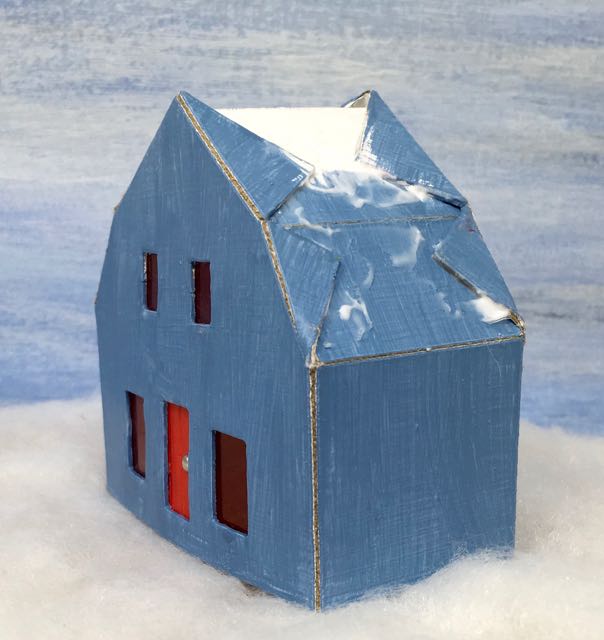
Finally the flaps stuck done on the Frosty Barn putz house
So remember glue one side of the roof at a time.
-
Add the roof to the house
After wrestling with the roof tabs, this step was a breeze. The photos shows you how nicely the roof stuck to roof flaps and roof tabs.
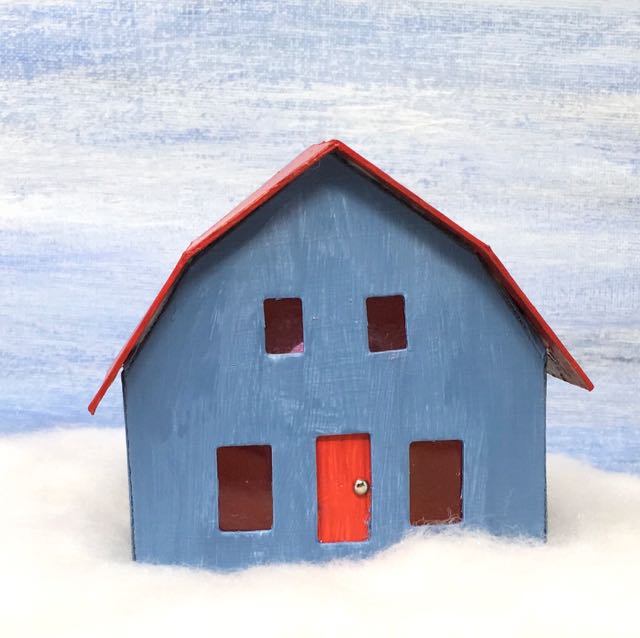
See how nicely the red roof stuck to the house?
-
Last step in the construction of the Frosty Barn - glue to its base
Now glue the barn to its cardboard base. I just run a thick bead of glue along the bottom of the barn and firmly place it on the base. Wiggle the house a little bit to situate it well on its base and then hold. Usually after a minute or two of holding, gravity is enough to get the barn to stick.
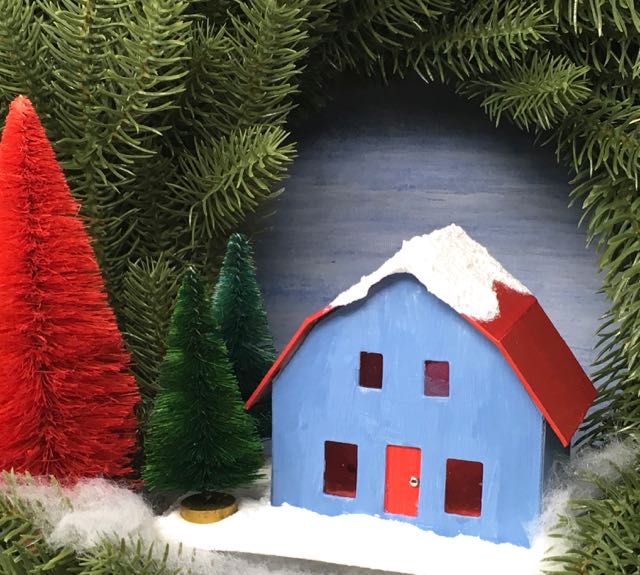
The Little Frosty Barn Christmas Putz decorating a Christmas wreath
-
How to decorate the barn?
Here's the fun part for most people - decorating their creation. There are no rules for this step. Just use your imagination and make your little barn reflect what you love. Truthfully, I haven't been too creative in the decoration department because I am making a Putz house a day, but you can go wild with whatever you think needs to be on your house or your barn. Maybe a glittered cow? Or a miniature horse figure. Tiny ducks? Birds in the trees? More snow and glitter? Just add what delights you.
Well, that's it for today - I hope you will try the Frosty Barn.
Tomorrow we're making a very interesting house with a Bow-shaped front. See you then.
Lucy
P.S. If you have any questions you can leave a comment or email me at [email protected]. I will be glad to help. And feel free to pin to your favorite Christmas board.


Phyllis
I was looking at the files associated for the 12 Houses series and noticed there's no svg for this barn. Is that correct? Or did I just miss it? P
Lucy
Phyllis,
There isn't an SVG for the Frosty Barn YET. I was just learning to make SVGs when I did this series and I was making a design each day so I missed a few. This is one that I missed. But I will convert the PDF to an SVG tonight and post it for you tomorrow. I'm on it right now.
Also you can email me at [email protected] for any other questions.
Thank you for reminding me.
Lucy
Lucy
Phyllis,
I made the SVG pattern for the Frosty Barn. It's design no. 33. Look for the SVG version. I did include the PDF in the SVG folder just because all the tabs and flaps are labeled on the PDF.
Lucy