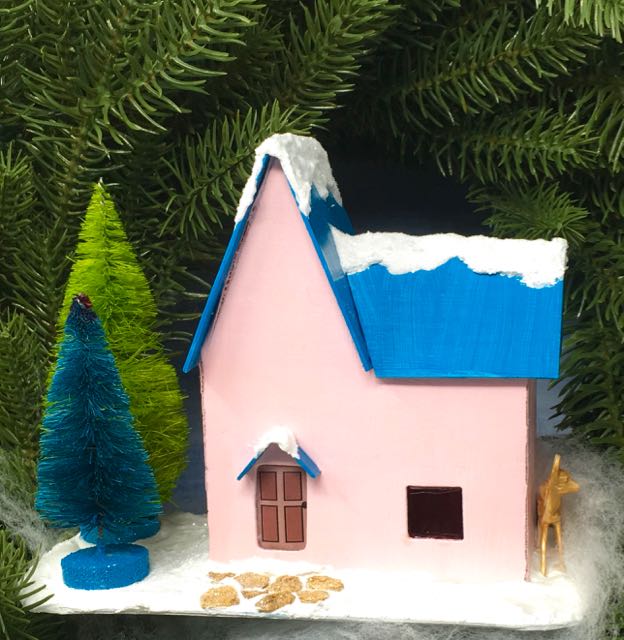
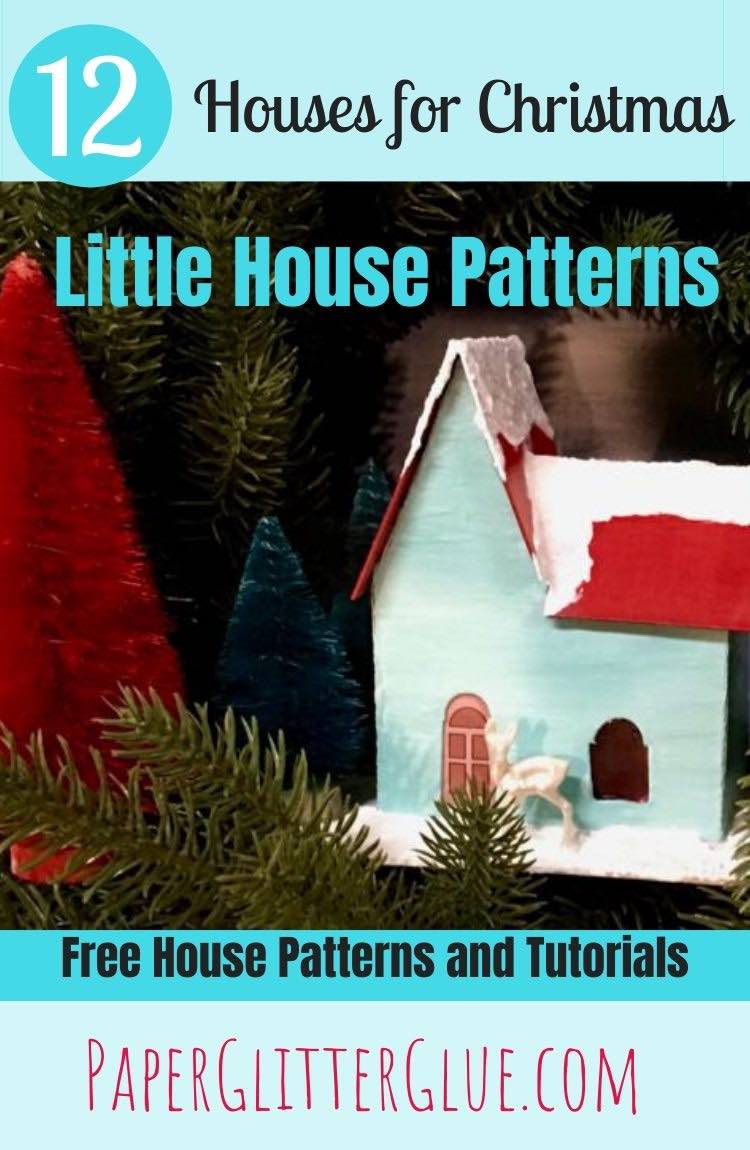
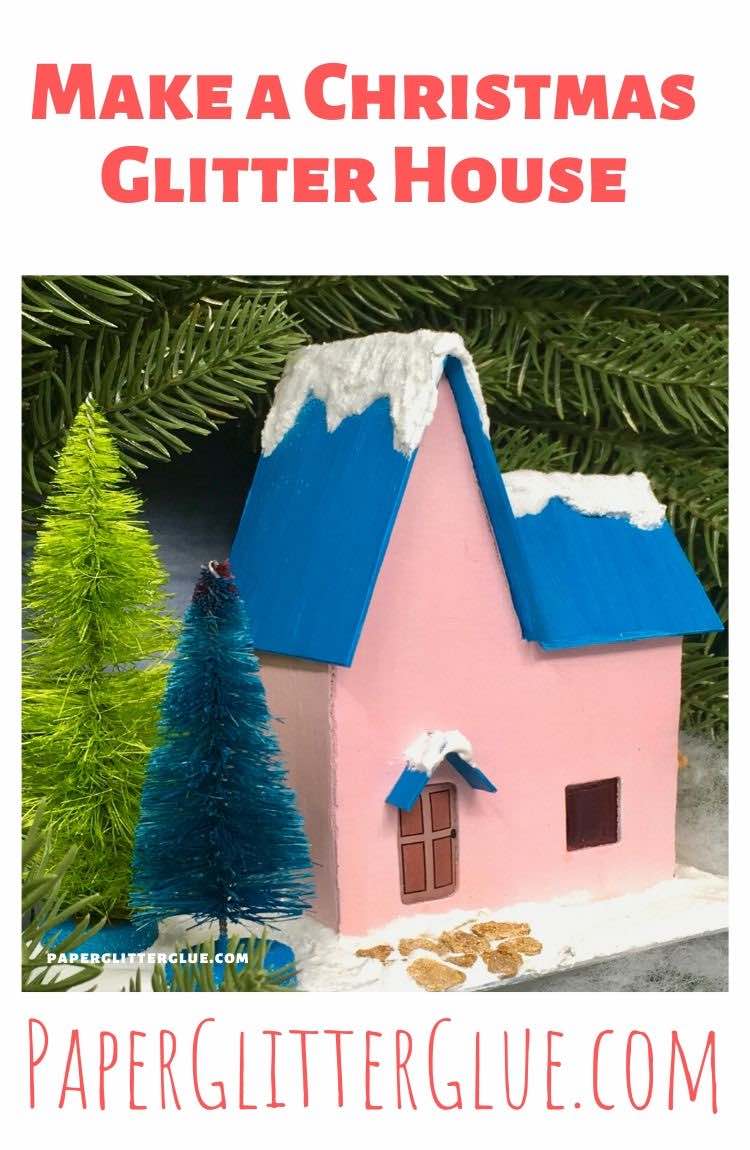
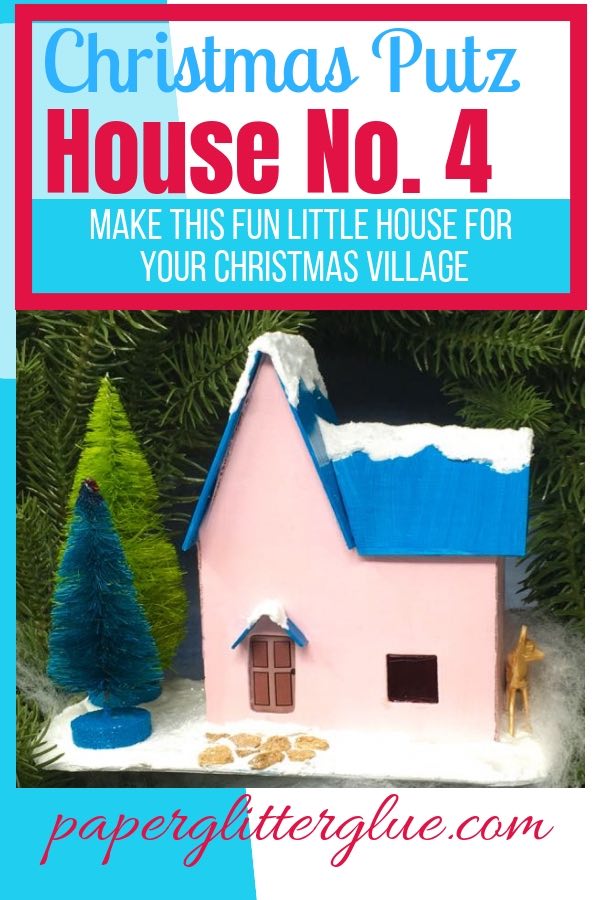
Here is the Christmas Putz House No. 4 with a teal roof and bottlebrush trees and a little gold deer peeking around the corner. Get the free pattern and instructions below.
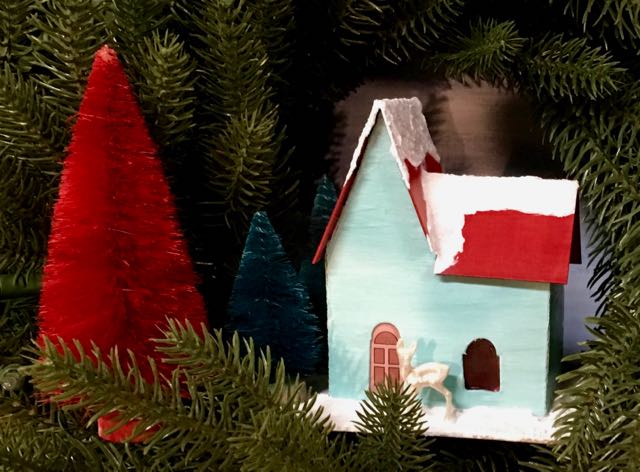
First version of Christmas Putz House No. 4 with its red roof and teal walls. I like these Christmasy colors.
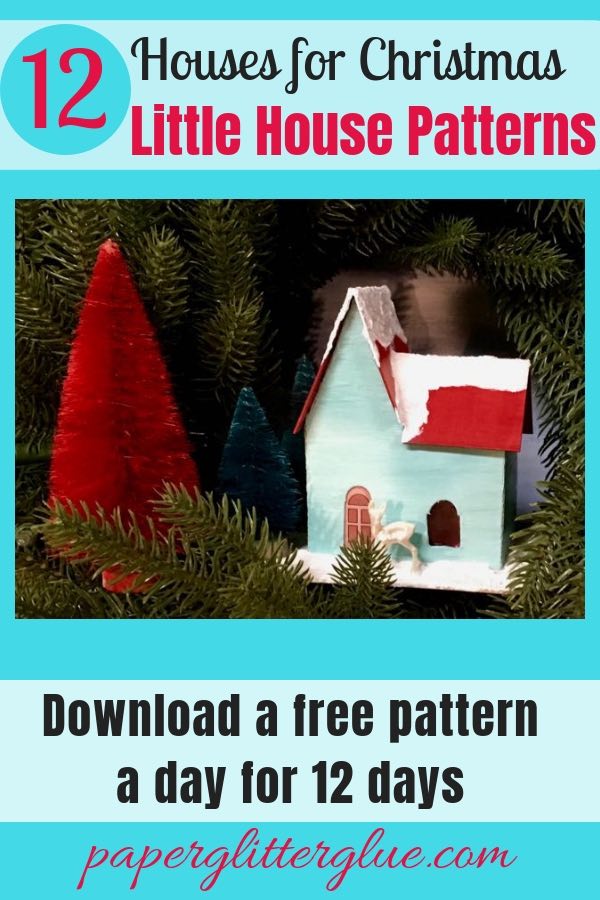
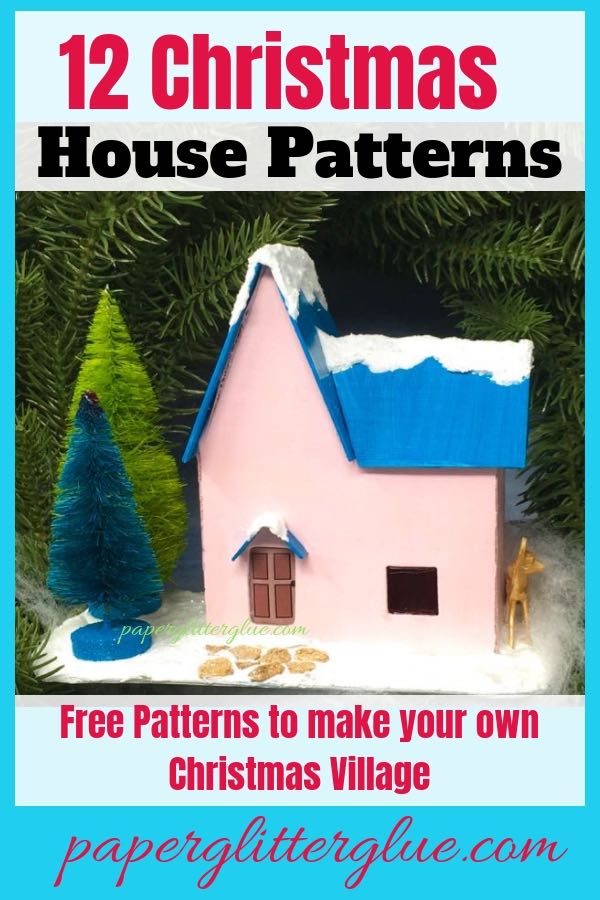
This cute little Christmas Putz house is the 4th in the 12 Houses for Christmas challenge. The cool thing about this house is the way the two different rooflines meet which gives the glitter house extra appeal. So when you add snow or glitter to your Putz house, it shows up so nicely from any angle.
Download the Pattern from the Paper Glitter Glue Library
You can find all my free patterns in my Paper Glitter Glue Library. I always list the patterns chronologically. That means you will find the newest 12 Houses for Christmas paper house pattern first at the top of the library. Generally I list these houses by their number. Today’s house is Christmas Putz House No. 4.
I do not have an SVG pattern for this little house at this time.
To get access to the library, simply subscribe to my newsletter with the form below and you will be sent the password immediately so you can download the pattern. Then click on the library link, click to enter the password protected area, type in the password and then the list of free patterns and tutorials will be available.
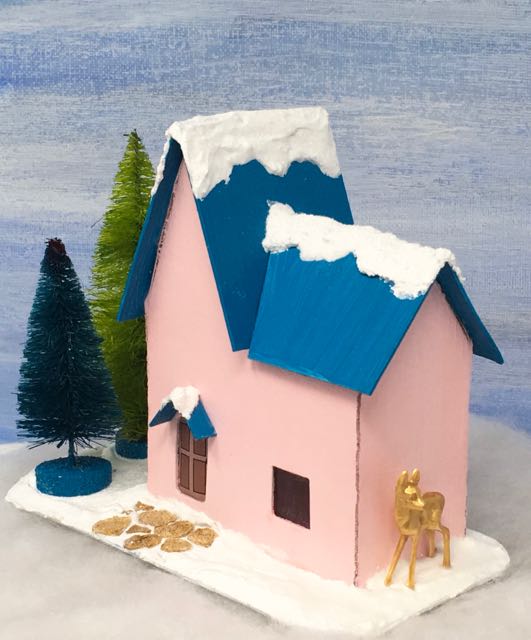
Side view of Christmas Putz House No. 4
This post contains some affiliate links for your convenience. Click here to read my full disclosure policy.
How do we make Christmas Putz House no. 4?
Materials:
- Pattern from the Paper Glitter Glue library - Design No. 31
- Cardboard
- Tracing paper
- Stylus for tracing your pattern onto your cardboard
- Gesso for priming the cardboard to hold paint better
- Craft knife
- Paint
- Painter's tape
- Binder Clips
- Aleene's Fast Grab Glue or other PVA glue
- Decorations and embellishments for Christmas:
- Ranger's Rock Candy Glitter
- Bottlebrush trees
- Decorative Deer from Ranger
- Snow-Tex or Grit Paste
Brief Outline of Instructions:
- Download the pattern from the library - Design No. 31
- Copy the pattern onto cardboard
- Score the fold lines and cut out
- Cut out windows and door
- Prime, paint the house and base
- Add the door and windows
- Glue the house together along the glue tabs
- Add the roof to the house
- Glue to the base
- Decorate your little house
Additional Links related to making this little house:
Here are the links to all the other little houses in this series you can make:
- 12 Houses for Christmas Challenge
- Christmas Putz House No. 1
- Christmas Putz House No. 2 – Log Cabin Putz House
- Christmas Putz House No. 3 – Twin Gable Front Putz House
- Christmas Putz House No. 4
- Christmas Putz House No. 5 – Little Church with Side Steeple
- Christmas Putz House No. 6 – Frosty Barn
- Christmas Putz House No. 7 – Round Arch House
- Christmas Putz House No. 8 - Happy Holiday House
- Christmas Putz House No. 9 - Swiss Chalet
- Christmas Putz House No. 10 - Snowy Church
- Christmas Putz House No. 11 - Winter Cottage
- Christmas Putz House No. 12 - Split Level House
- Winter Village Wreath - where all the little houses reside now
Let's get started
-
Download the pattern from the library
This pattern is available as a PDF in the Paper Glitter Glue library as Christmas Putz House No. 4. Most often I try to come up with a descriptive name for each house, but I couldn't come up with a good name for this house. Do you have an idea?
-
Copy the pattern onto cardboard
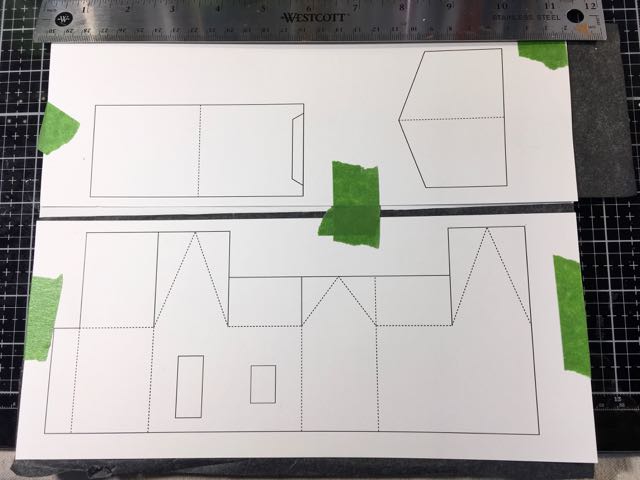
First step in making the little Christmas Putz house - transfer the pattern to the cardboard
My favorite method for transferring the pattern to cardboard is using tracing paper, but you can use whatever method works best for you.
-
Score the fold lines and cut out
Usually I score the fold lines with the back of my craft knife because it makes such a nice sharp fold line. Then I cut out the pattern after I have scored the fold lines. Often it is easier to cut the little pieces first because then you have more to hold onto during the cutting process.
-
Cut out windows and door
For cutting out windows and doors I use these dies and an arbor press to make it easier. You can cut them by hand. It's just that I make a lot of houses so I use this shortcut outlined on this blog post for cutting out the doors and windows. Since these houses are supposed to be simple, there aren't many cut outs on them.
-
Prime, paint the house and base
I prime and paint at this step because it is easier for me. But other people paint after the house already glued together. You can paint the corners better if you wait to paint the house after it has been glued together. What I do is touch up the corners after I have glued the house together, but before I glue the roof on.
-
Add the door and windows
Here is the main reason I paint first before gluing the house together because it is easier to glue on windows and the door before I've glued the house all together. I can place them better when the house is flat.
-
Glue the house together along the glue tabs
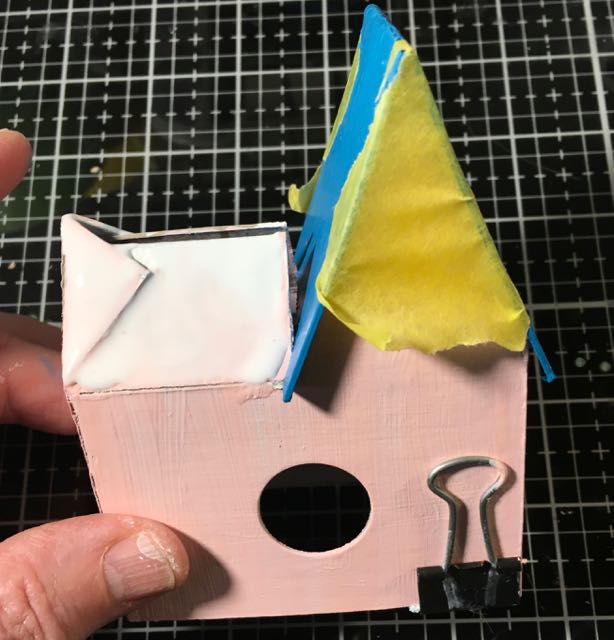
Here's how the binder holds the glue tab to the house while the glue dries on the little Christmas house
To glue the house together I use a number of techniques - painter's tape and binder clips most often. But sometimes there is no substitution for holding a piece in place by hand to make sure it is situated properly.
-
Add the roof to the house
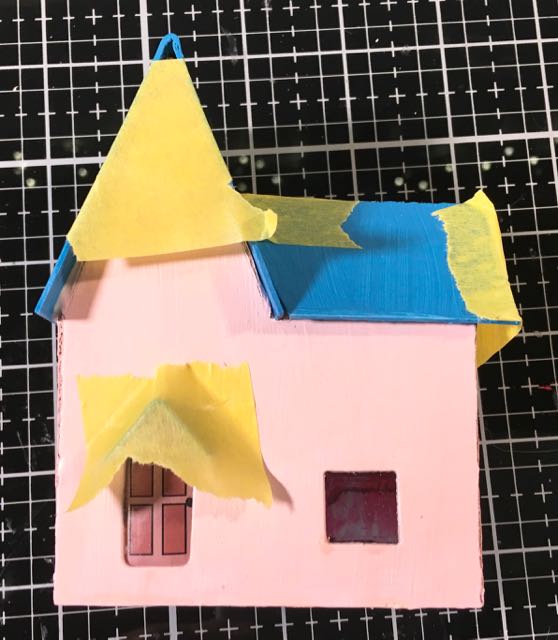
Painter's tape for delicate surfaces holds the roofs in place on the little house while the glue dries
You may find this is a slightly challenging step in making any little house to make sure the roof adheres to the body of the house in the correct alignment. Fortunately, PVA glues (the white craft glues you've used since you were a child) even including my favorite Aleene's Fast Grab are very forgiving. In other words, you have a few minutes to shift the cardboard pieces around to get everything lined up just like you want.
Also sometimes you just have to cut a new piece to get the roof to fit the way you want. I actually made a whole new pattern because I didn't like how the roof fit on the first one.
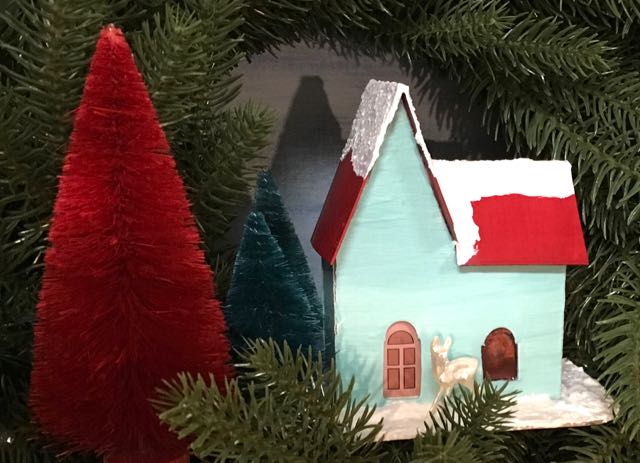
First version of Christmas Putz House No. 4. I love the colors, but not how the roof line came together. So I re-did the pattern.
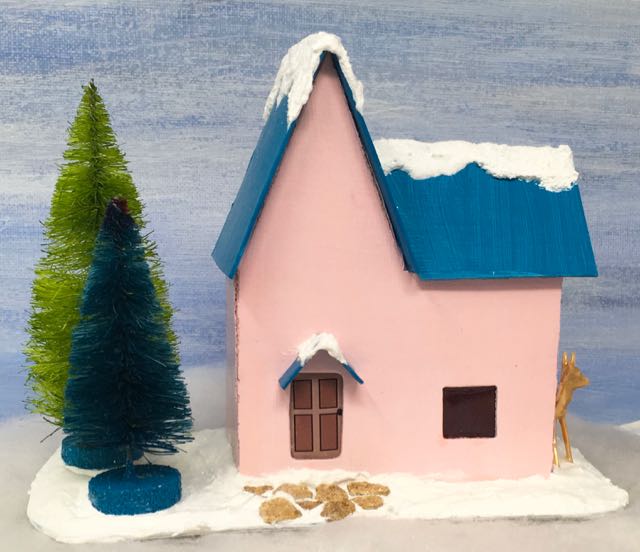
Teal roof Christmas Putz House No. 4 deer and bottlebrush trees
-
Glue to the base
Now once your completed little house is ready, glue it to the base. I just run a thick bead of glue along the bottom of the house and place it on the base. Wiggle the house a little bit to situate it well on its base. That helps the smear the glue to both the base and the house.
-
Decorate your little house
Now for the final fun part - decorating your little house. Most people enjoy this step the most. There are no rules for this step. Just use your imagination and make your little house reflect your personality.
On the previous houses in this series, I didn't add a pathway, but I think this one needs a pathway. So I drew some irregular shapes on cardboard, cut them out and coated them with Grit paste for stone texture. After the Grit Paste dried, then I painted them gold. They match the little deer that is peaking around the corner.
What's Next?
Tomorrow's house is a little church - a pretty simple pattern so you can quickly add a Christmas church to your Christmas village.
Take care.
Lucy
If you would like to remember where you found this pattern, you can pin this to your favorite Pinterest board. And you can join my private Facebook group "Paper Houses and Paper Crafts" if you would like to see more inspiration and share what you make.
Leave a Reply