
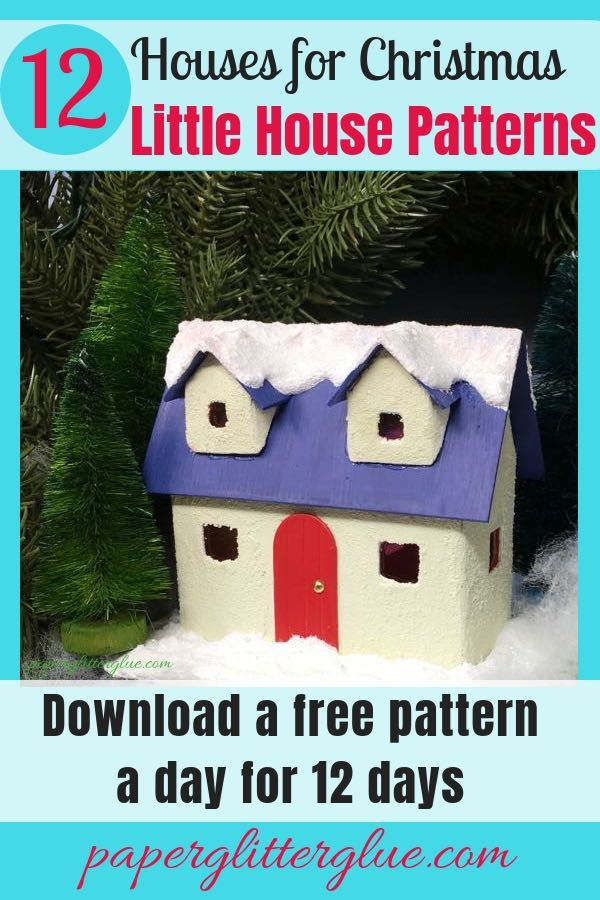
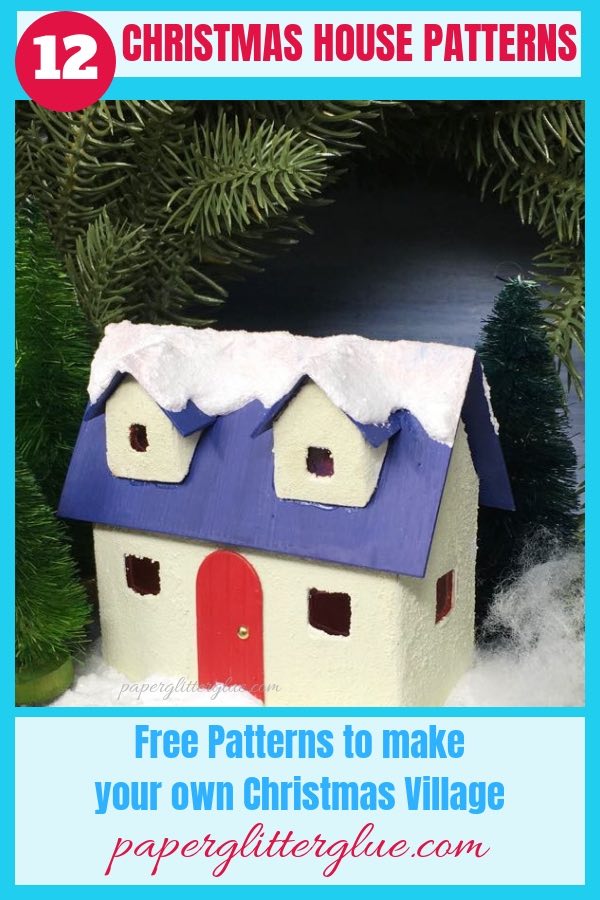
Make this cute little Winter Cottage with its red door and snowy roofline for your Christmas village.
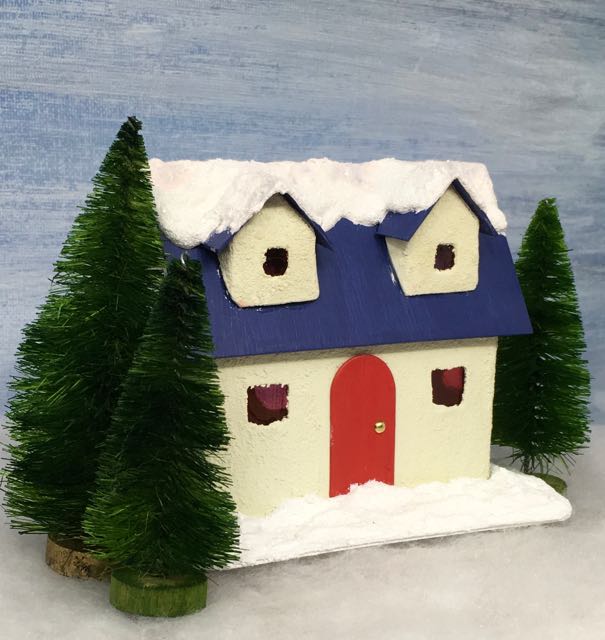
This little Winter Cottage glitter house has two snow-covered dormers on the roof to make it stand out in your Christmas Village. You can find the printable pattern in my Paper Glitter Glue library. We're almost finished with the 12 Houses for Christmas series. One more Christmas house tomorrow.
To make this house just follow the instructions for the previous little Christmas houses. The most unique feature about this house is the two dormers on the roof. I haven't done dormers in this series of little houses. In fact, I don't do dormers very much at all even though they are a great detail on a little house. One of my most popular houses has dormers though - the Sea Worn Beach House.
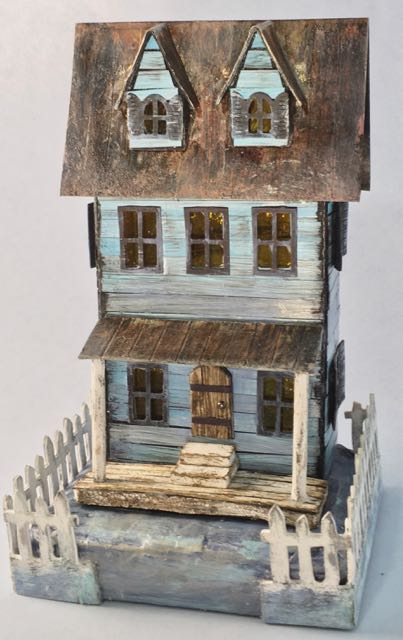
Sea Worn Beach house is one of my most popular little houses
That reminded me that I need to add dormers to more houses. They were very popular on a lot of vintage Putz houses as well. See the first two houses on the 2002 Houses of the Month at the Cardboard Christmas' Papa Ted's Place. But I also remembered that they are a little challenging to glue on the roof - just a little challenging.
This type of dormer is called a doghouse dormer for obvious reasons. Because the Sea Worn Beach house has a metal roof, the dormers kept sliding down and were hard to get them to stick. But it's not nearly as difficult on the Winter Cottage Putz house because the surface is paint, not metal tape. The hard part on these dormers is scoring and folding the small pieces and then gluing them together.
HERE ARE THE LINKS TO ALL THE OTHER LITTLE HOUSES IN THIS SERIES YOU CAN MAKE:
- 12 Houses for Christmas Challenge
- Christmas Putz House No. 1
- Christmas Putz House No. 2 – Log Cabin Putz House
- Christmas Putz House No. 3 – Twin Gable Front Putz House
- Christmas Putz House No. 4
- Christmas Putz House No. 5 – Little Church with Side Steeple
- Christmas Putz House No. 6 – Frosty Barn
- Christmas Putz House No. 7 – Round Arch House
- Christmas Putz House No. 8 – Happy Holiday House
- Christmas Putz House No. 9 – Swiss Chalet
- Christmas Putz House No. 10 – Snowy Church
- Christmas Putz House No. 11- Winter Cottage
- Christmas Putz House No. 12 - Split Level House
- Winter Village Wreath - where all the little houses reside now
Here's how to get the Winter Cottage Christmas Putz House No. 11 pattern:
You can get the free pattern to make this little village in the Paper Glitter Glue Library. Just subscribe to my newsletter with the form below if you haven’t already done so and you’ll get the password right away. Then you will have access to all of my patterns – I think it’s over 70 patterns now. And I add new ones all the time.
Updated May 2021 - I have updated this file so you have both PDF and SVG patterns. You will find the pattern in Dec. 2018 section of the library. After you enter the password, the library opens automatically. Then you will have to scroll down to Dec. 2018 for the Christmas Putz House No. 11 - the Winter Cottage. It is #38 in the library.
The 12 House of Christmas houses can be found as a group in the 2018 section of the Paper Glitter Glue library.
This post contains some affiliate links for your convenience. Click here to read my full disclosure policy.
Here's the list of the materials needed to make this miniature Christmas house:
- Downloaded pattern for the Winter Cottage - Christmas Putz House No. 11 - Design No. 38
- Cutting mat
- Cutting utensils – craft knife and scissors
- Metal edge ruler – if cutting by hand
- Cardboard – poster board works
- PVA Glue – I like these two: Aleene’s Fast Grab and Glossy Accents
- Tracing paper
- Stylus for tracing
- Painter’s tape – love Painter’s tape
- Paints:
- Gesso
- Ranger Distress Paints:
- Ranger Grit paste for texture on the walls of the house
- Clear acetate for the windows
- Alcohol ink to stain the windows
- Door cutout - Village Fixer Upper
- Christmas embellishments of your choice
- Rock Candy Glitter - my favorite glitter
- Snow-Tex
HERE ARE THE GENERAL INSTRUCTIONS:
- Download and print the Winter Cottage pattern from the Paper Glitter Glue library - Design No. 38
- Copy the pattern onto cardboard
- Score the fold lines and cut out the house
- Cut out windows and door on the house
- Prime, paint the house and base
- Add the windows inside the house then add the door
- Glue the house together along the glue tabs
- Add the roof to the main part of your miniature house
- Now glue the 2 dormers onto the front of the roof
- After the dormers are firmly adhered, glue the dormer roofs on
- Glue the house to the cardboard base
- Finally the fun begins – you get to decorate your little house
Because this is a VERY simple house to make except for the dormers, I'm not going over the specific instructions except to talk about making the dormers.
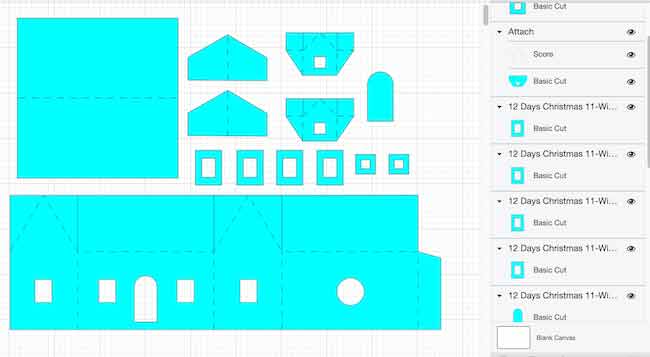
Here's how the SVG Pattern looks in Cricut Design Space
In Cricut's Design Space, I've already designated the score lines and attached them to the appropriate piece. Here's how the pattern looks in the current Cricut Design Space.
How to make the doghouse dormers for the Winter Cottage
Generally, I recommend that you make your score lines on your patterns before you cut them out. On small pieces like these dormers, it is especially important because it is hard to hold them otherwise.
And I'd like you to print a pattern out and work on the dormer first. See how it folds before you make the real thing. The dormer roofline is made just like we make the roofline on most of the houses with roof flaps and roof tabs - only on a much smaller scale. After you have played with the pattern a bit, then make your two doghouse dormers. Then glue the roof tabs down on the roof flaps so you've made a doghouse with an angled back. To get the roof tabs and roof flaps to stick together I did use a little binder clip on each side.
Make sure the dormer walls are square (well, try to anyway. Mine aren't really square, but they are close) and let it dry before you attempt to glue it on your house. Once it is dry, then glue to the roof where you would like it. Then glue the dormer roof on. Another helpful thing to do here is to use thick glue like the Aleene's Fast Grab because it will hold much faster. It's hard to tape these little tiny pieces in place, so I just hold them until they stick in place.
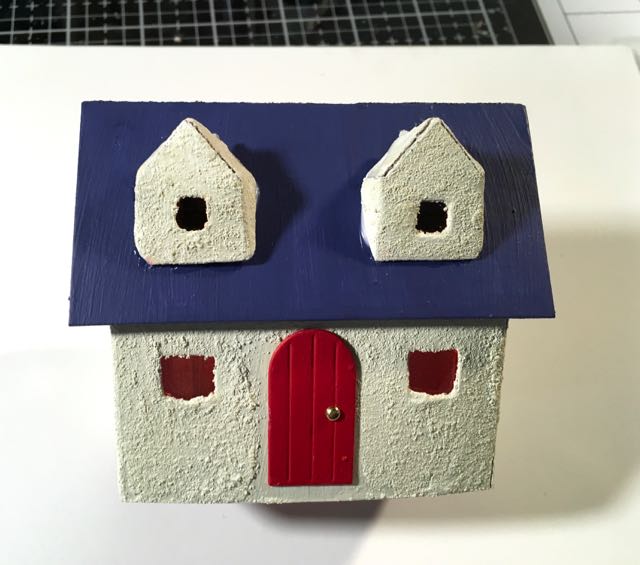
The little dormers are fairly square on the Winter Cottage Christmas house
Dormer too frustrating? Then make a Twin Gable Christmas Putz House instead
If you find this dormer stuff too frustrating, then it's easier to make a little house like this with twin gables in the front. The effect is very similar.
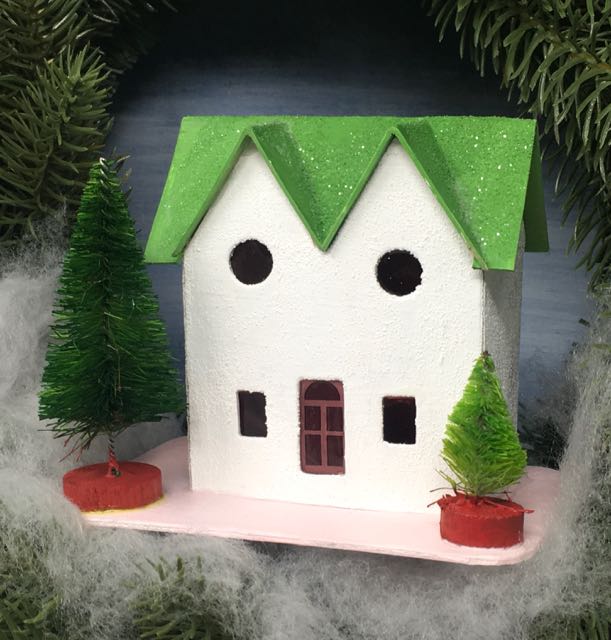
The Green Twin Gable Christmas Putz house simply decorated with two bottle brush trees
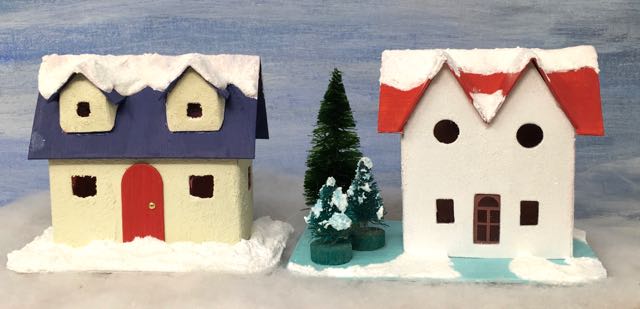
Comparison view of the Winter Cottage with its dormers and the Twin Gable Christmas house
Also, I should note that unless you cut a hole in the roof, no light gets to the windows in the dormers. Because I am way behind on my little house making post for the day, I skipped that step.
So in the end I think the dormers are worth it even if they are tiny and fiddly. I think they add a lot to the appeal of the little Putz house. What do you think?
Last house in the 12 Houses for Christmas series tomorrow. I hope you will join me for that one. Then onto more Christmas projects - so many ideas and so little time.
Thank you.
Lucy
Be sure to pin to your favorite Christmas Pinterest board. So you can start your own Christmas village and remember where you found the patterns.


Leave a Reply